curiousphil
Super Active Member
- Joined
- Apr 15, 2013
- Location
- London, Ontario
Hey everyone, as mentioned in my introduction thread, I've created this thread to talk about my 90g mixed reef build.
A bit of background before I get into the details:
-I love DIY. I wanted to build as much of this as possible on my own, for both the enjoyment of building something and for learning purposes.
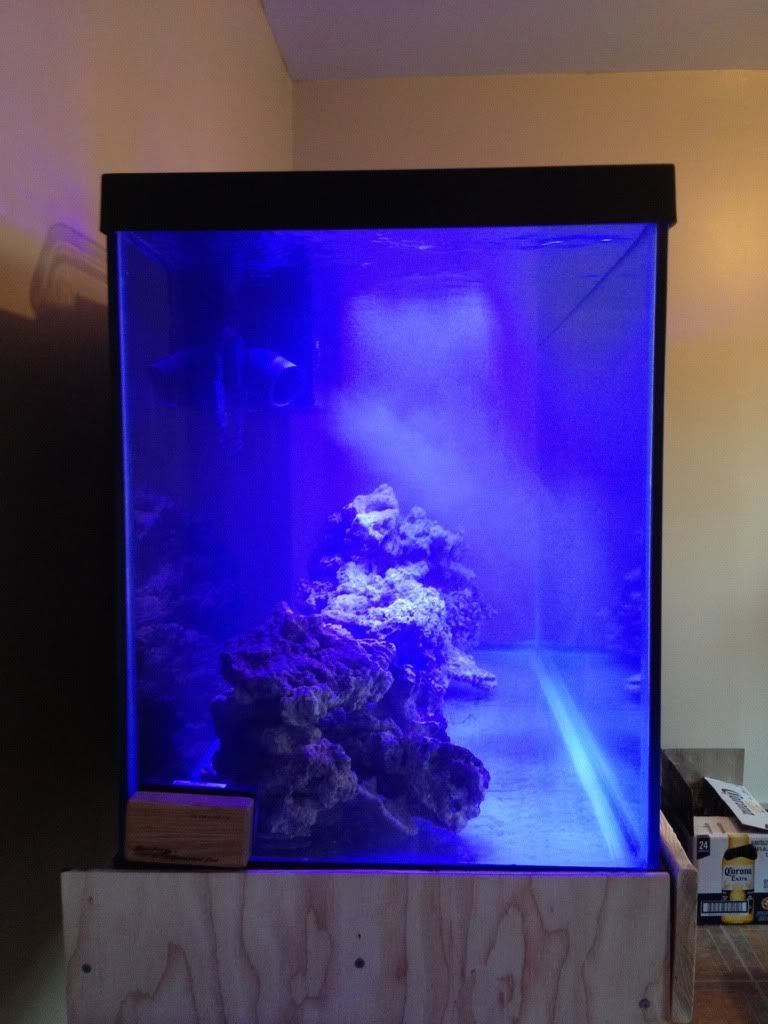
-I'm planning to move within the next year, so I didn't want to start too big of a tank. In my next home I would like to build a system featuring a large 200-300g display tank.
-I plan to have my reef dominated by SPS, so the lighting and flow are both very strong to reflect this.
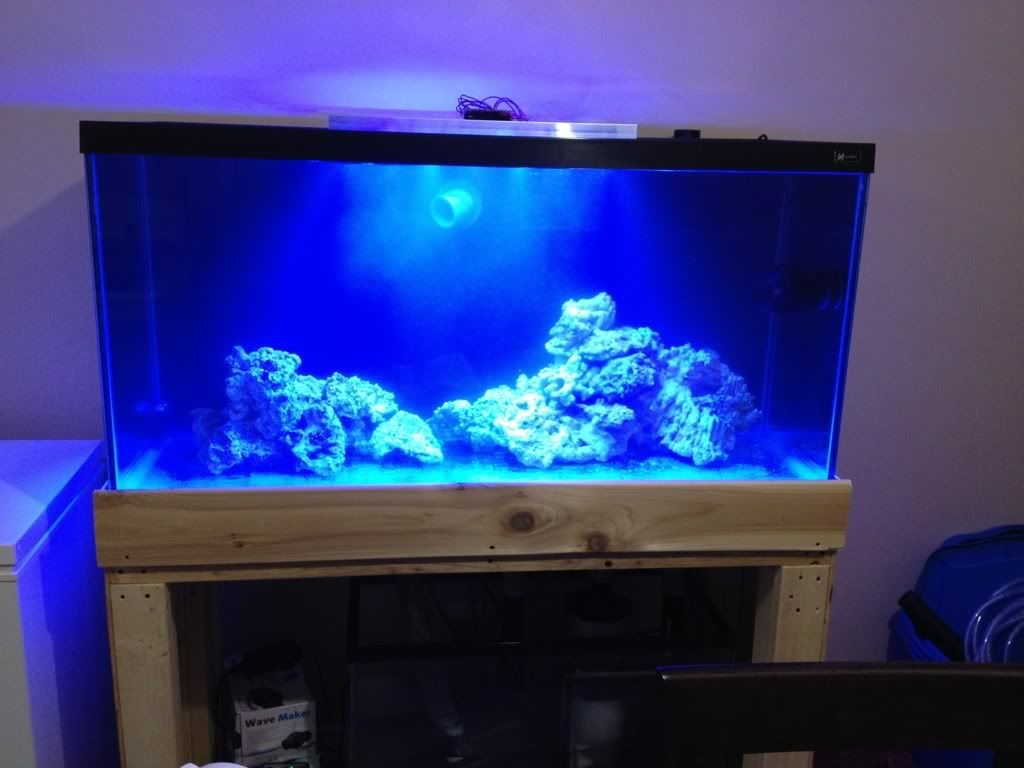
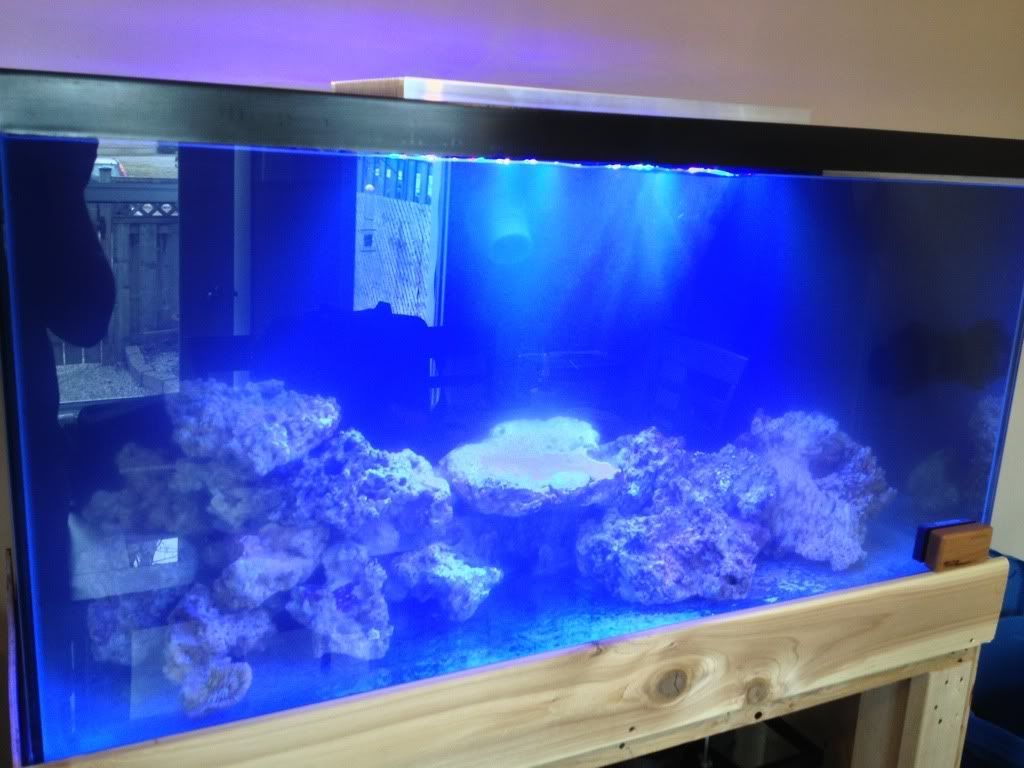
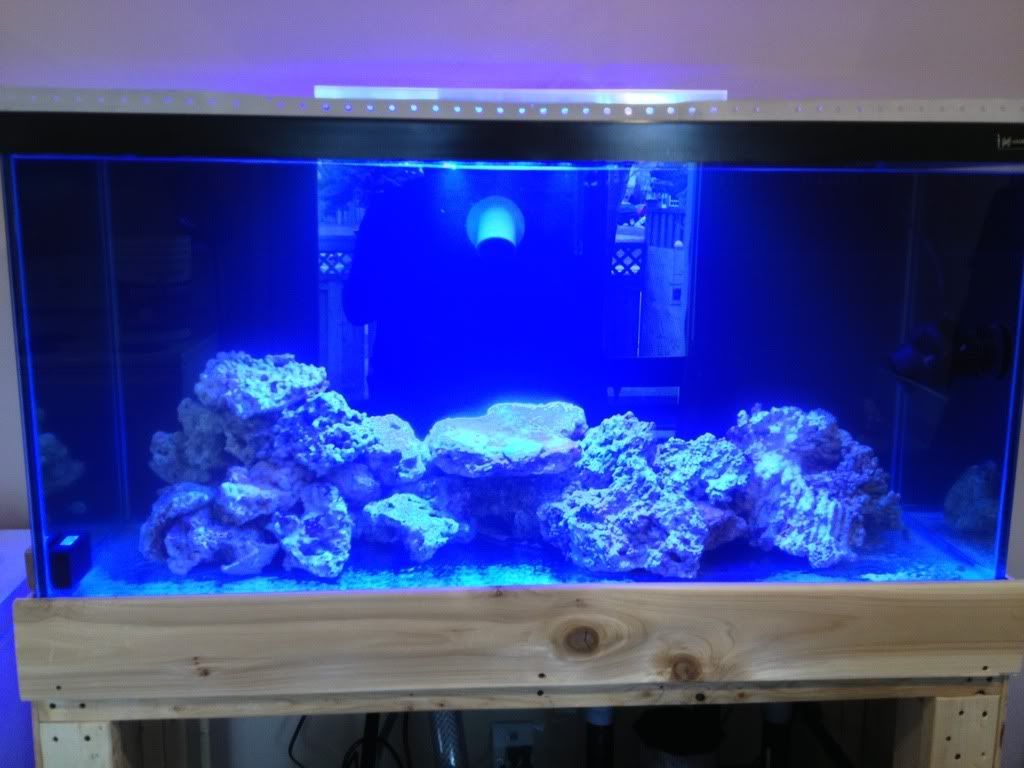
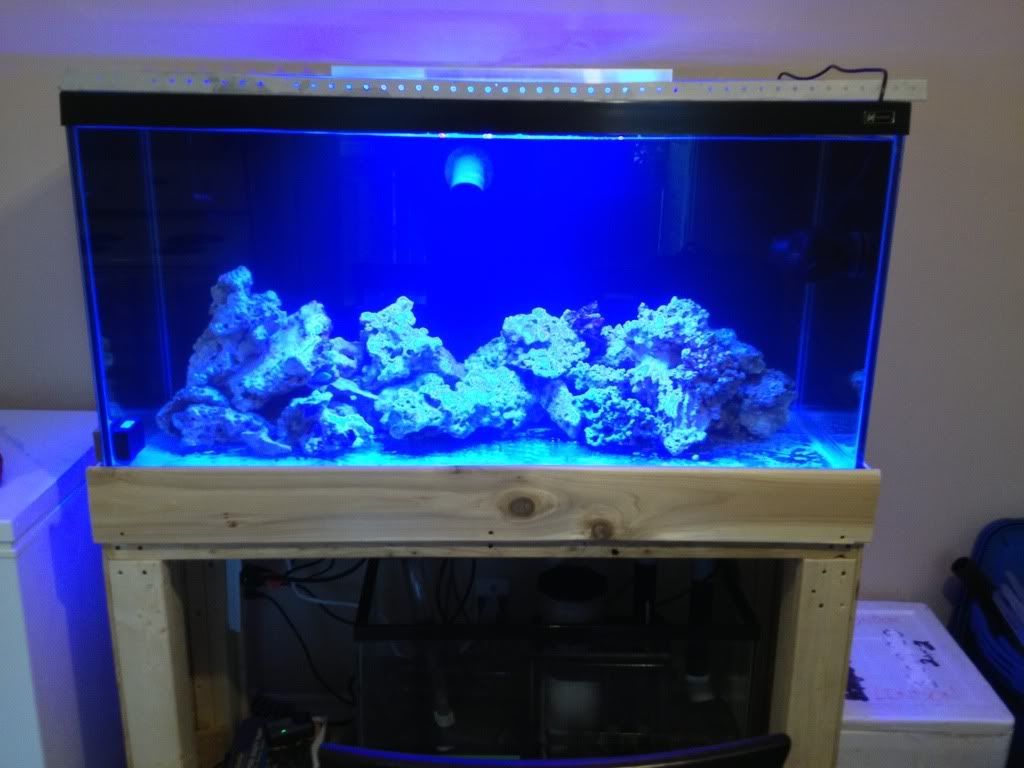
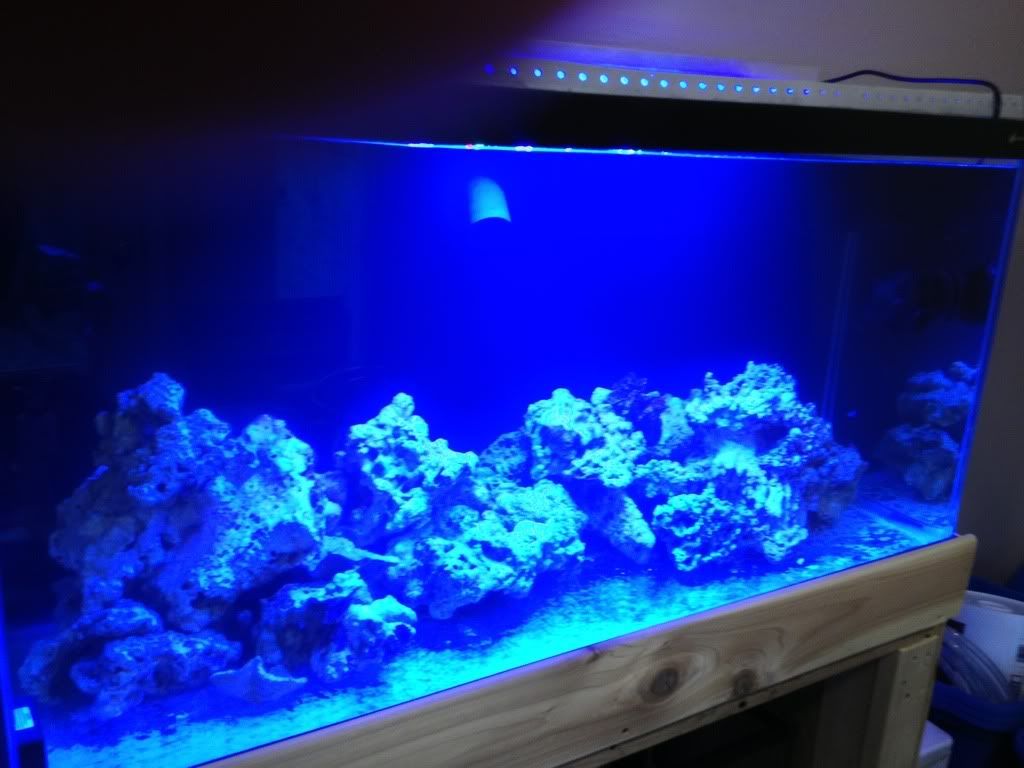
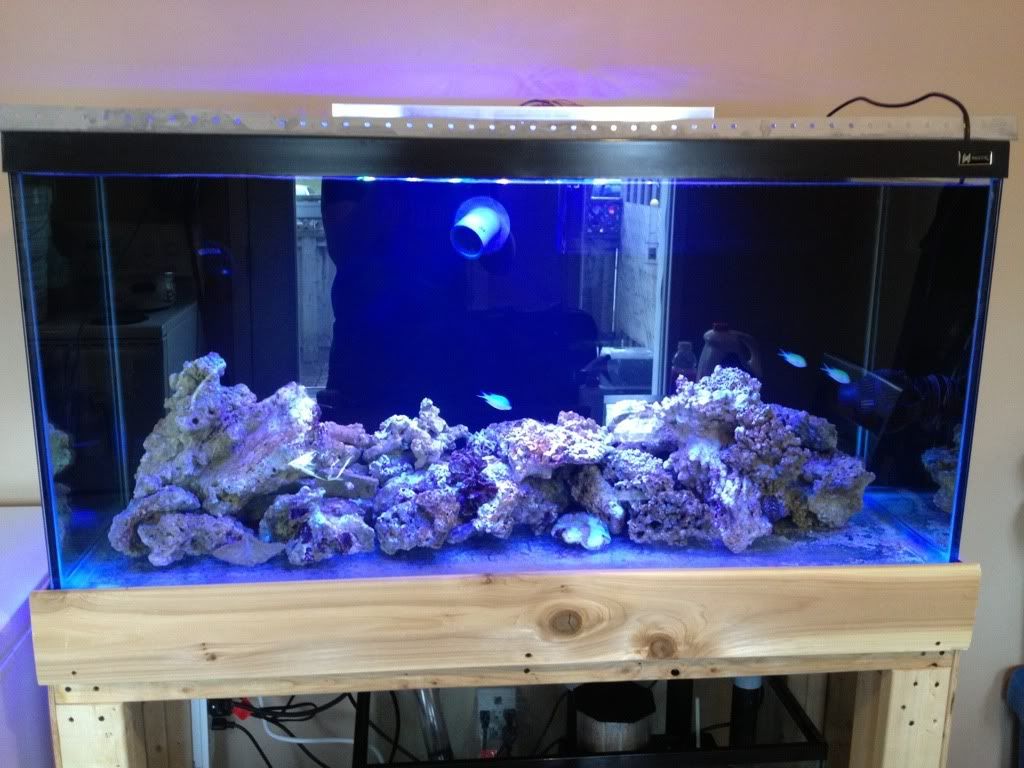
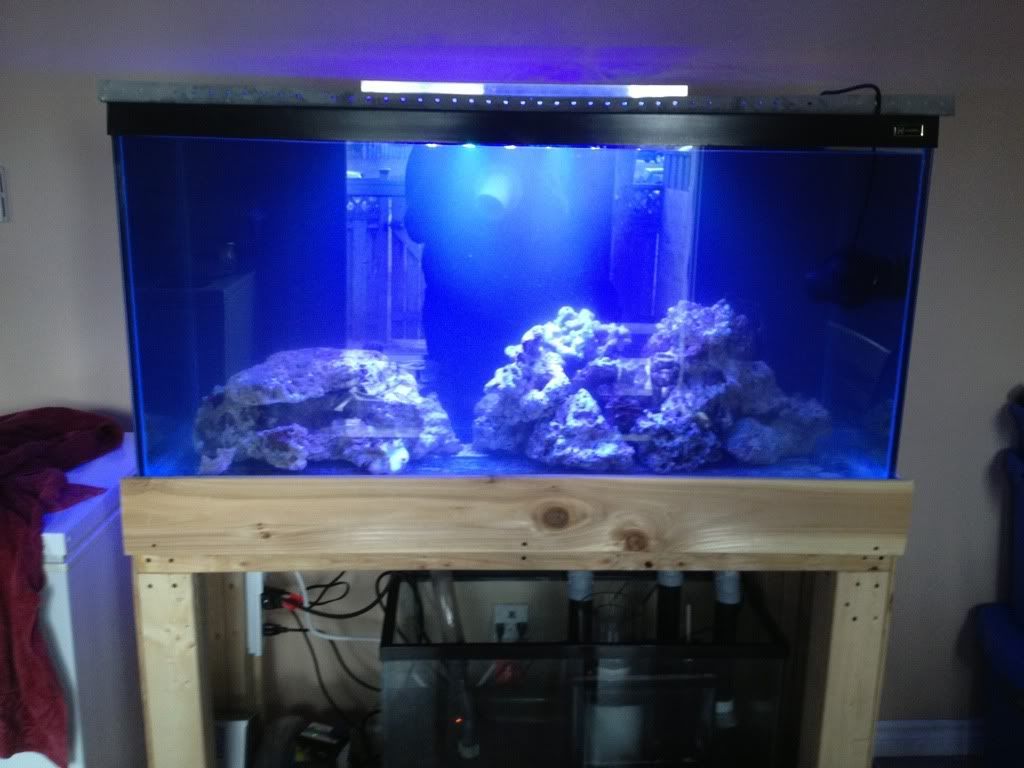
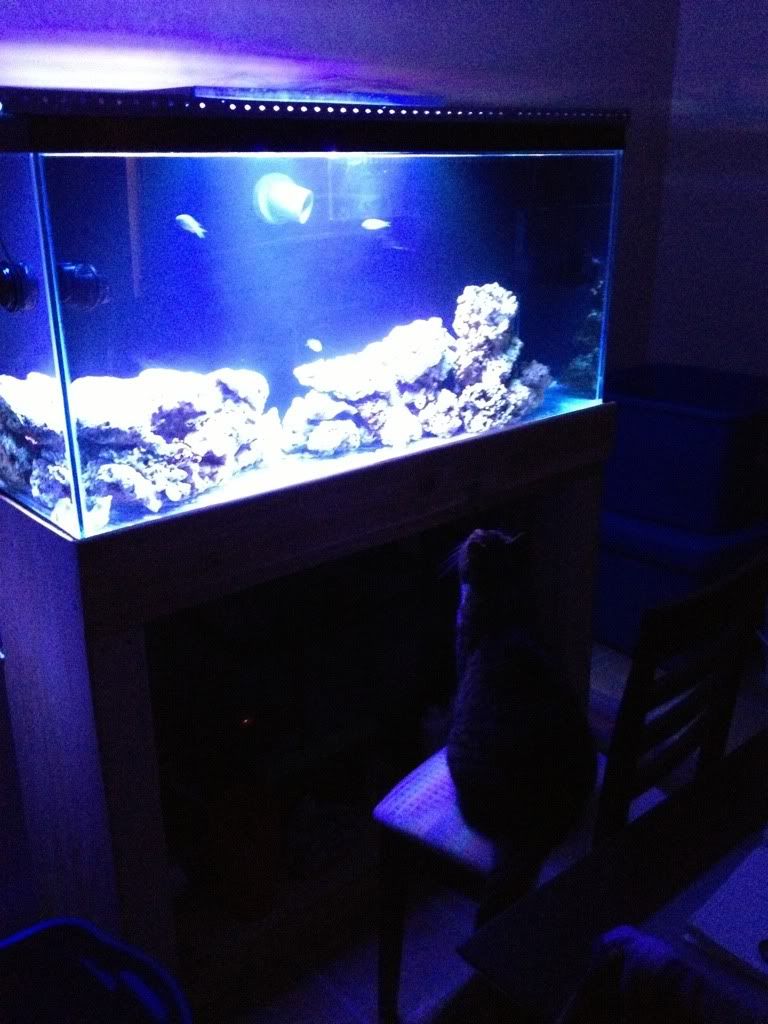
I started research and planning for my tank back around November, and started collecting the pieces in February. The tank is setup with the following, so far:
-1 20" LED light fixture sitting over the middle, with a second currently being wired up. They will sit centered above each half of the tank. Breakdown of emitters:
--19 Royal Blue / Neutral White Cree XTE 3-ups
--16 True Violets (mix of 405 peak nm and 430)
--11 Ocean Coral White (Red, Teal, Cyan)
--106 total LED point sources
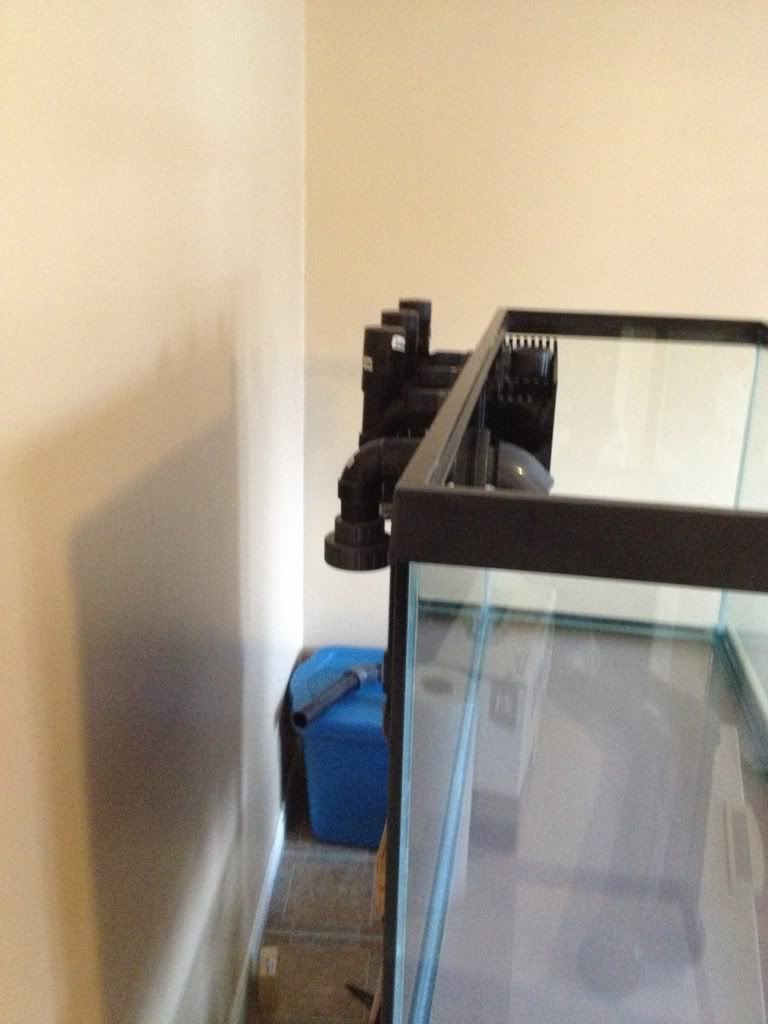
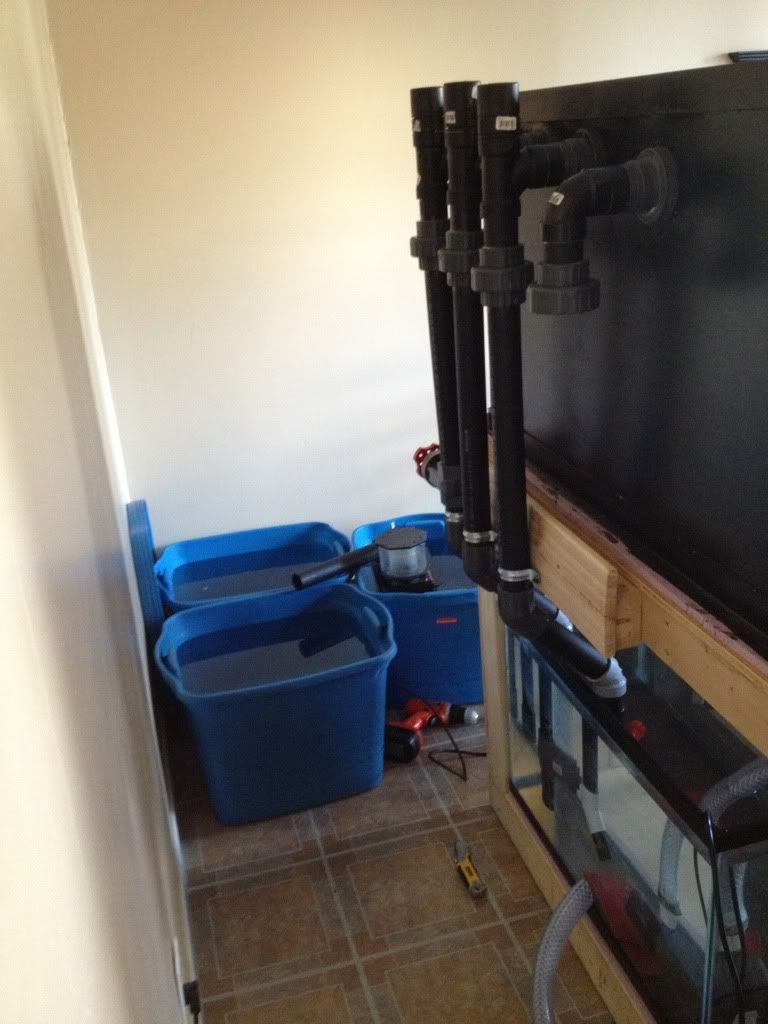
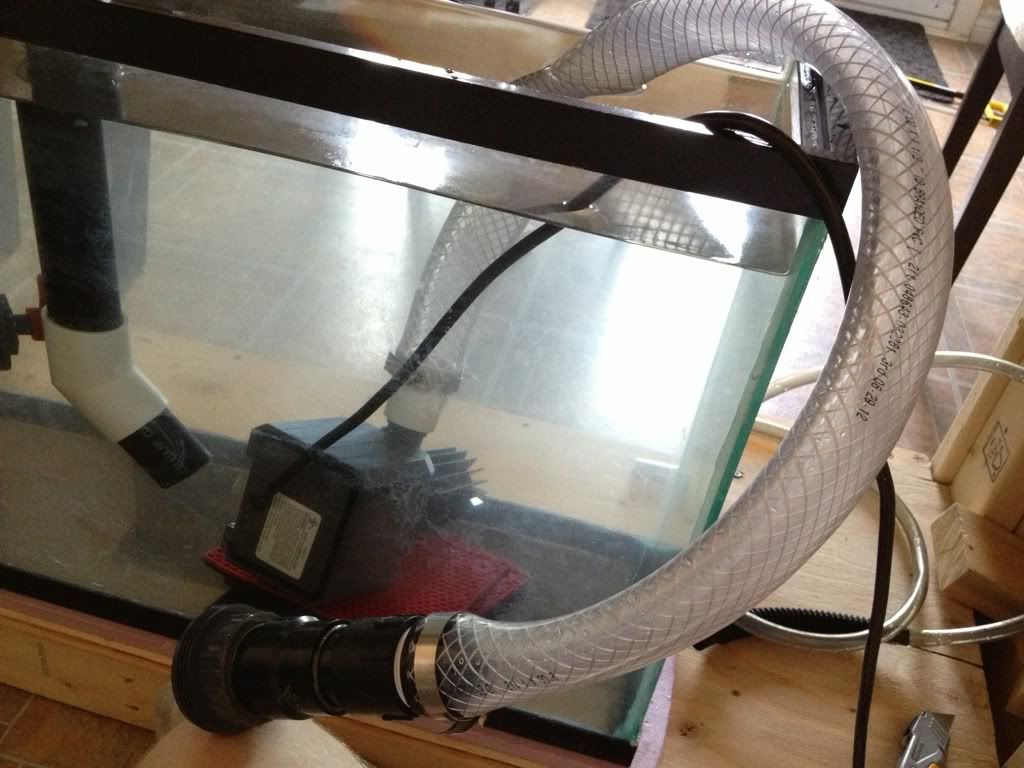
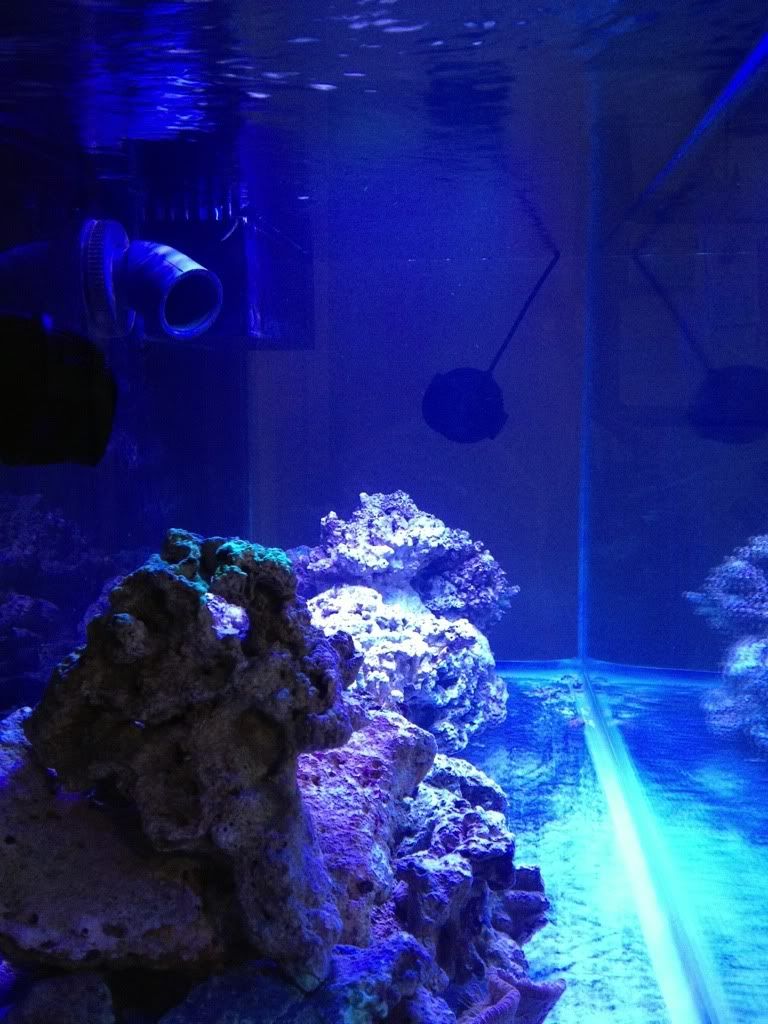
-Flow: Magdrive 18 return, 1 Jebao WP-40, 1 Koralia 1150
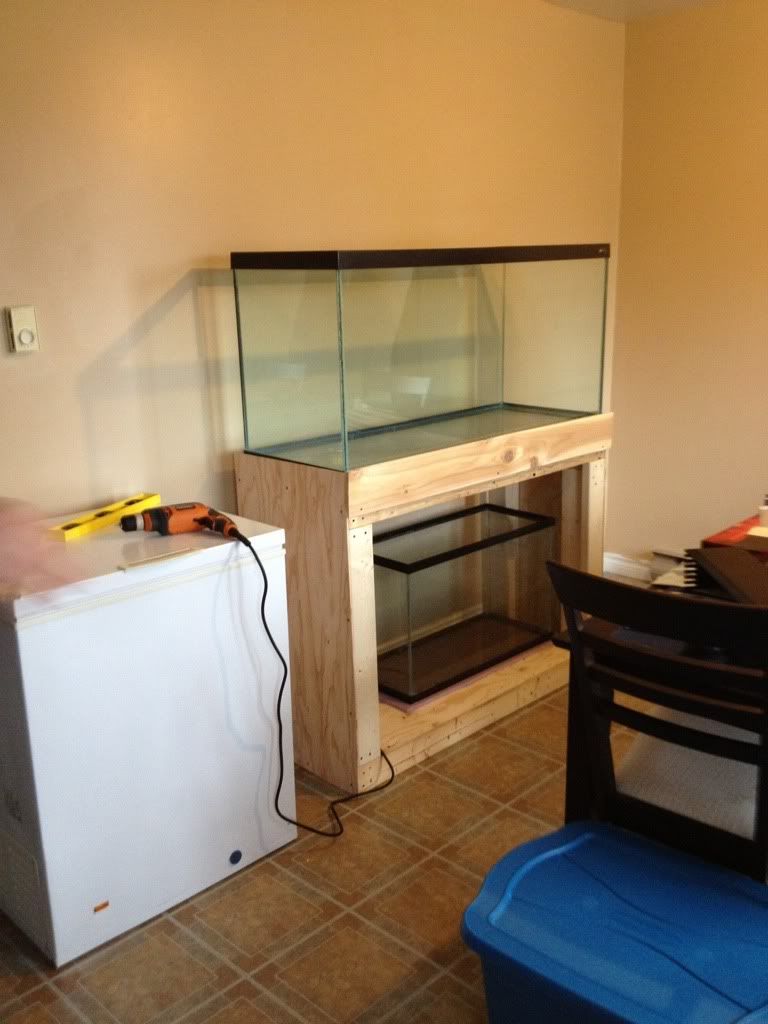
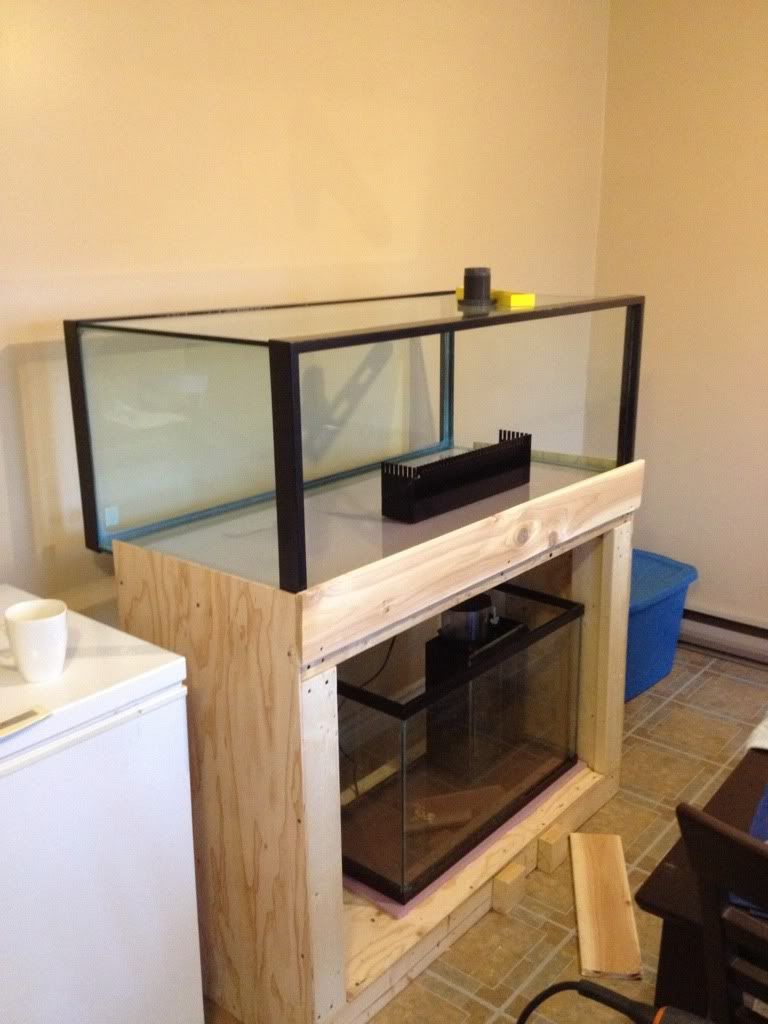
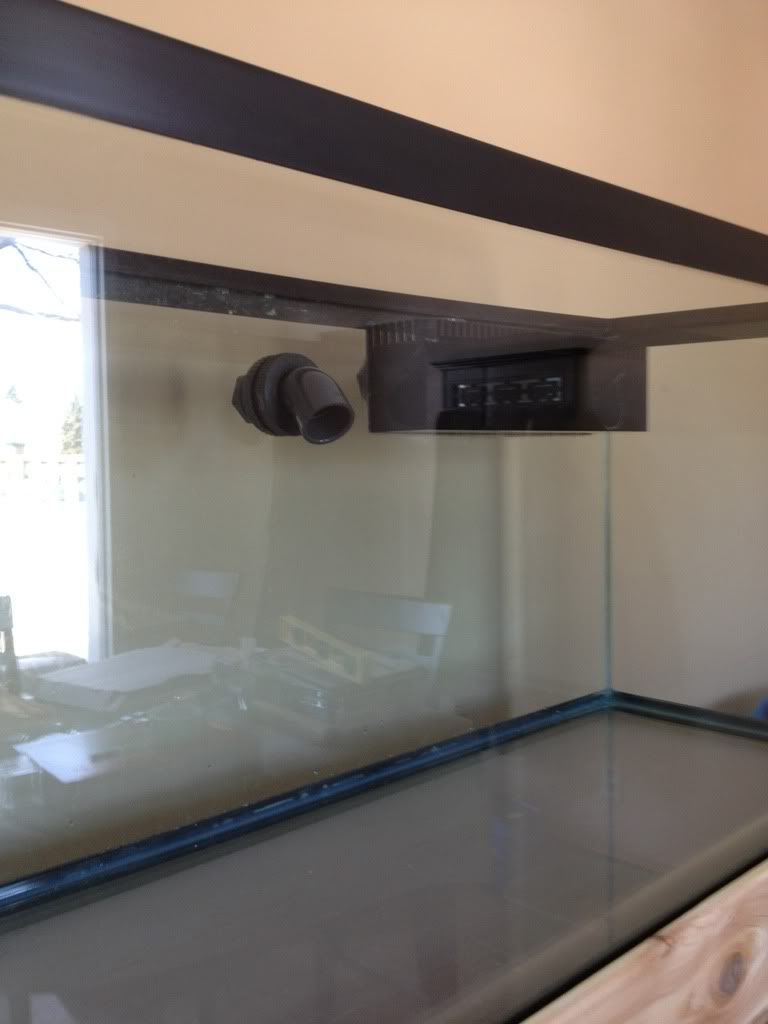
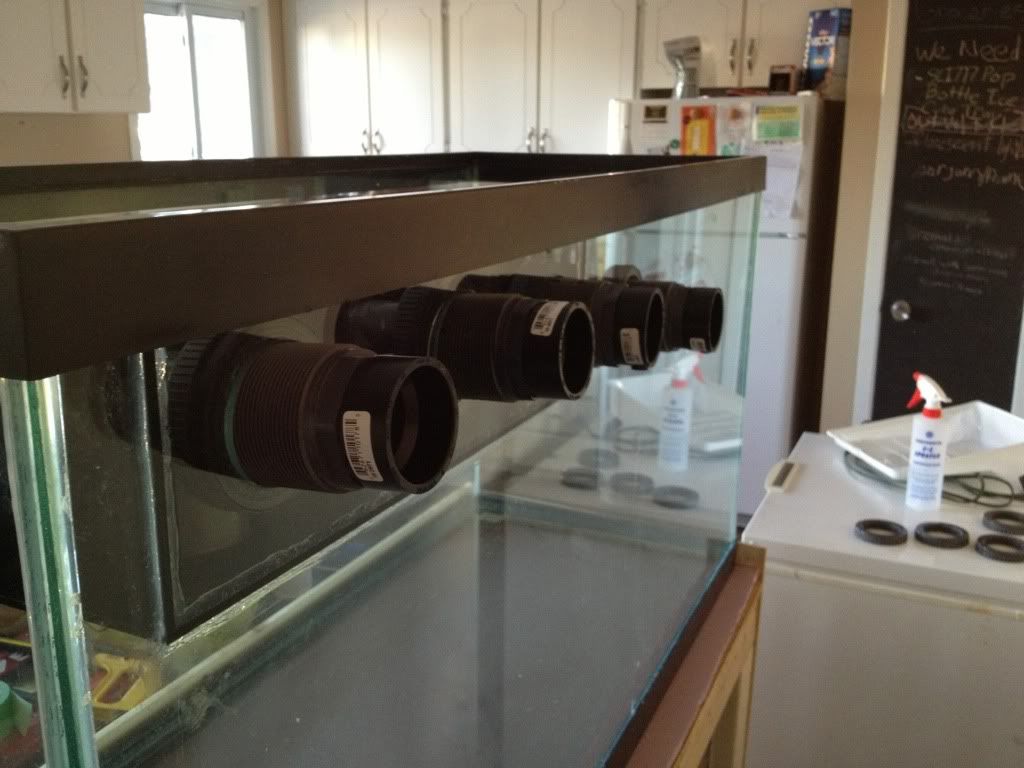
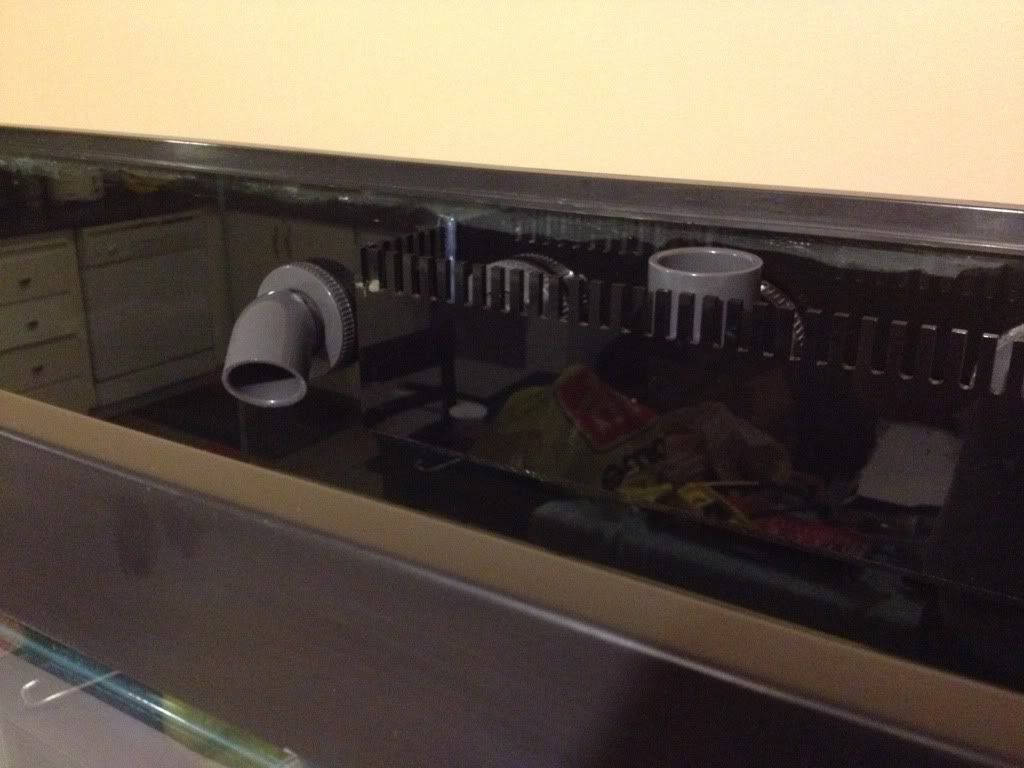
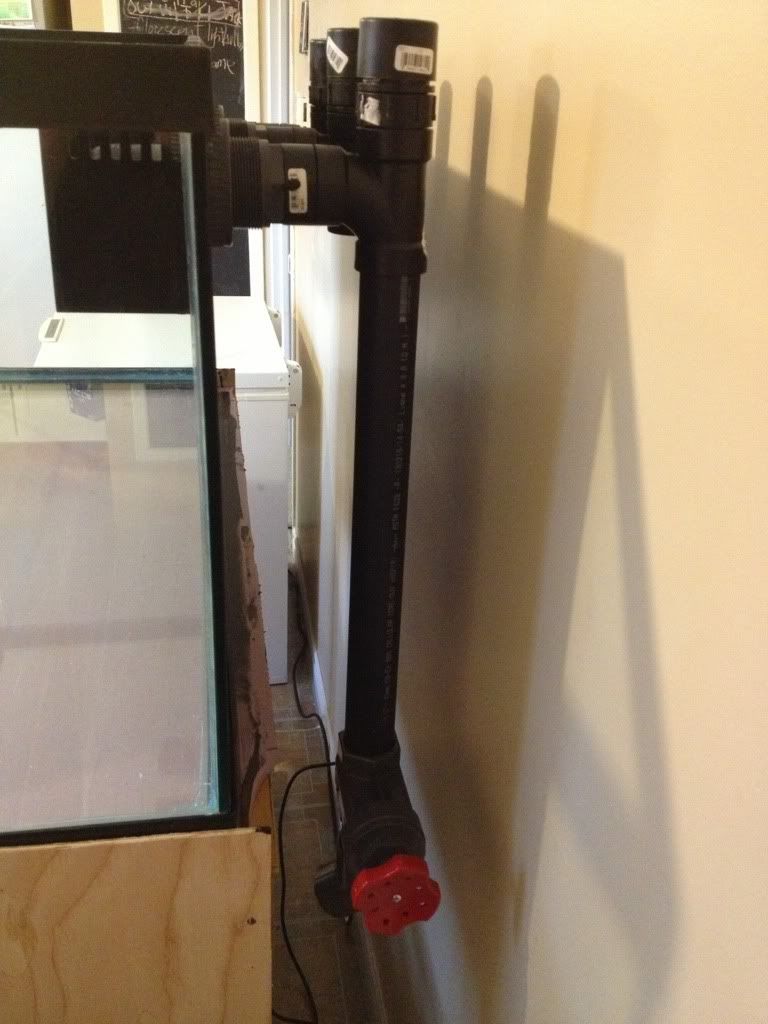
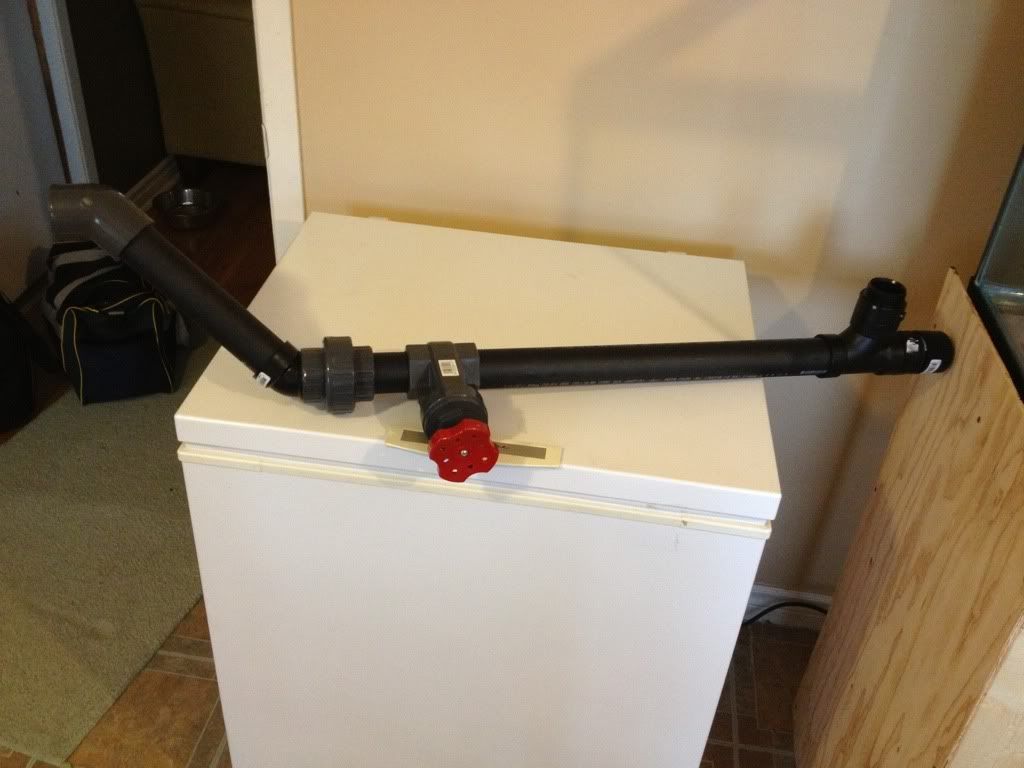
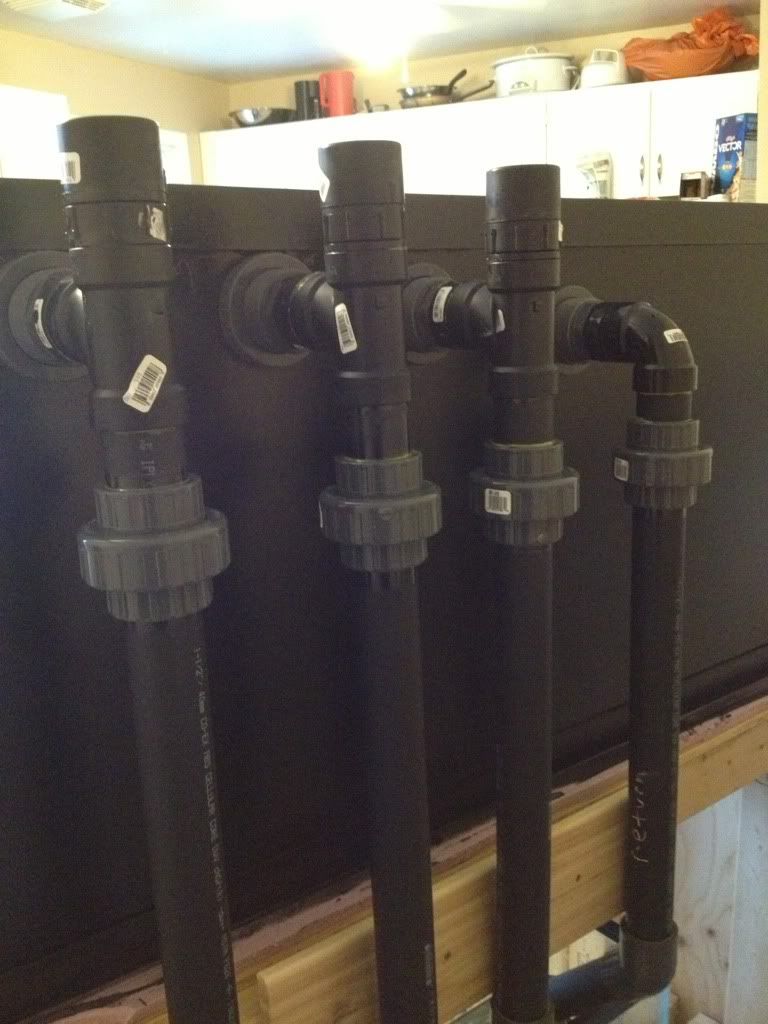
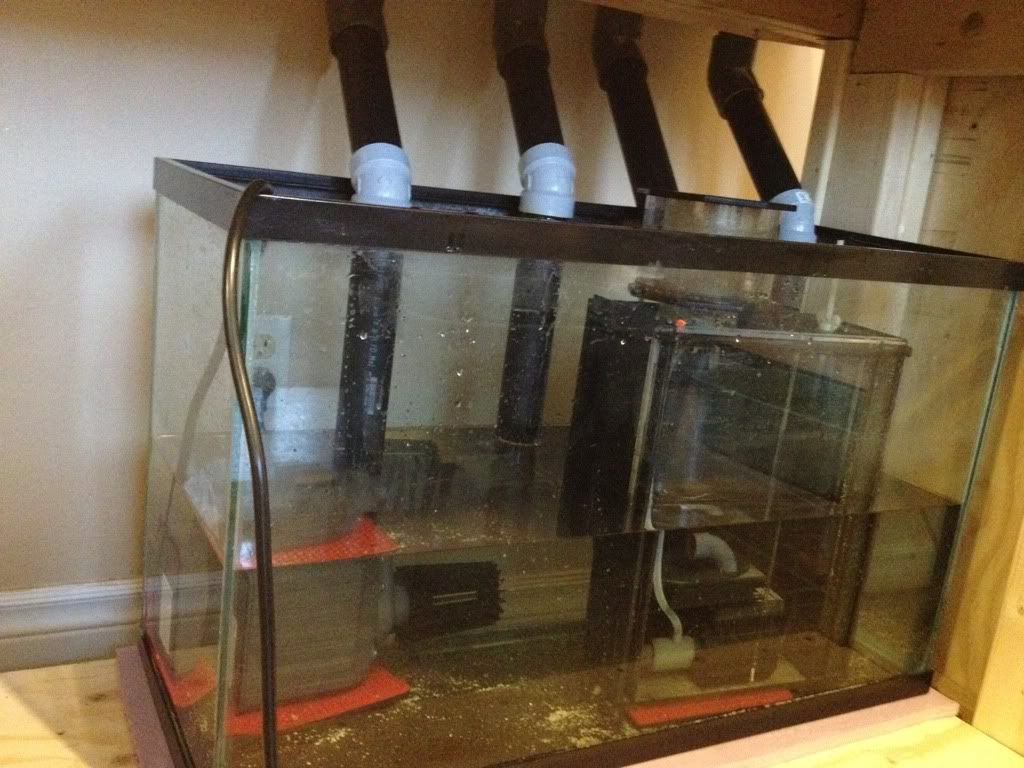
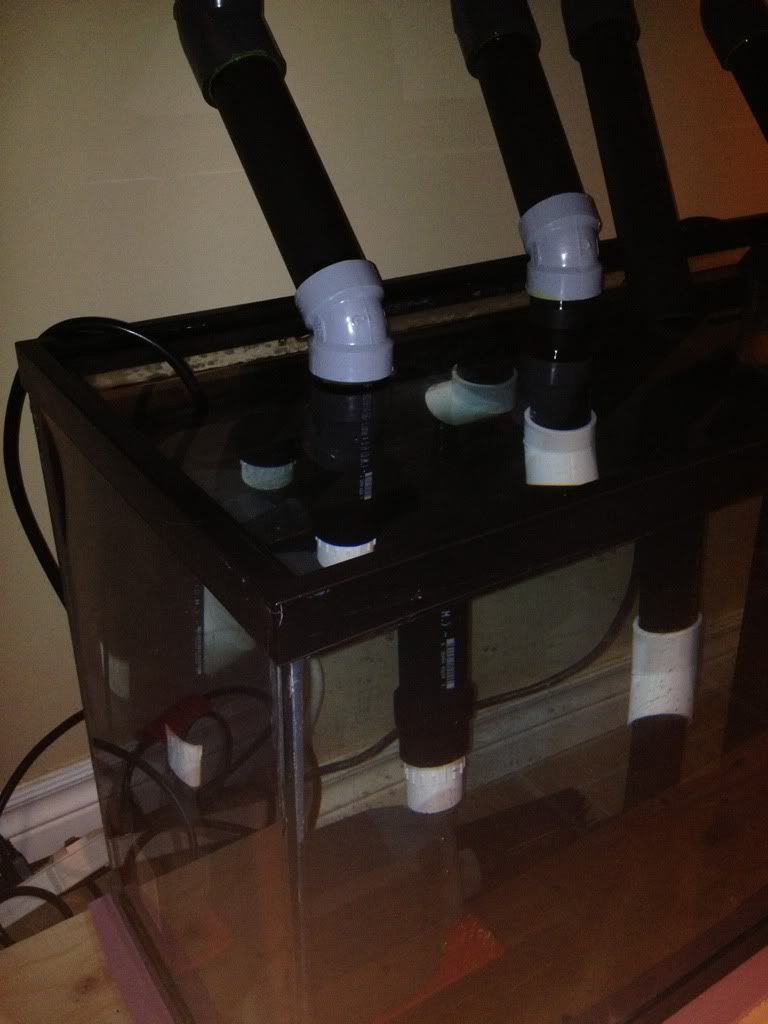
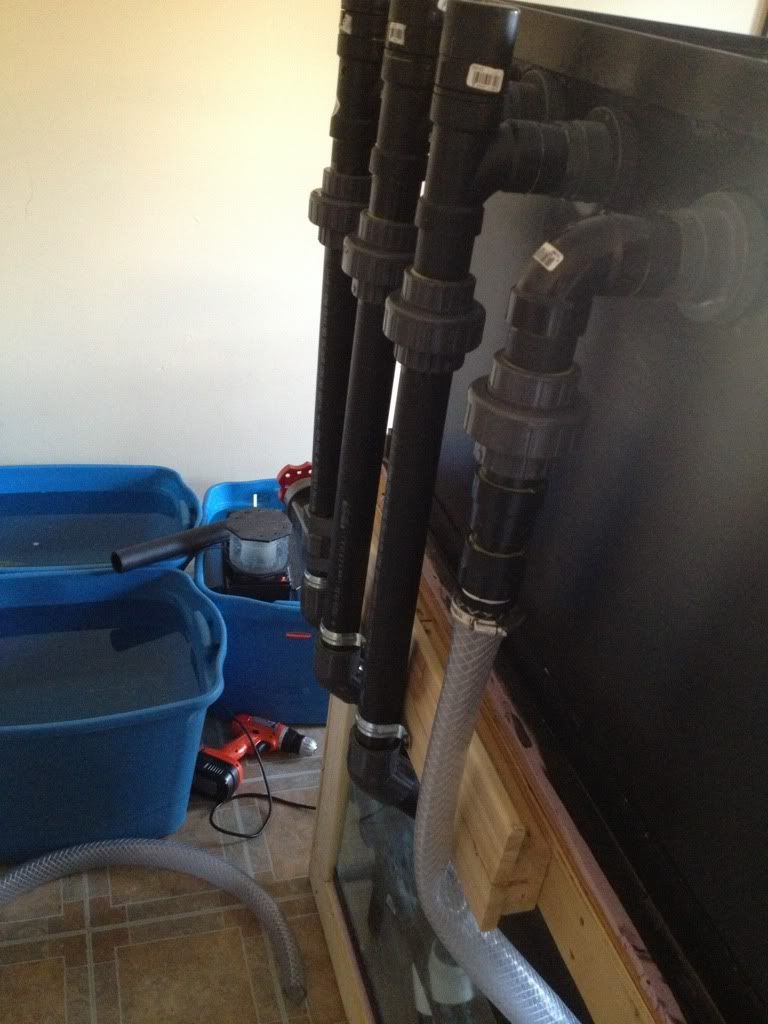
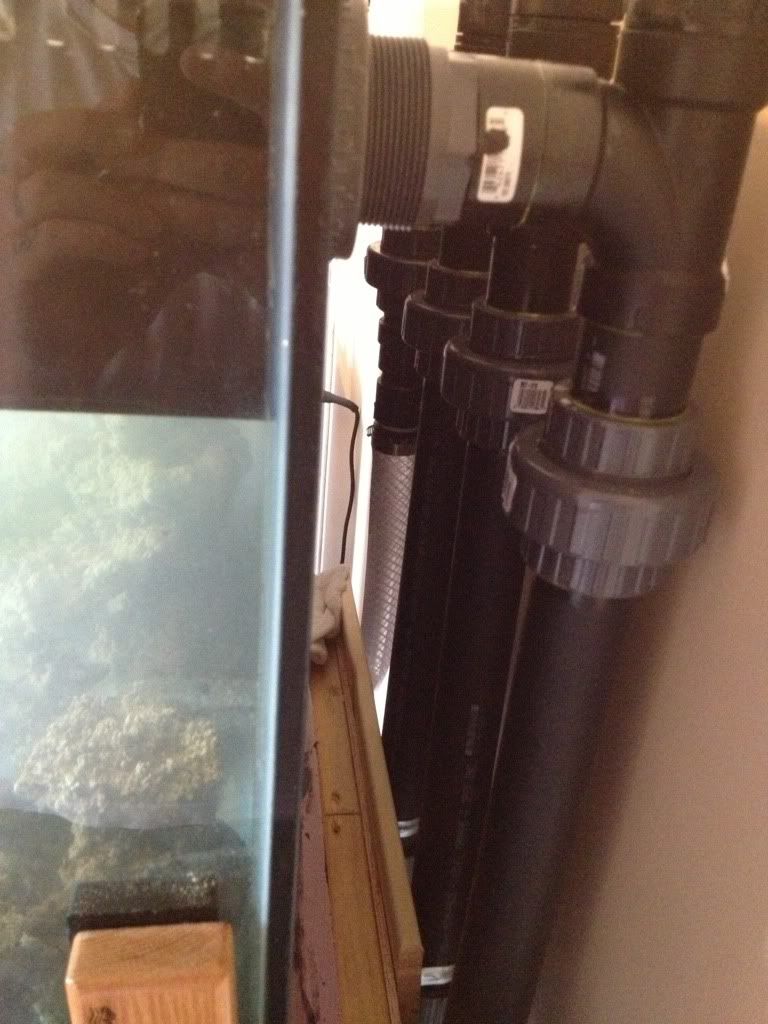
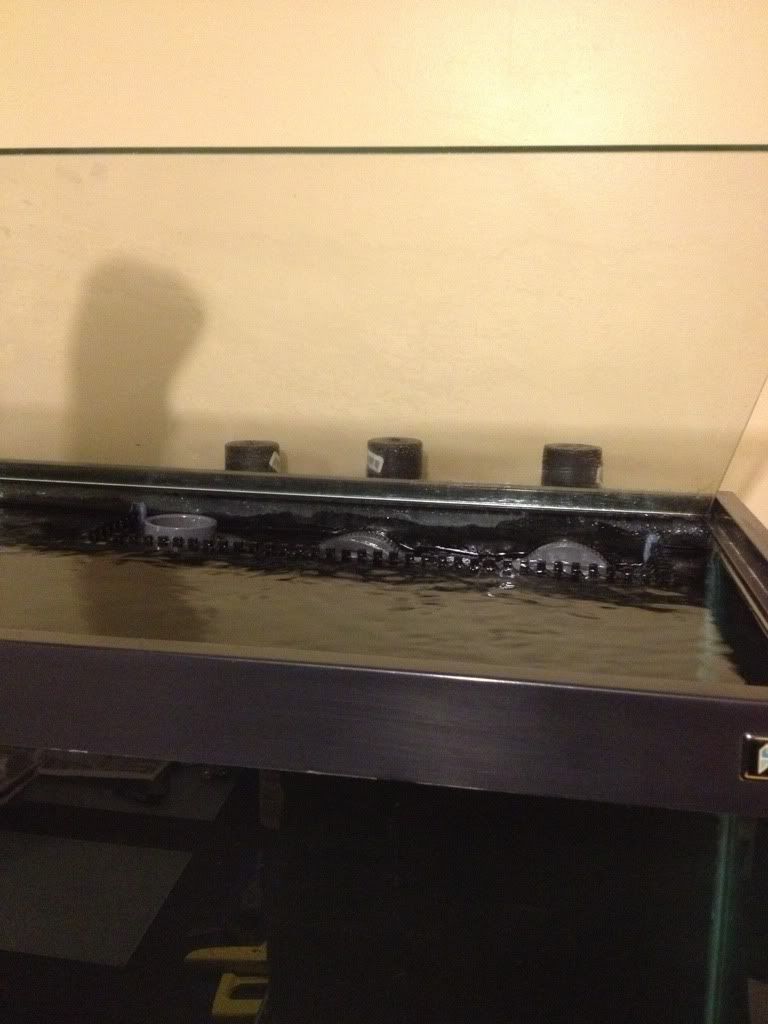
--Drilled tank for a beananimal overflow and installed the BRS 2400 GPH overflow box
-Skimmer: Deltec TS-1250
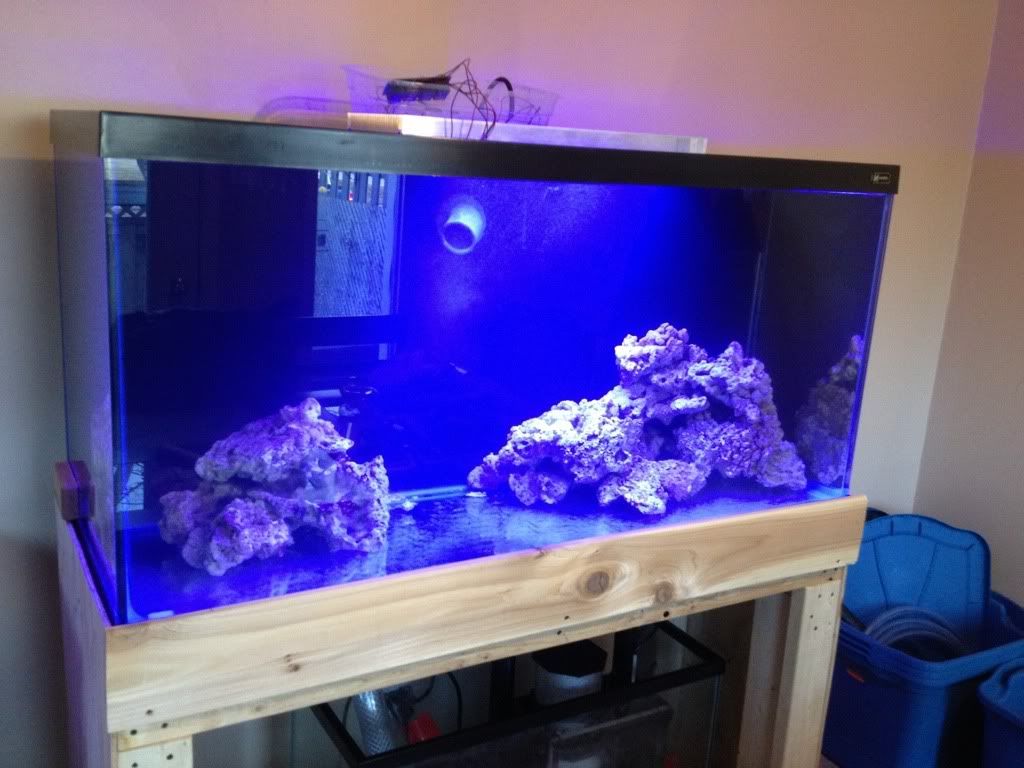
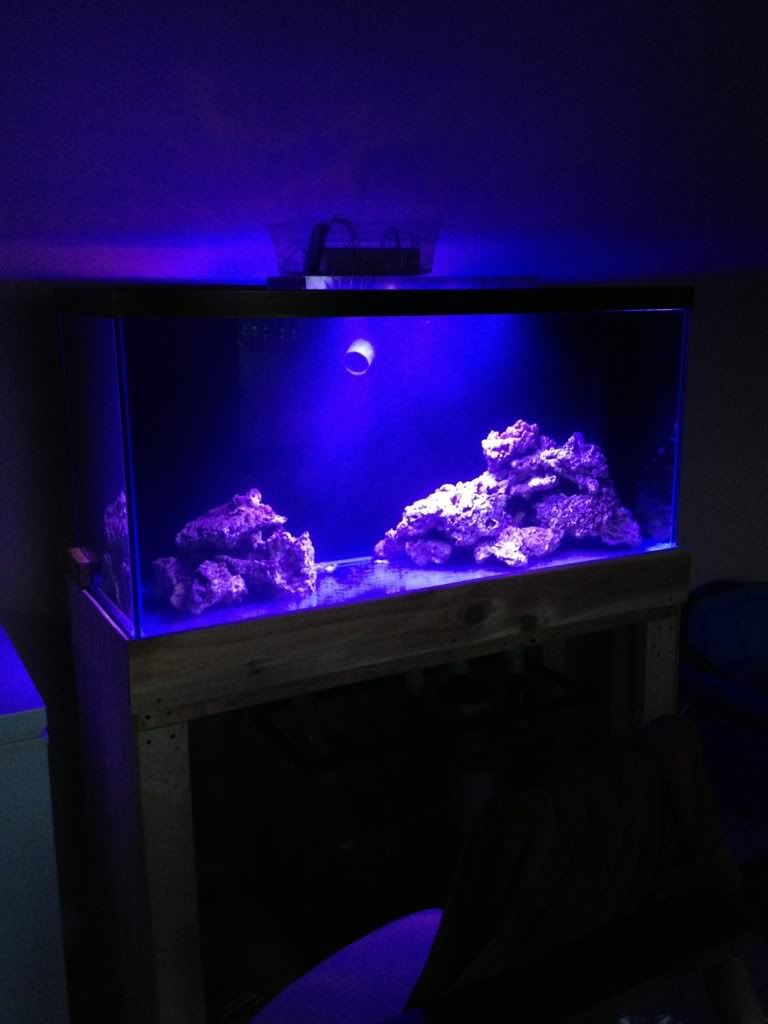
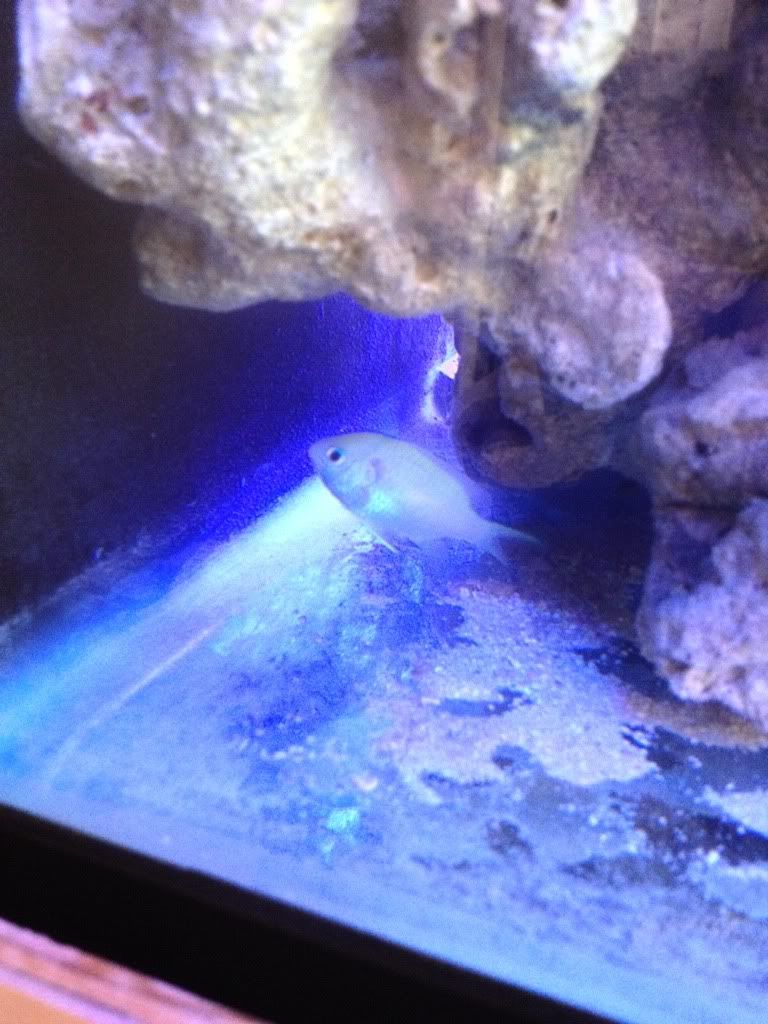
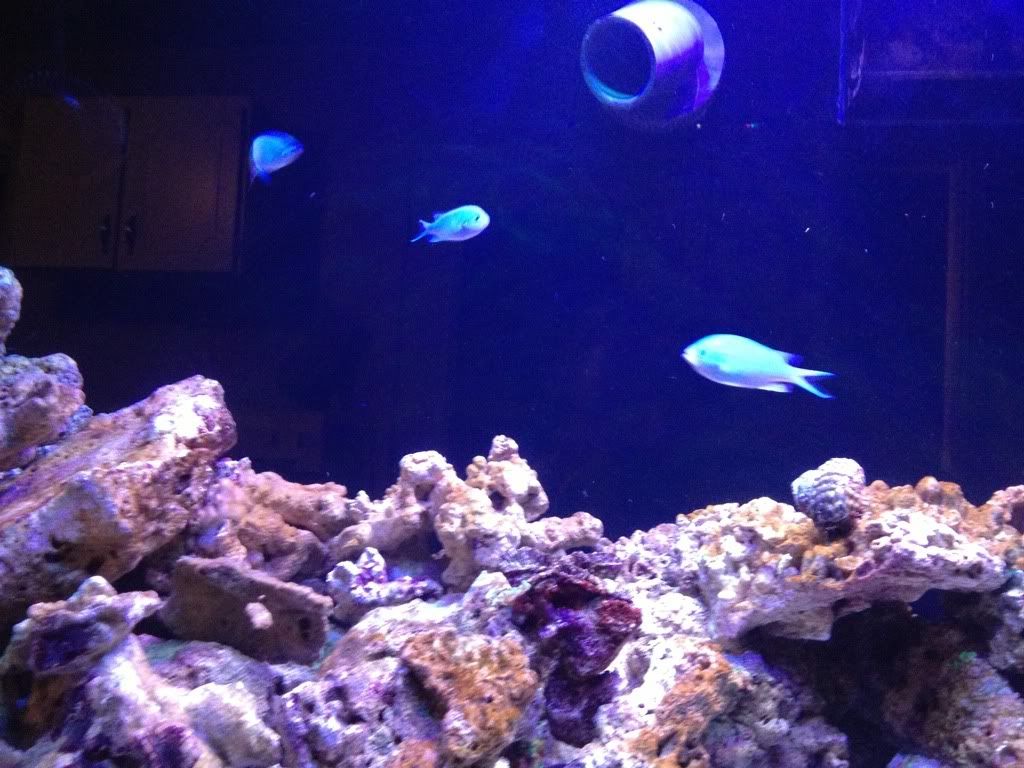
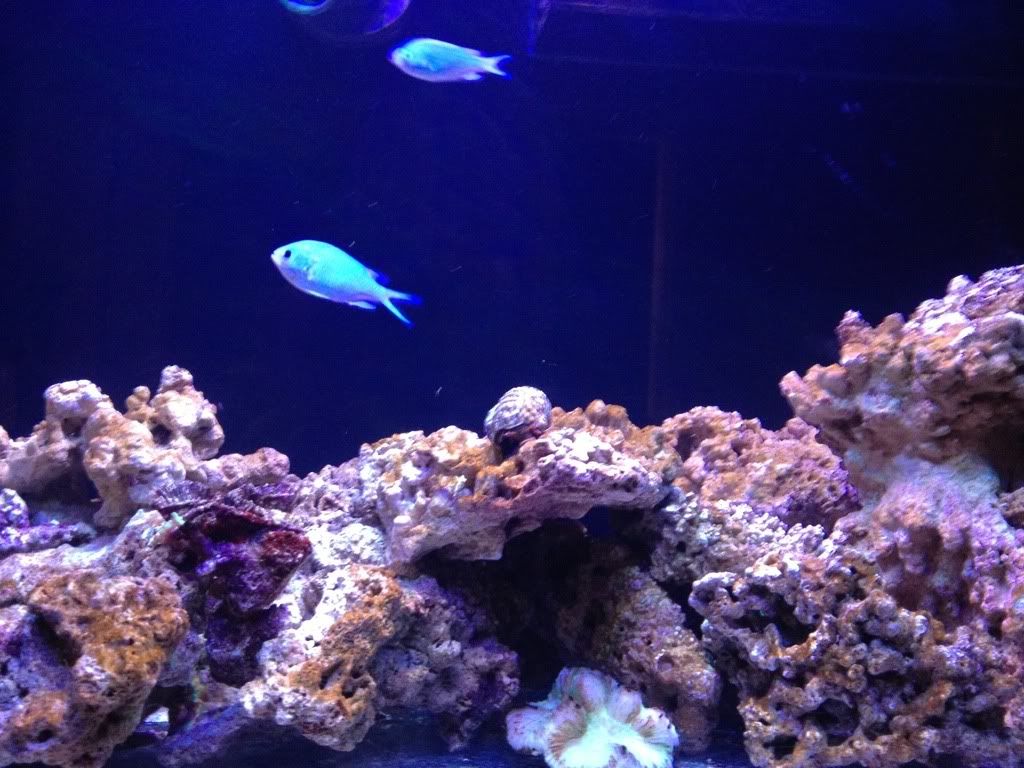
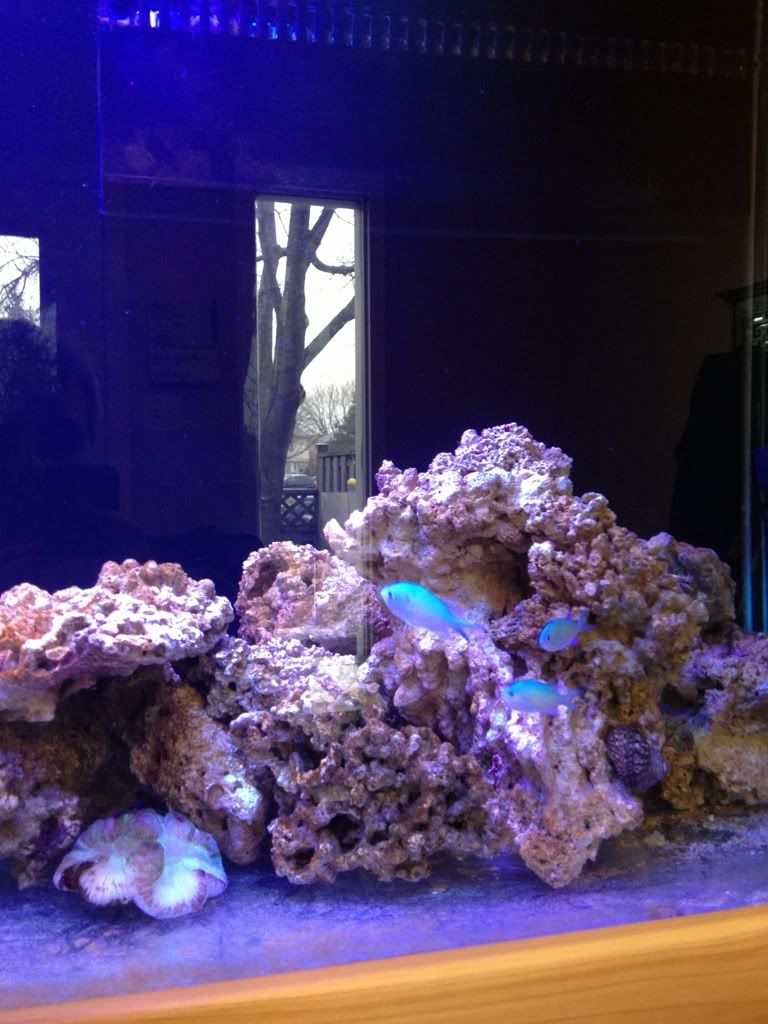
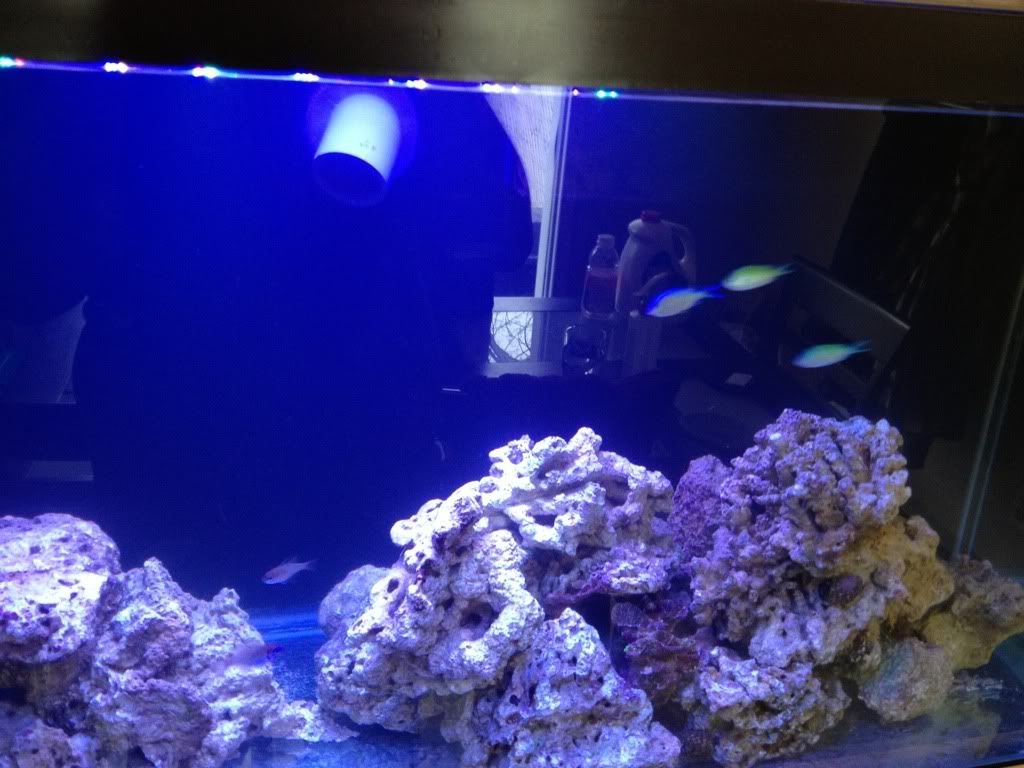
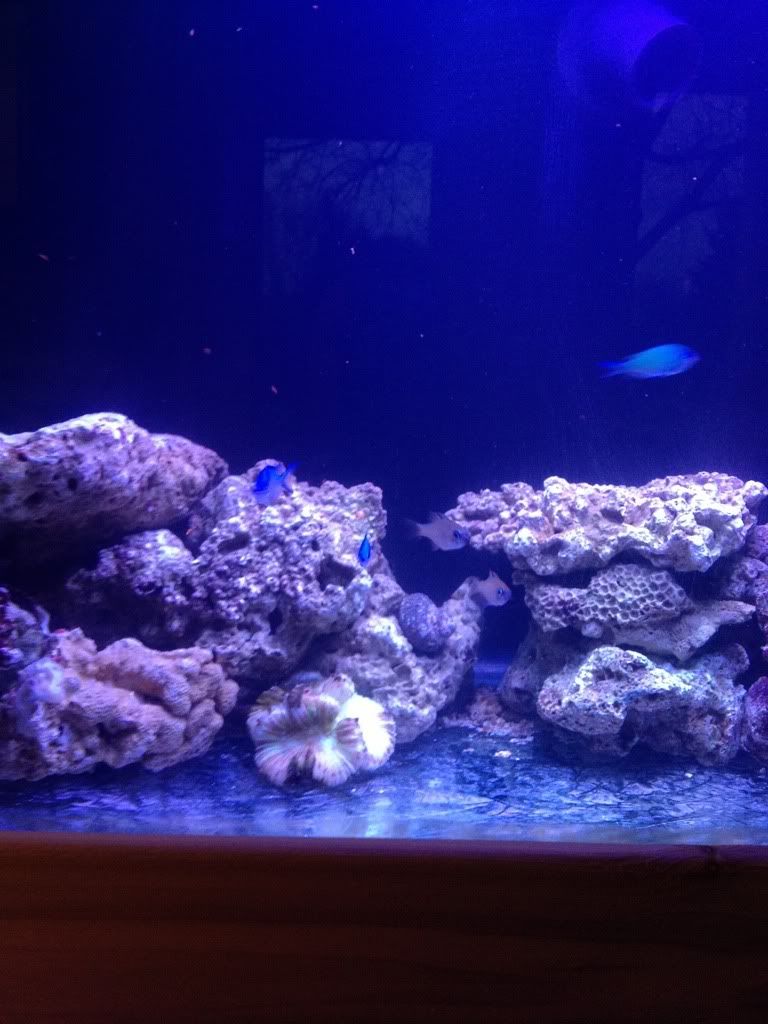
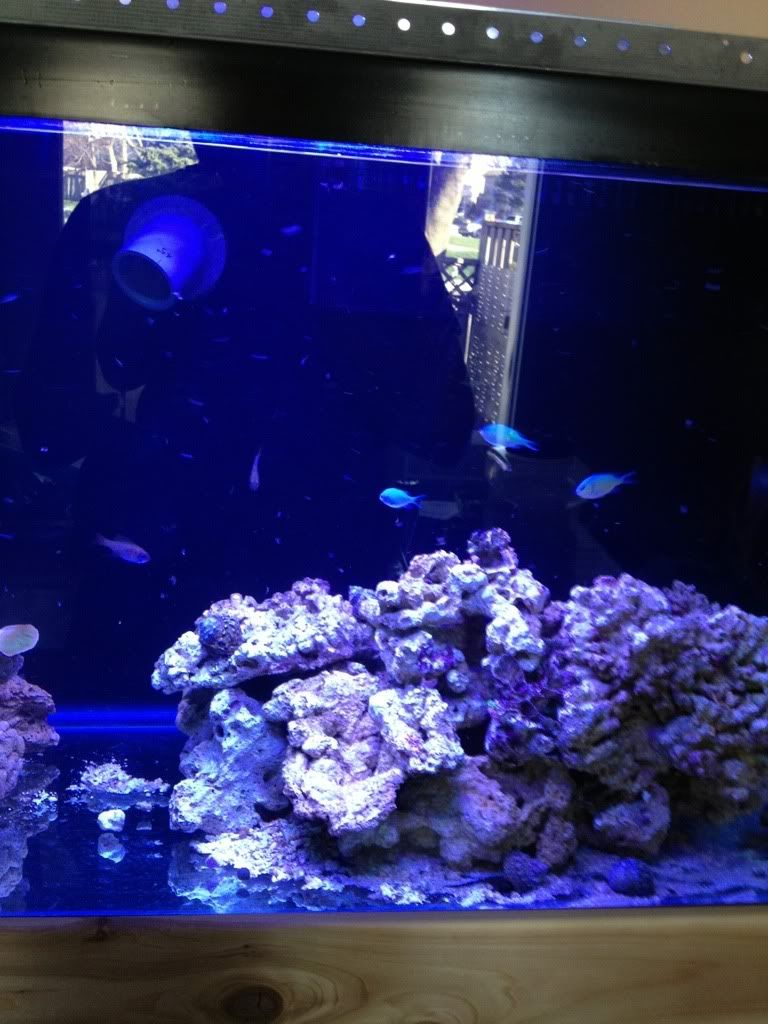
Livestock:
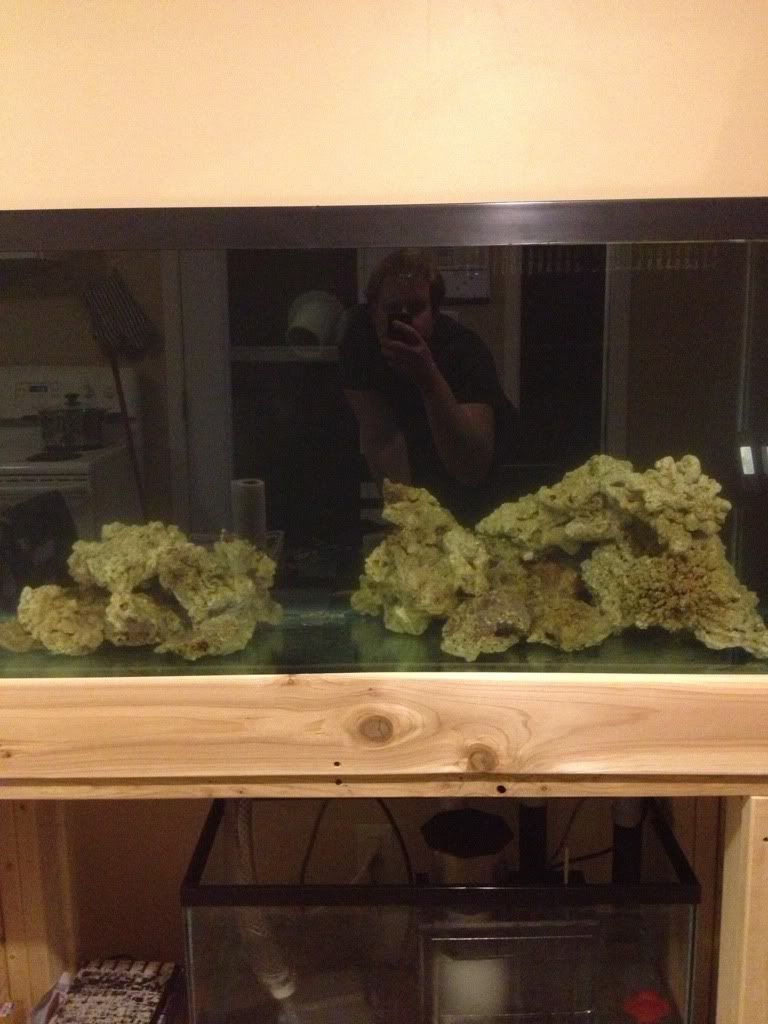
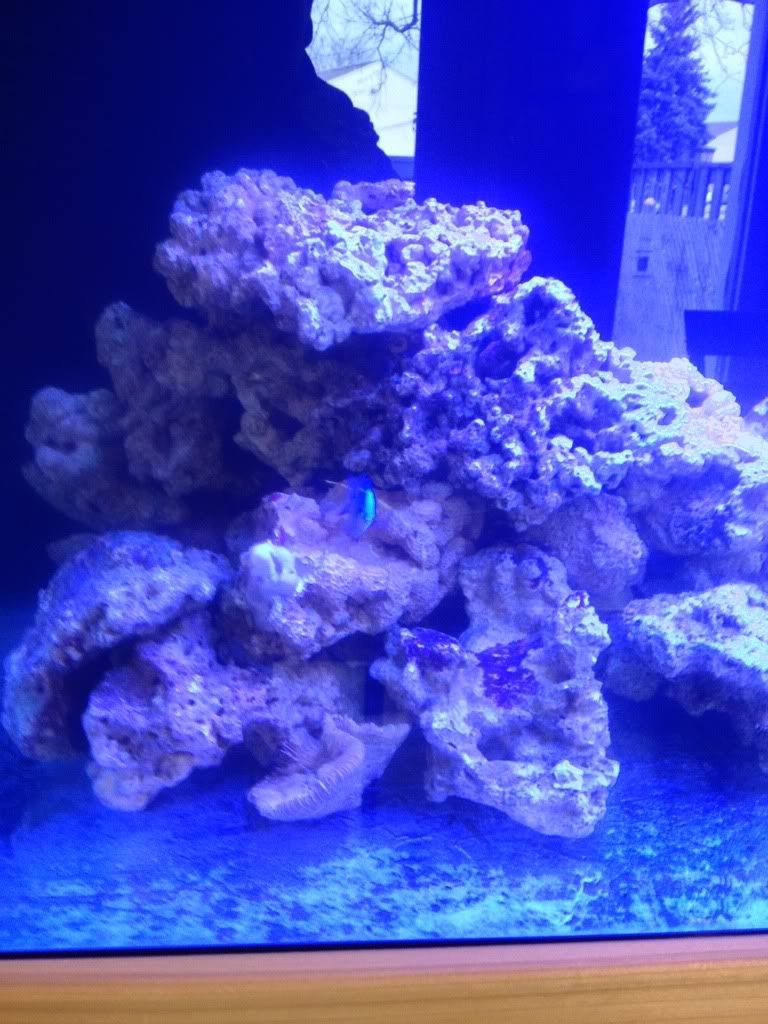
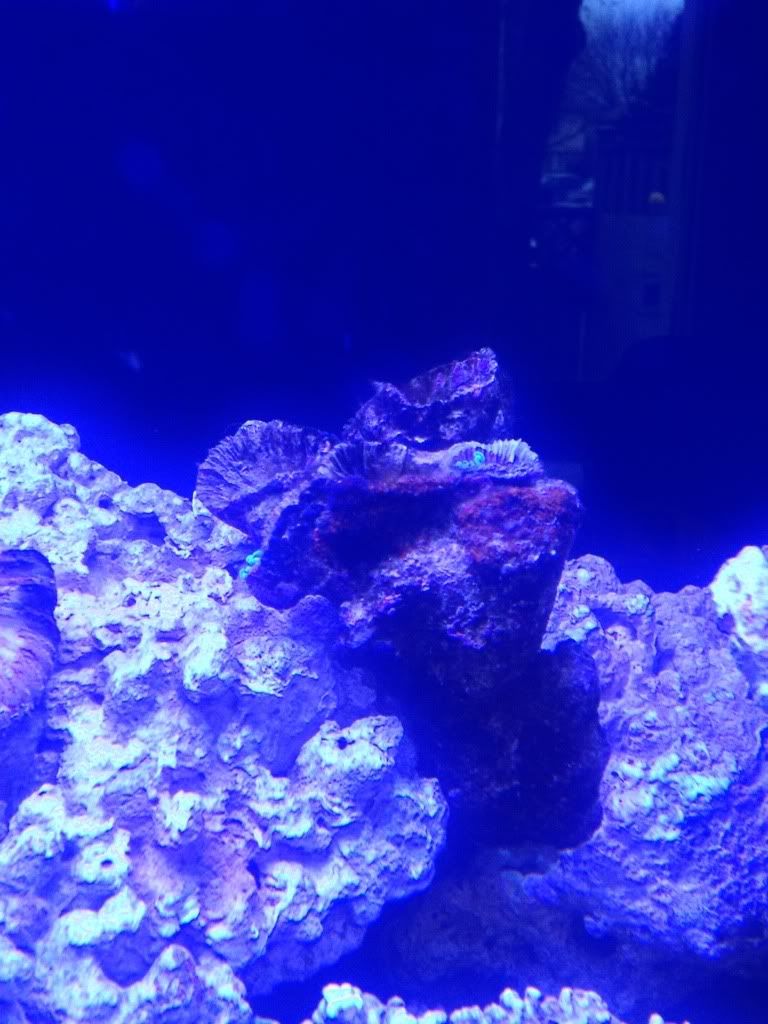
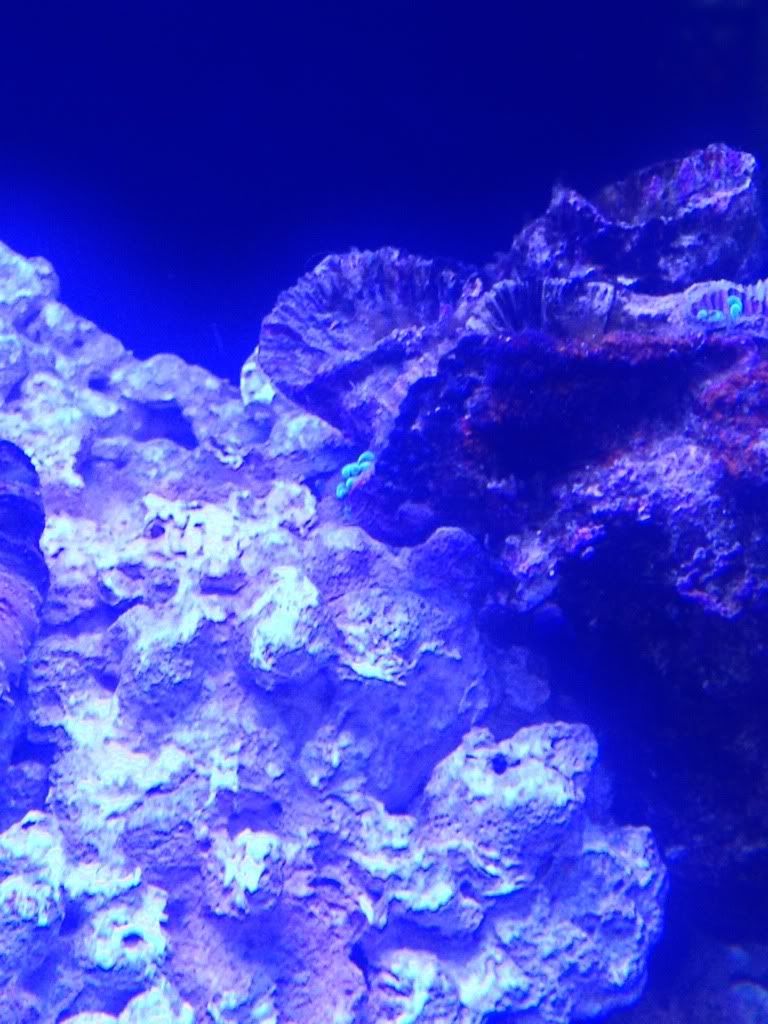
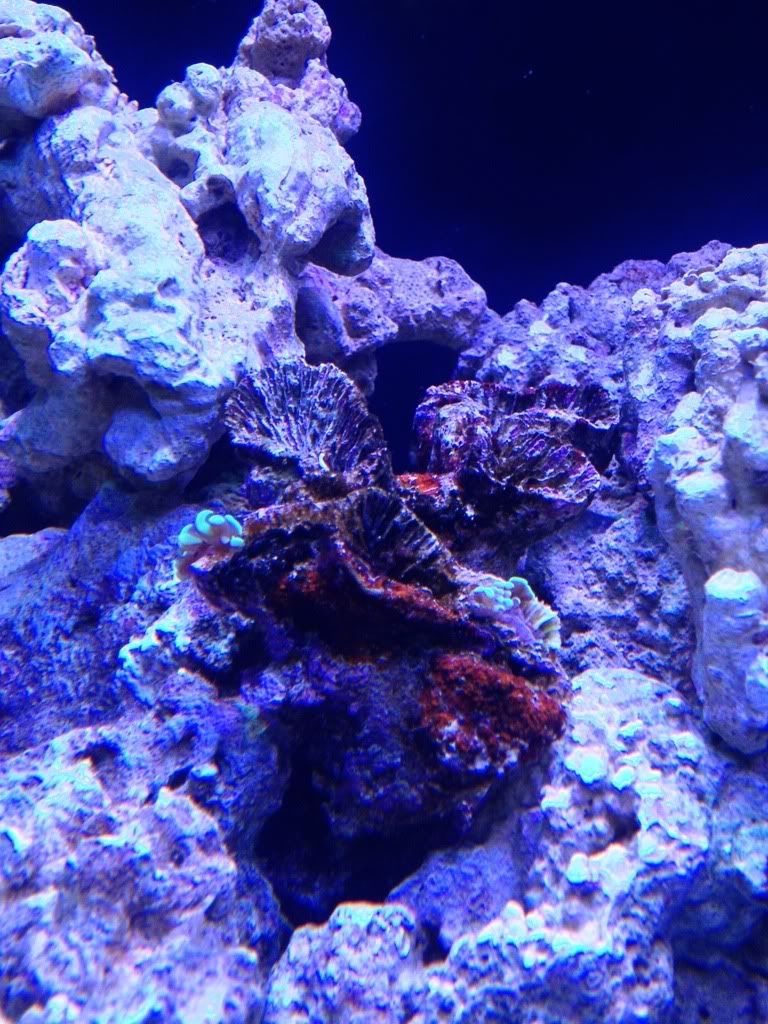
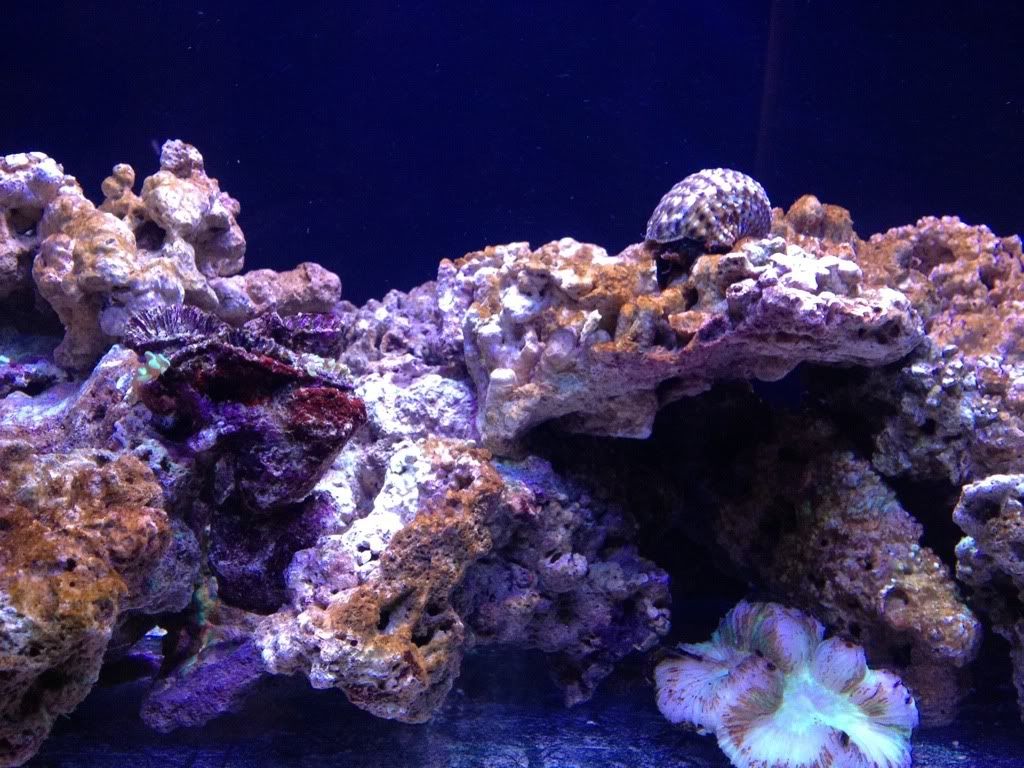
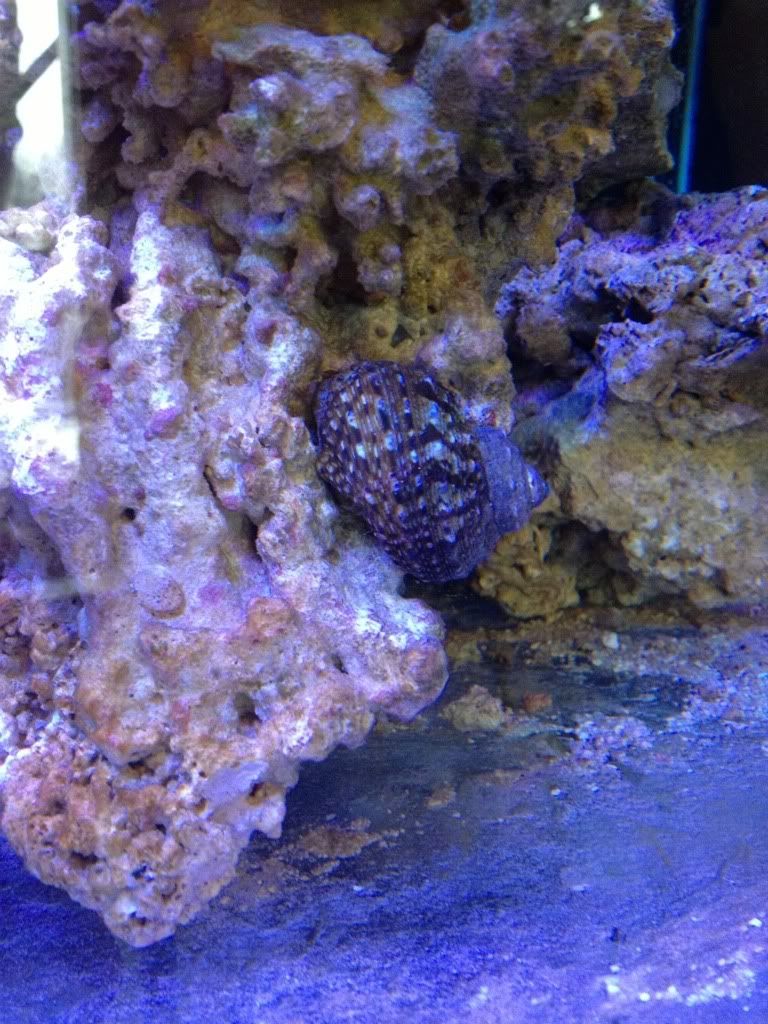
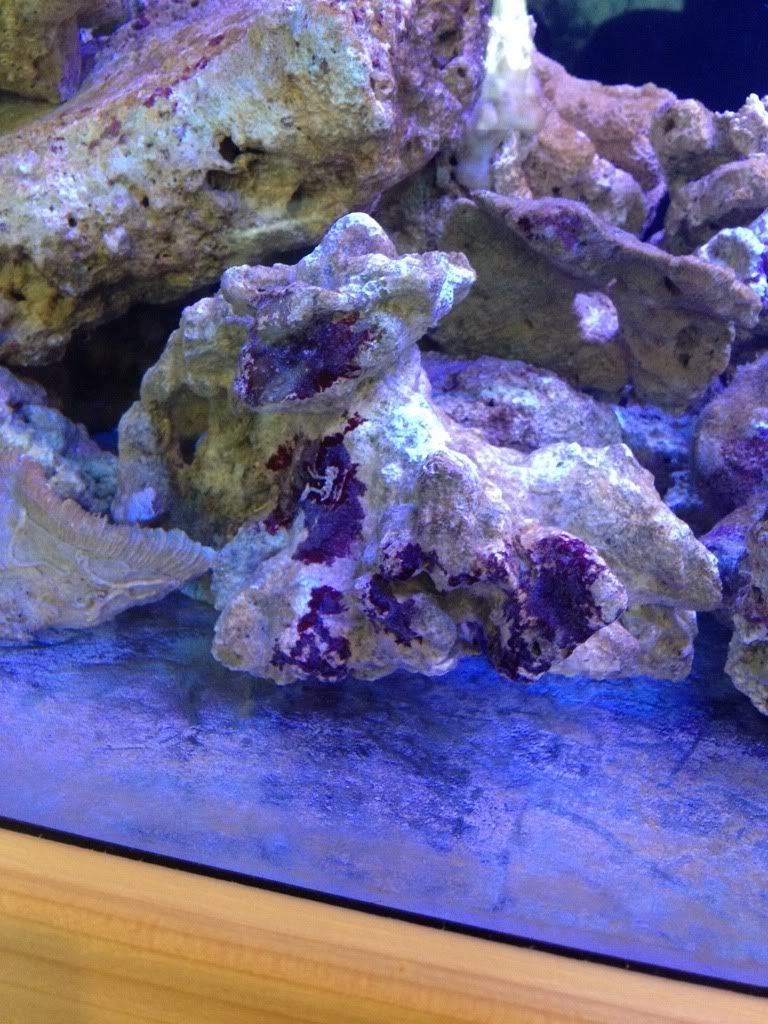
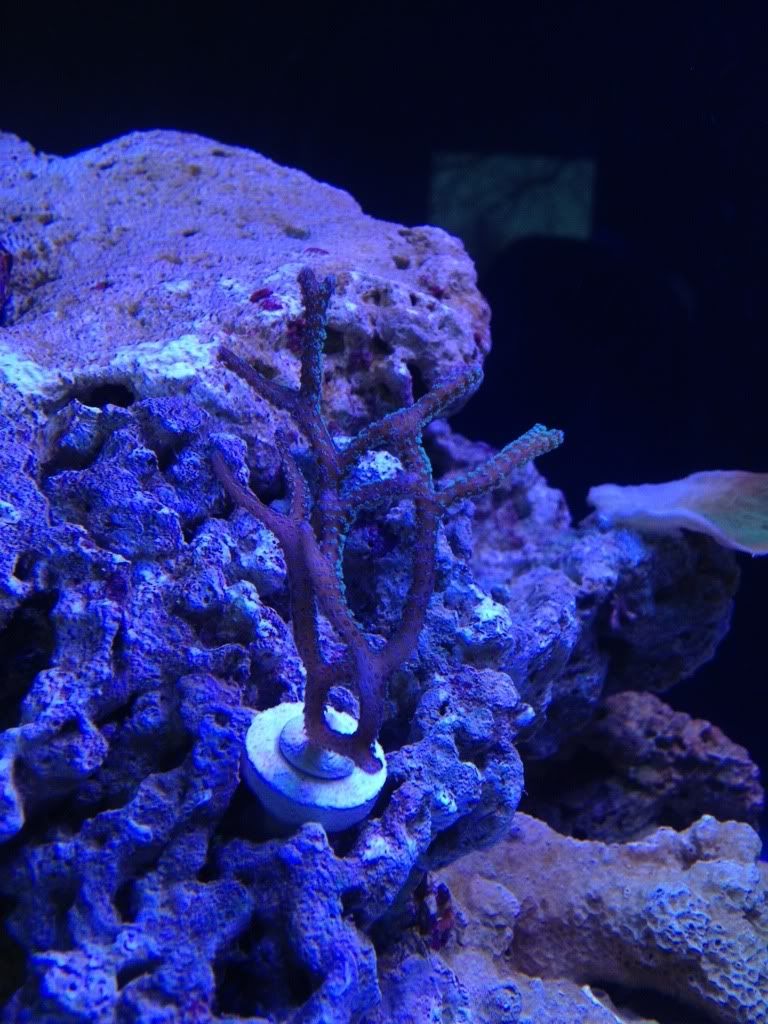
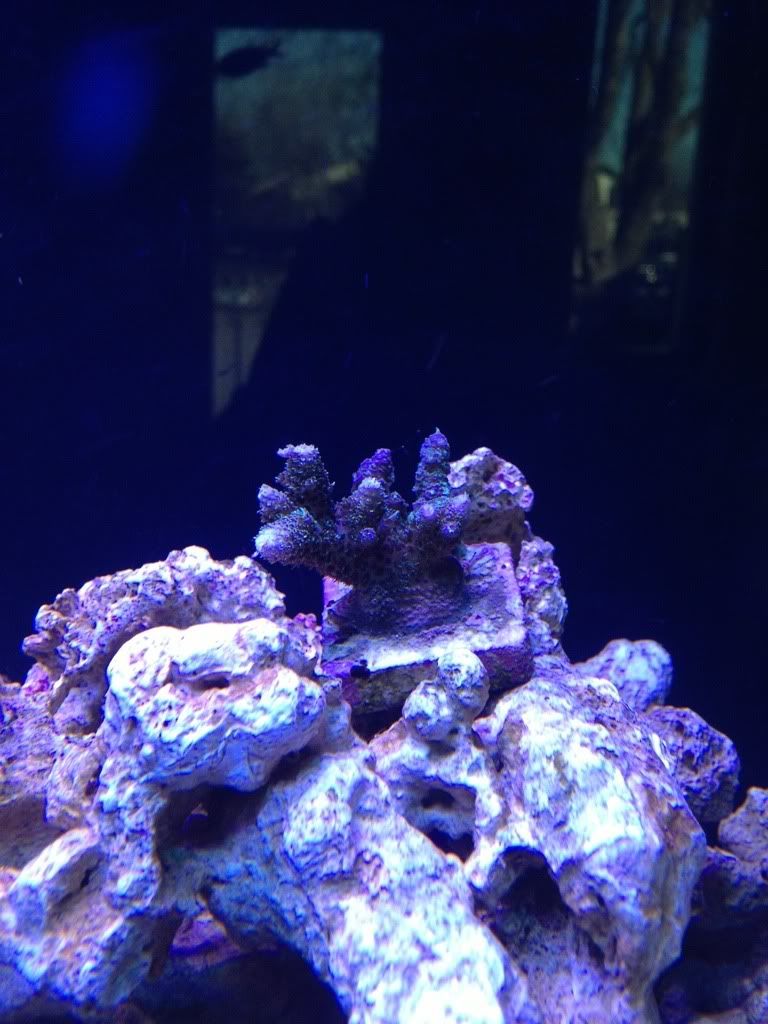
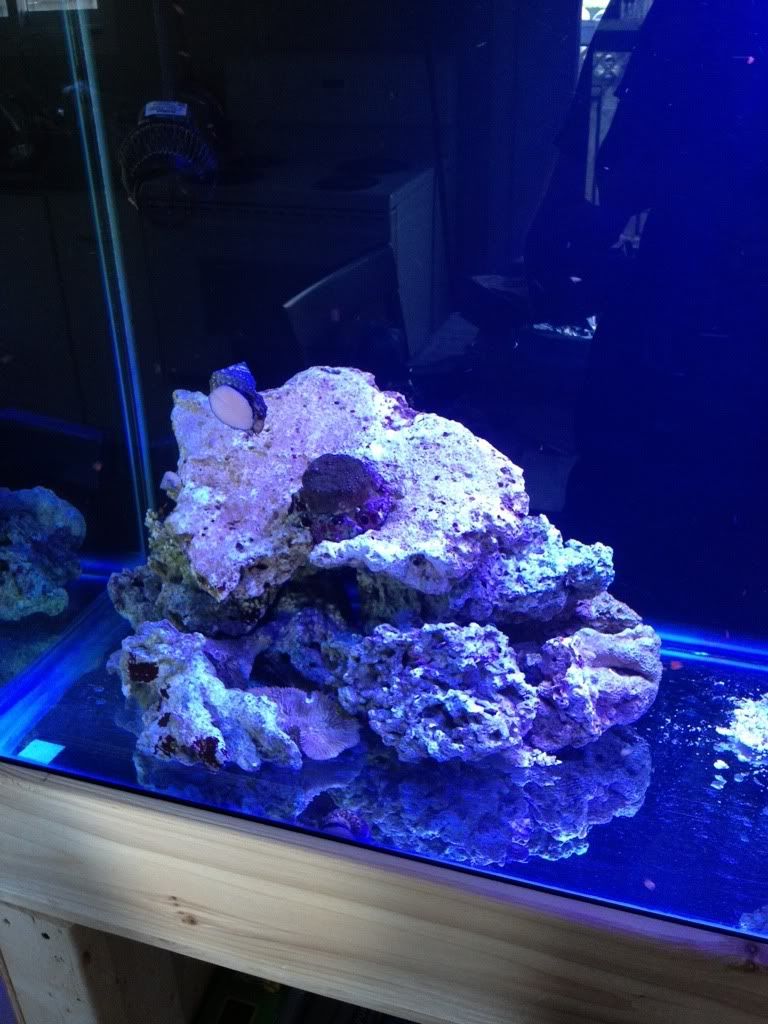
-~75 lbs liverock
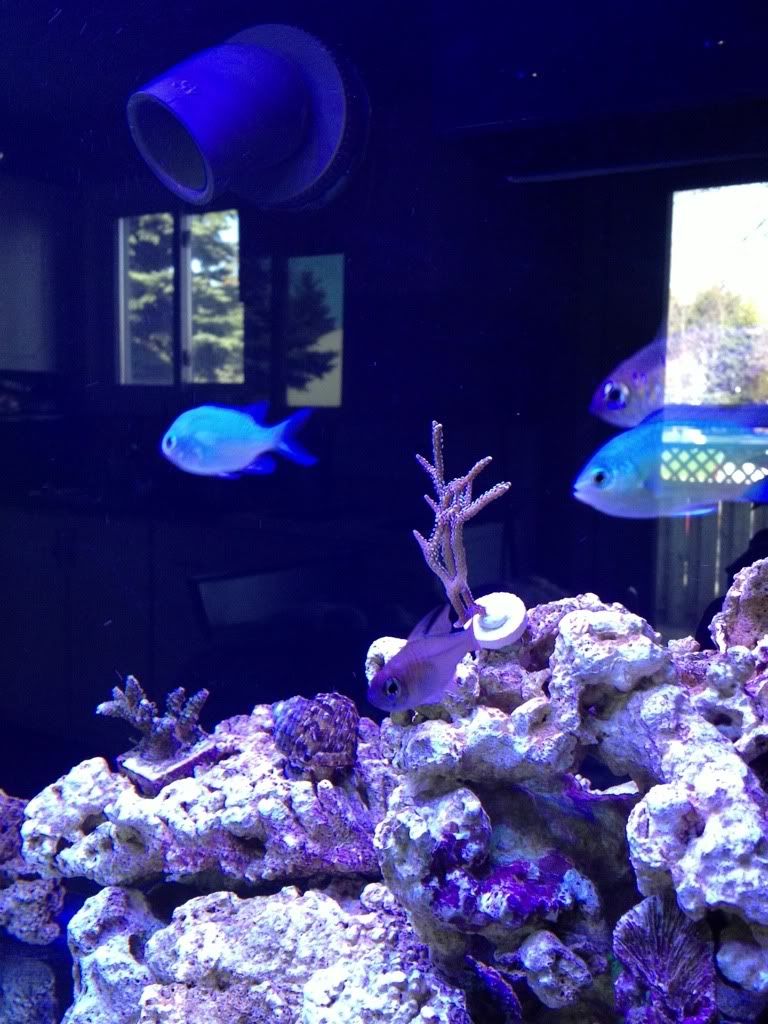
-3 Green Chromis
-2 Blue Eyed Cardinals
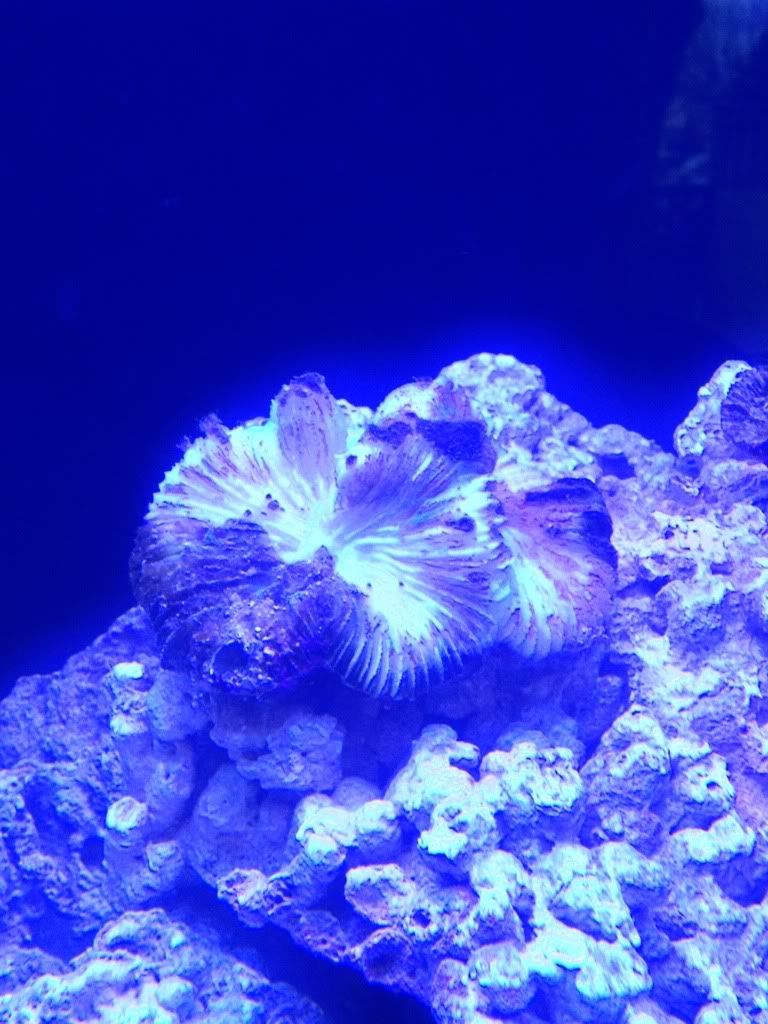
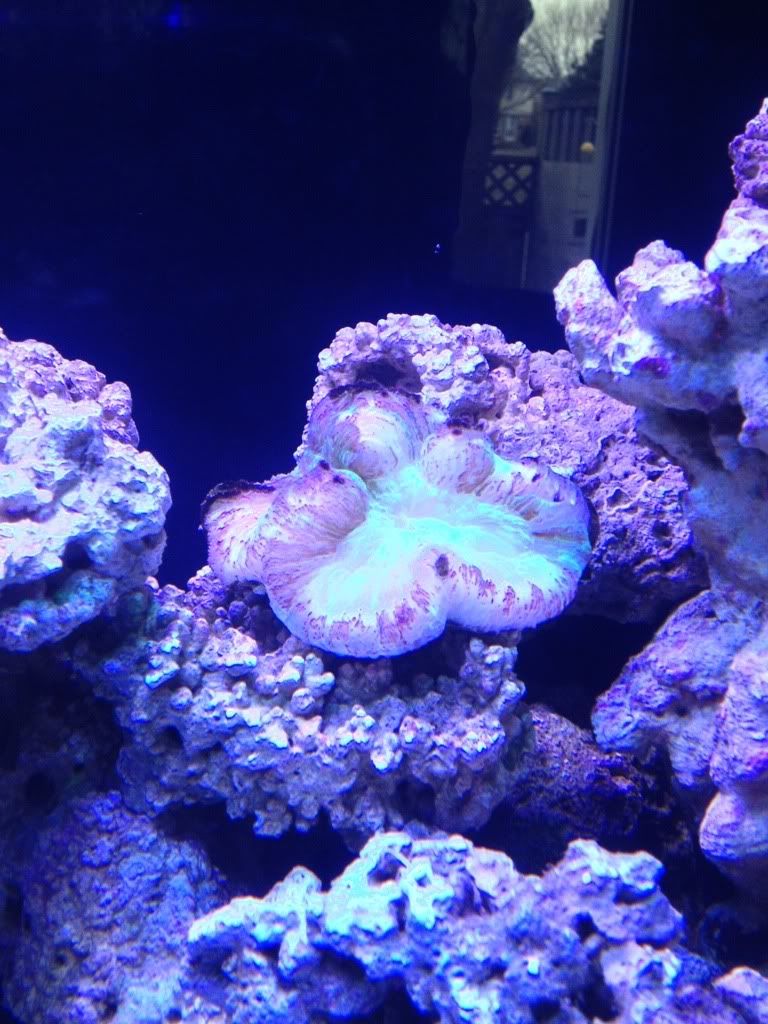
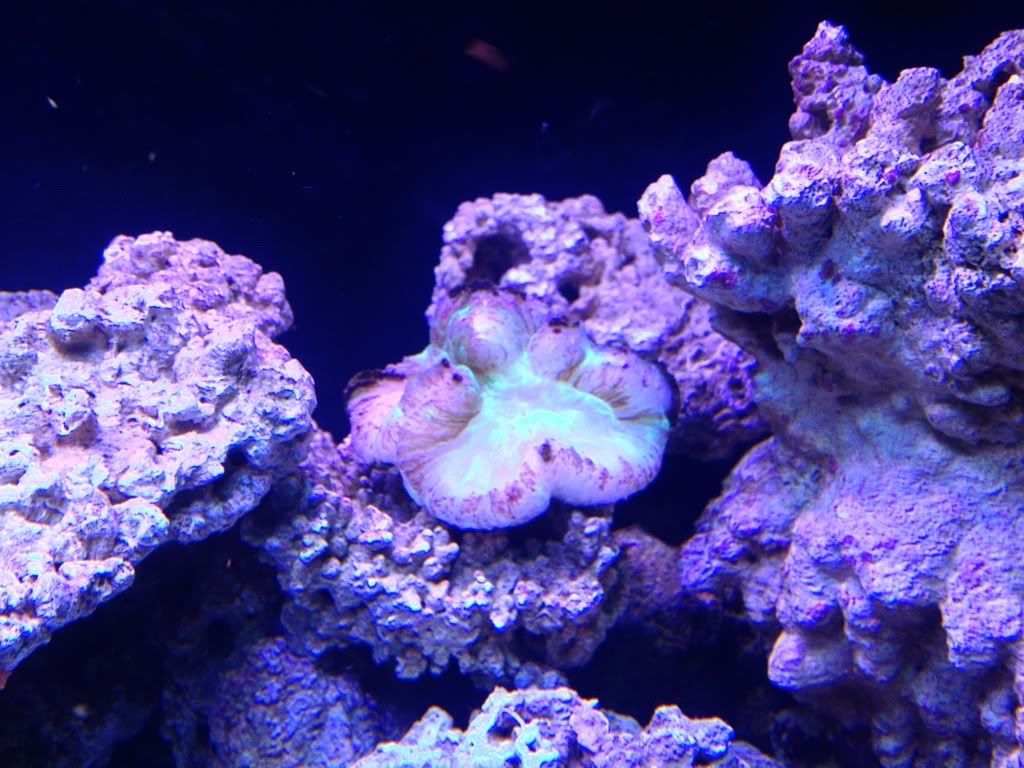
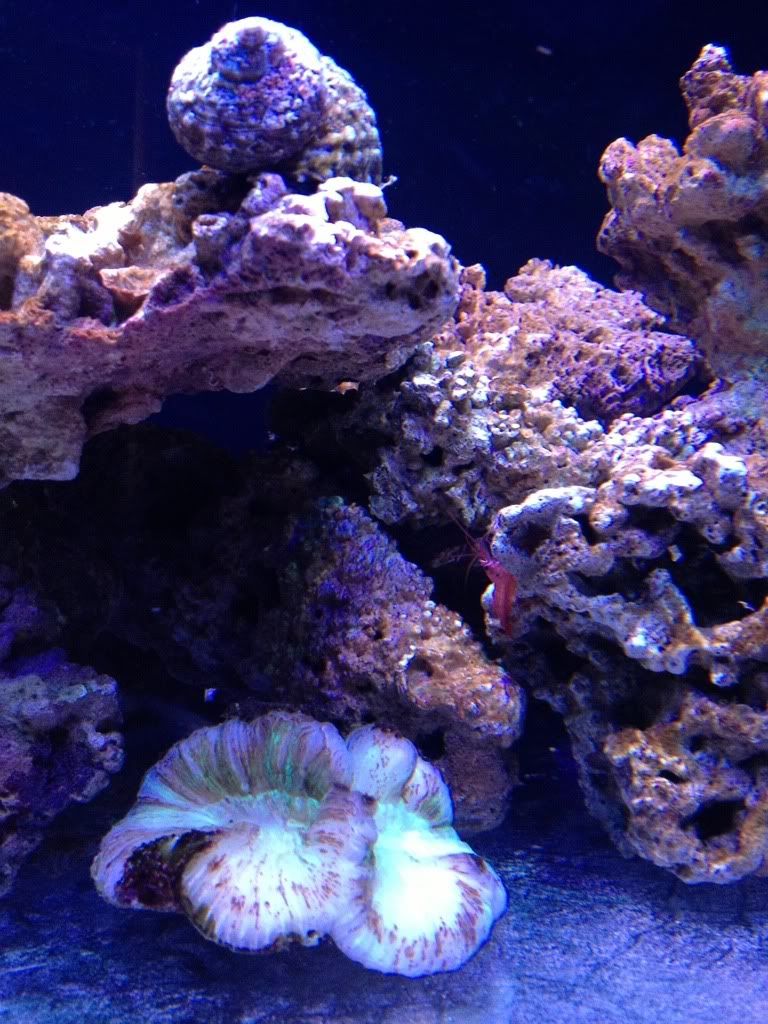
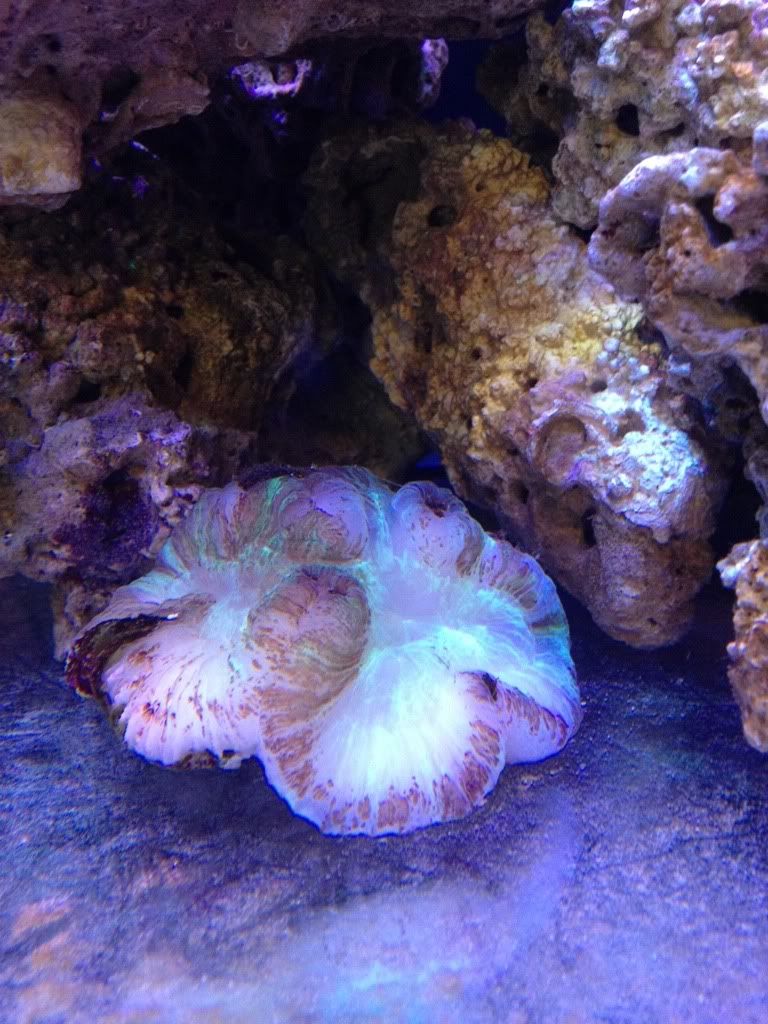
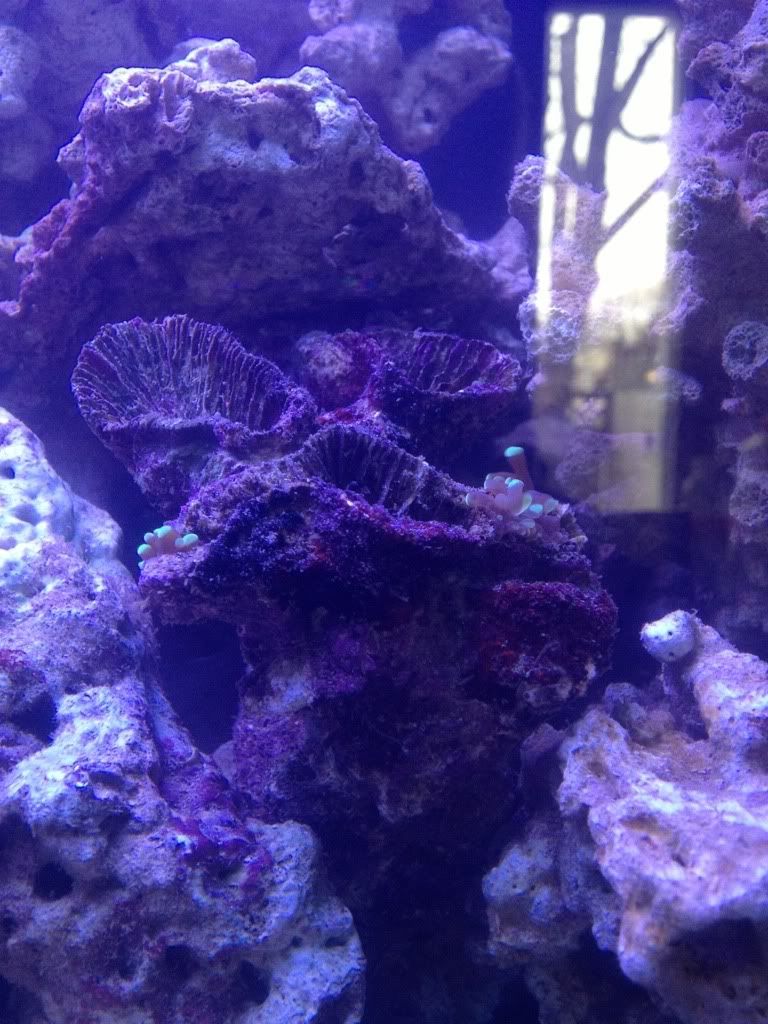
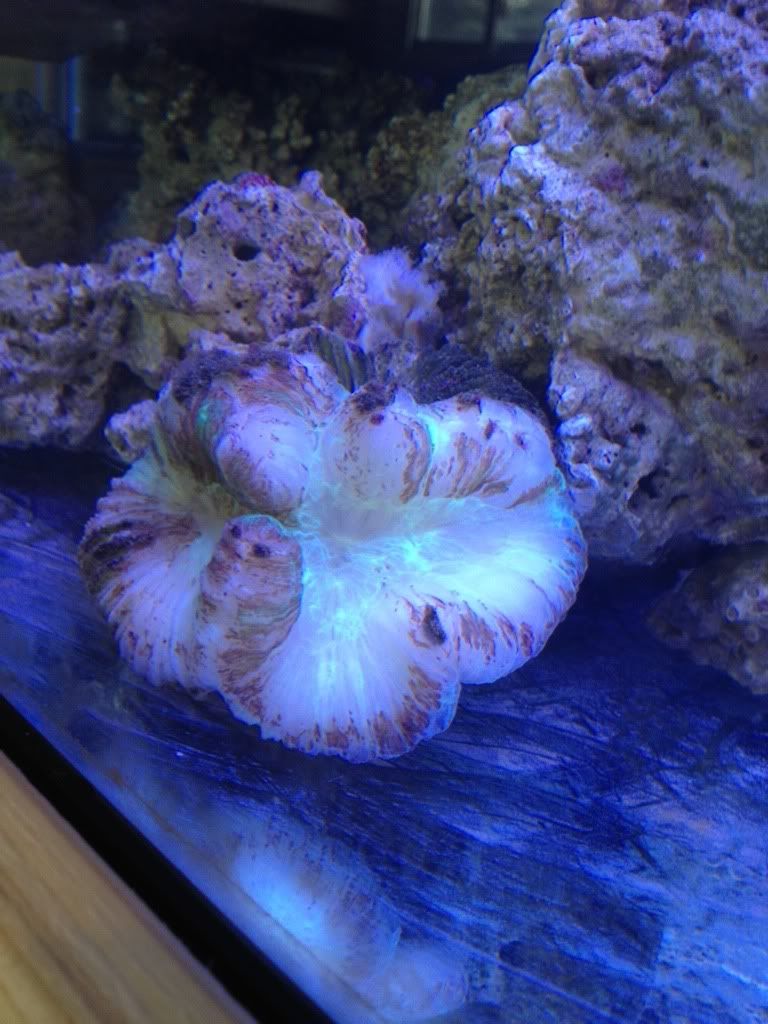
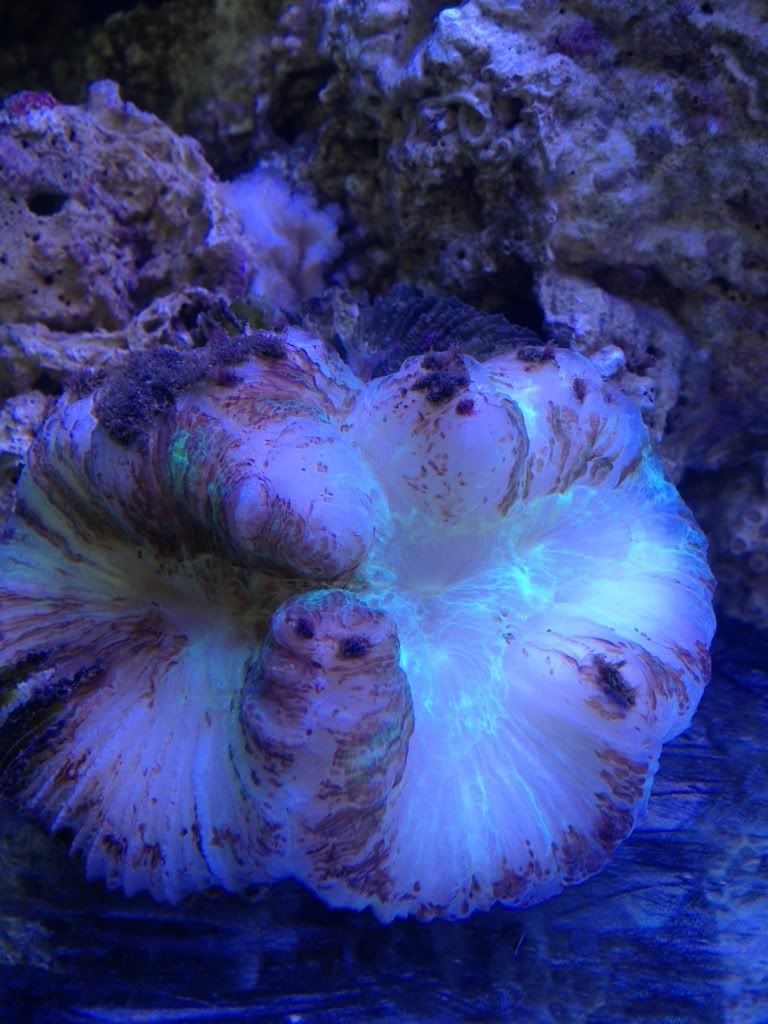
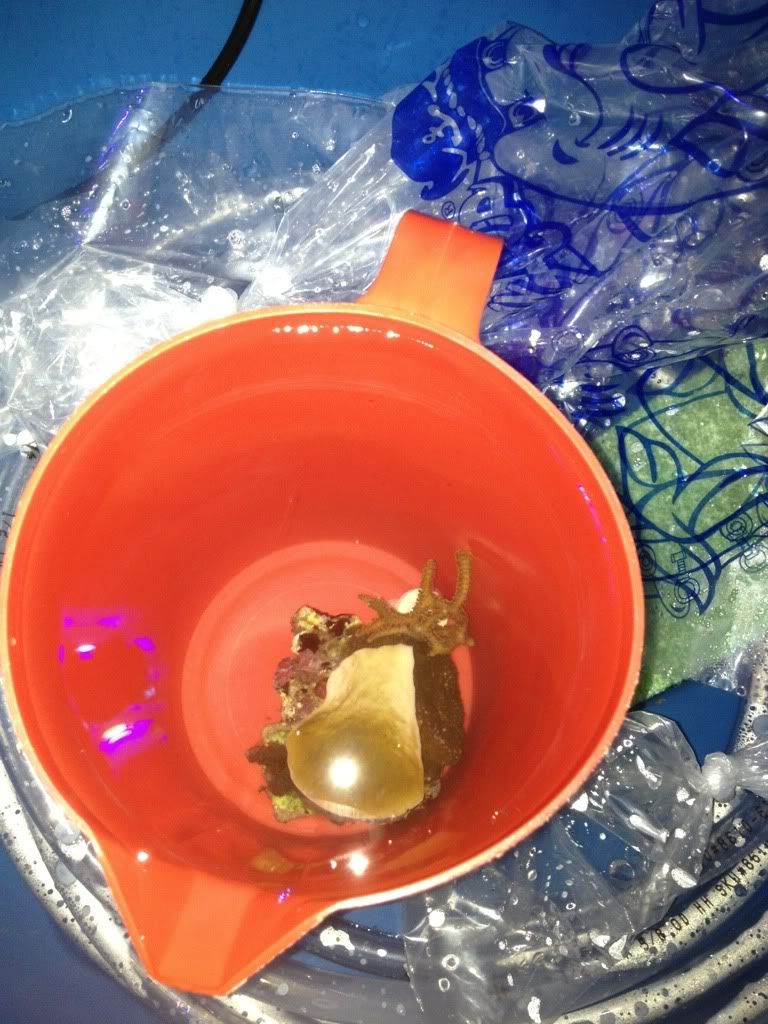
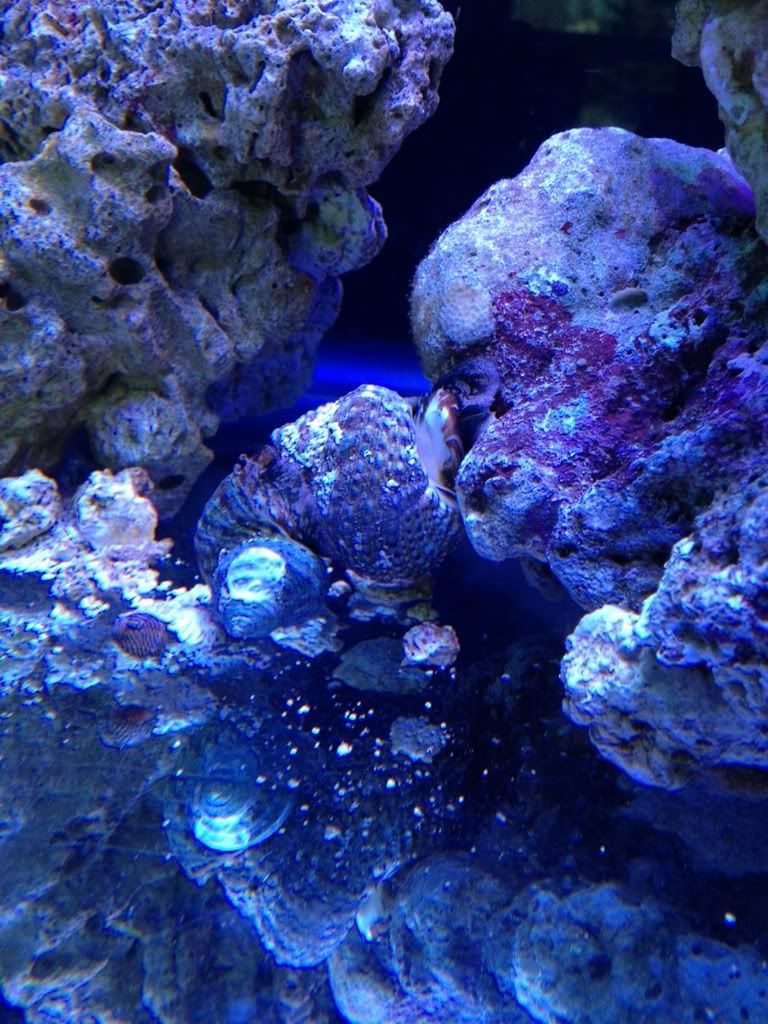
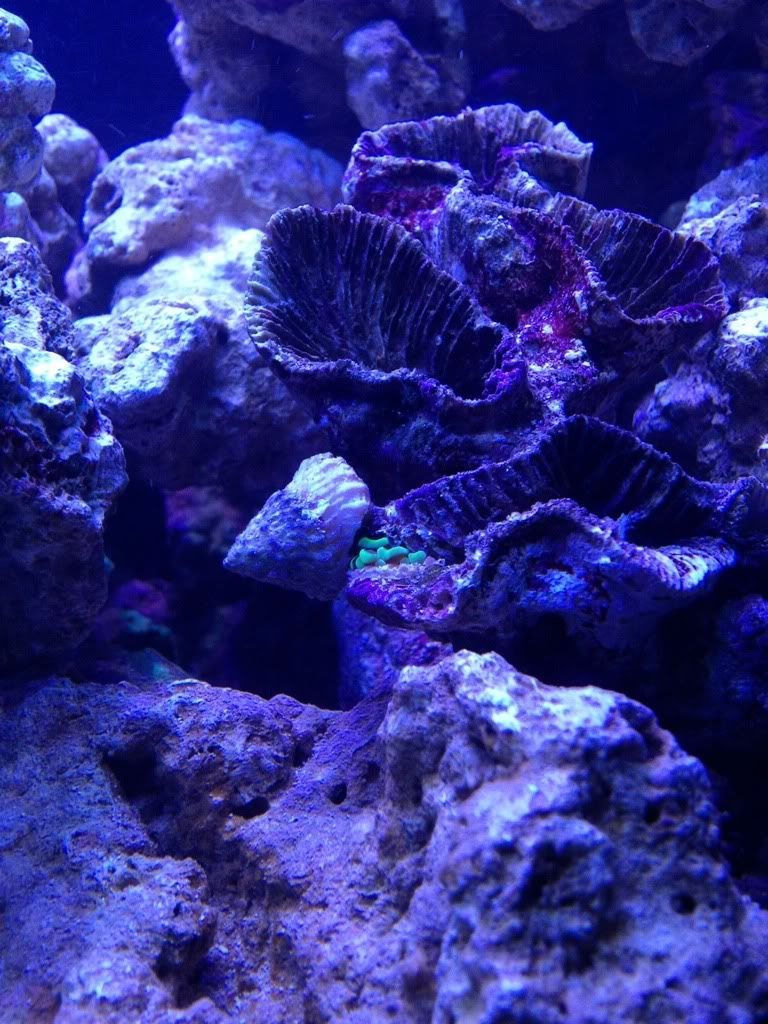
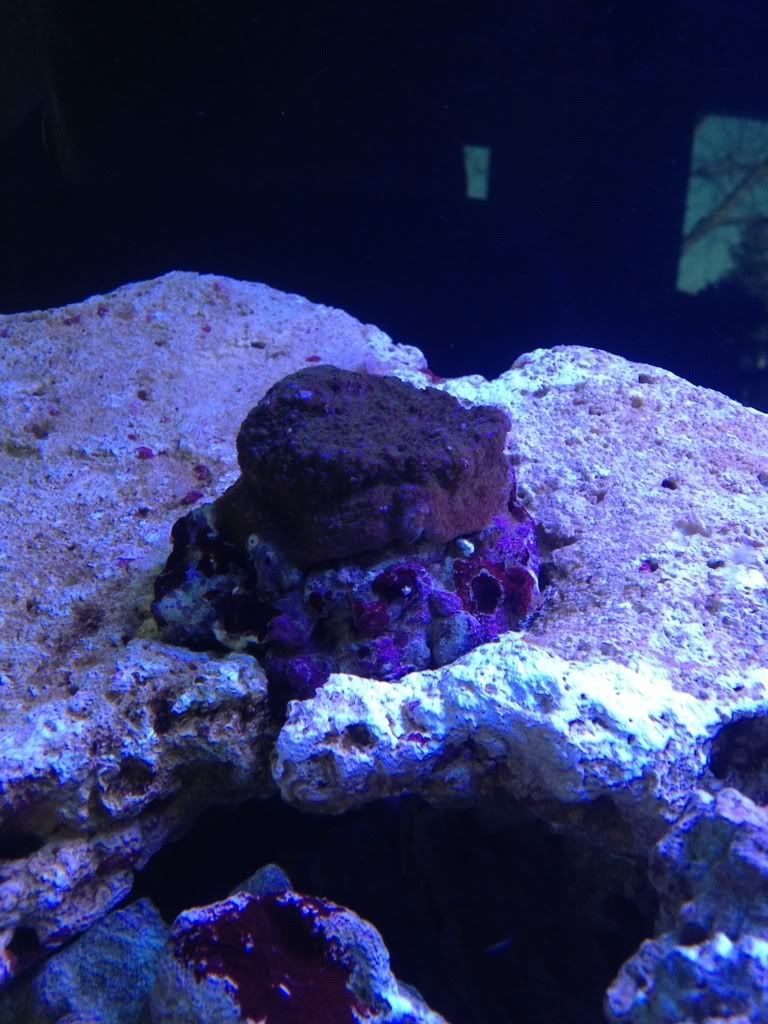
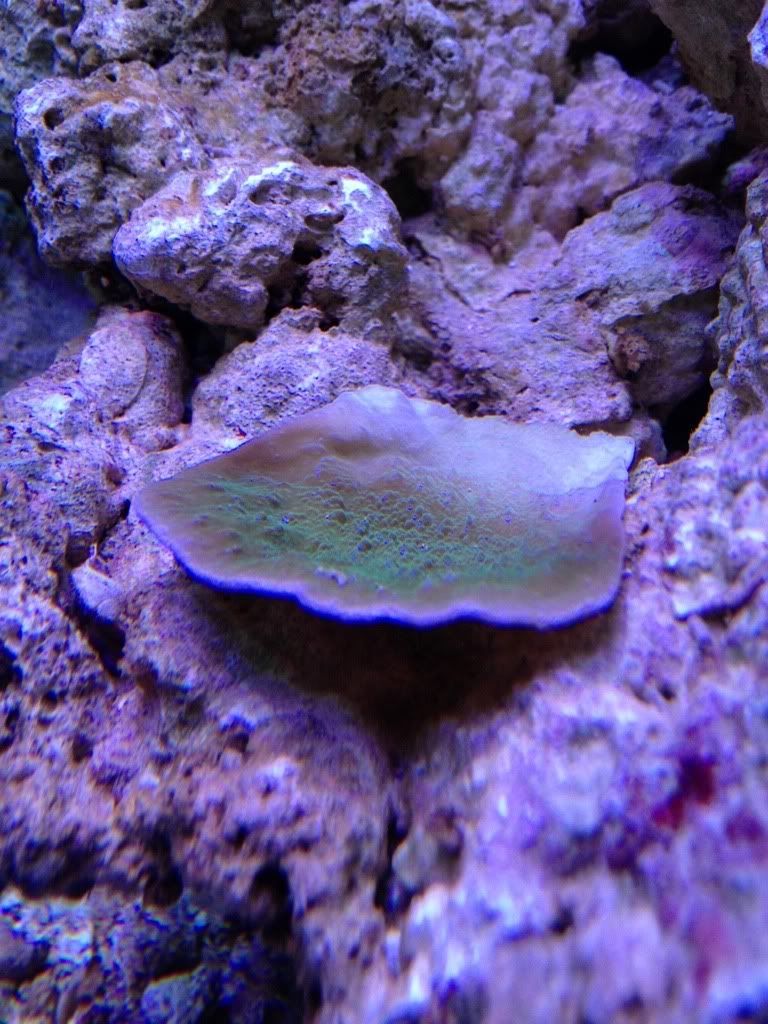
-1 Open Brain coral
-1 Hammer frag
What's left to do?
-Finish the second light fixture
-Build the canopy and mount lights/electronics
-Finish the sides of the stand with nice wood
-Build and set up the ATO system
-Finish my Arduino based controller (this will be my ongoing 'rainy day' project)
-Decide on and install media reactors (currently planning a calc reactor, am currently testing and dosing calc... will see if the reactor is needed)
-Possibly add ozone to the skimmer, have an ORP probe that will be hooked up to the Arduino
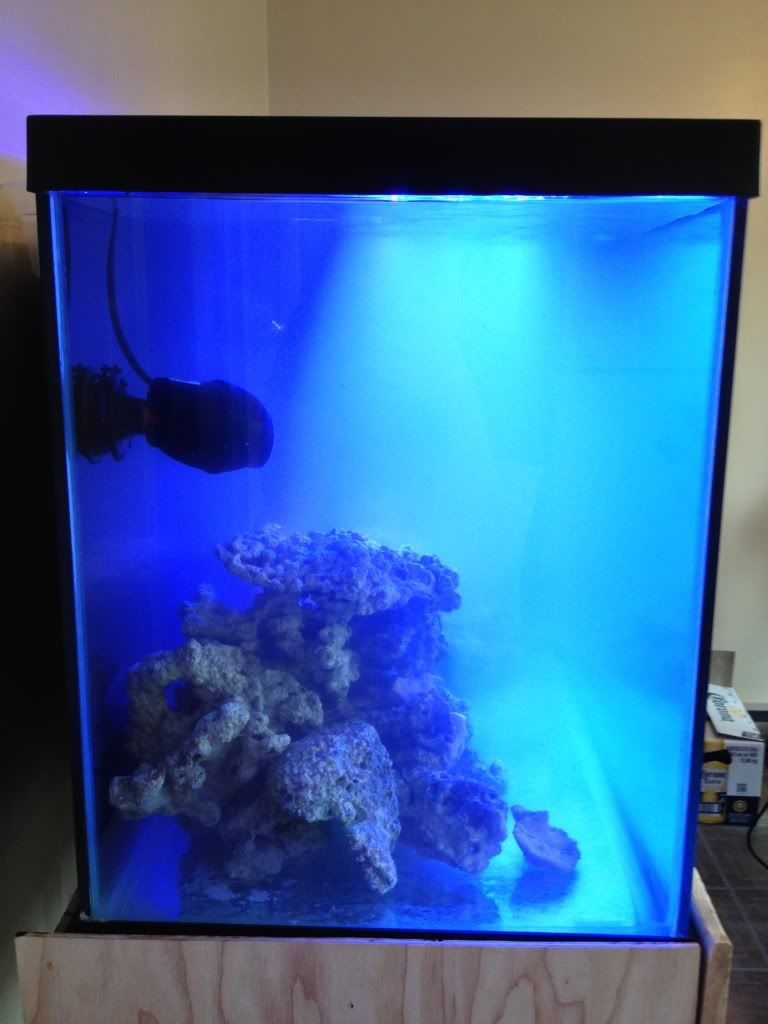
Picture diary:
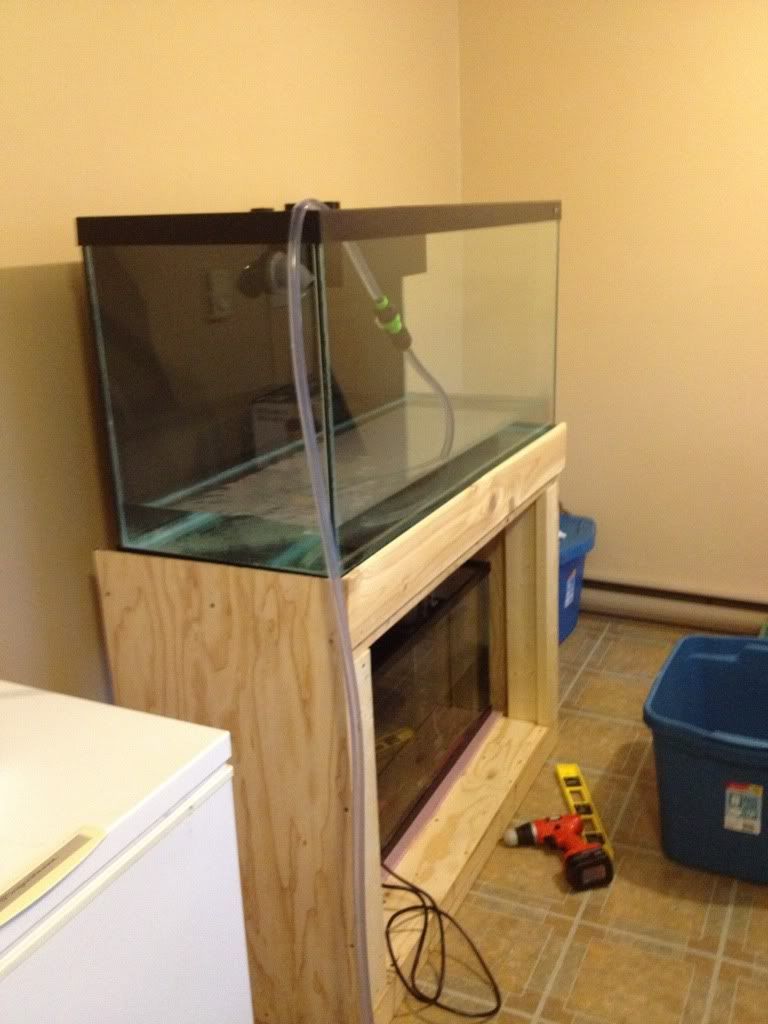
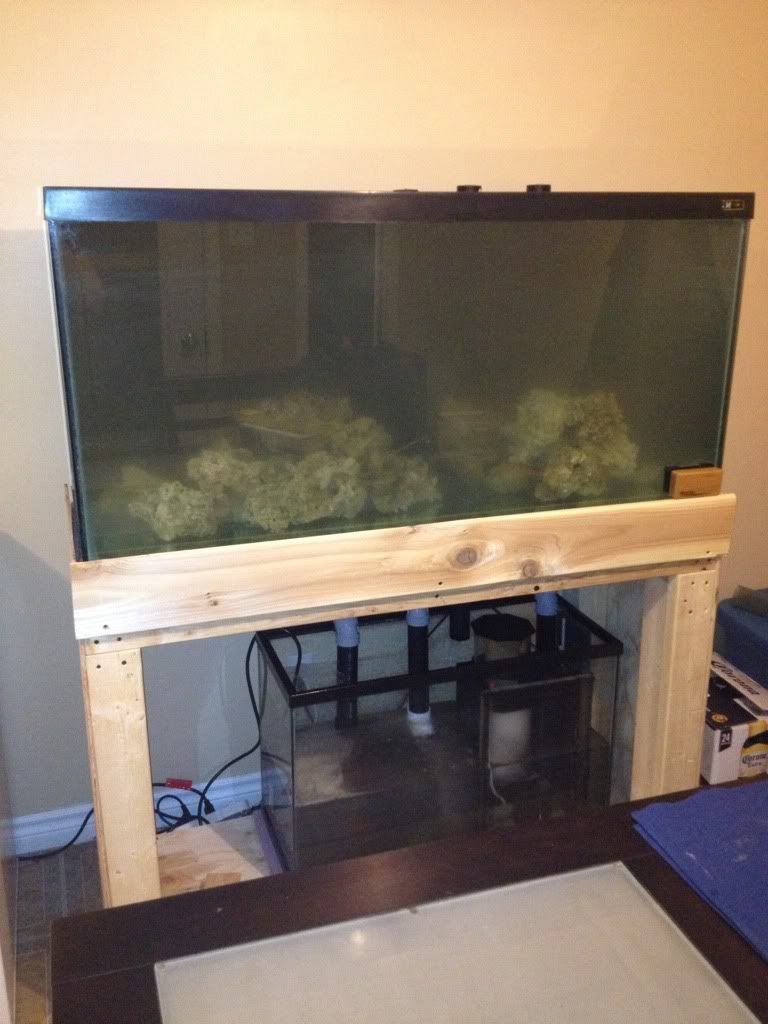
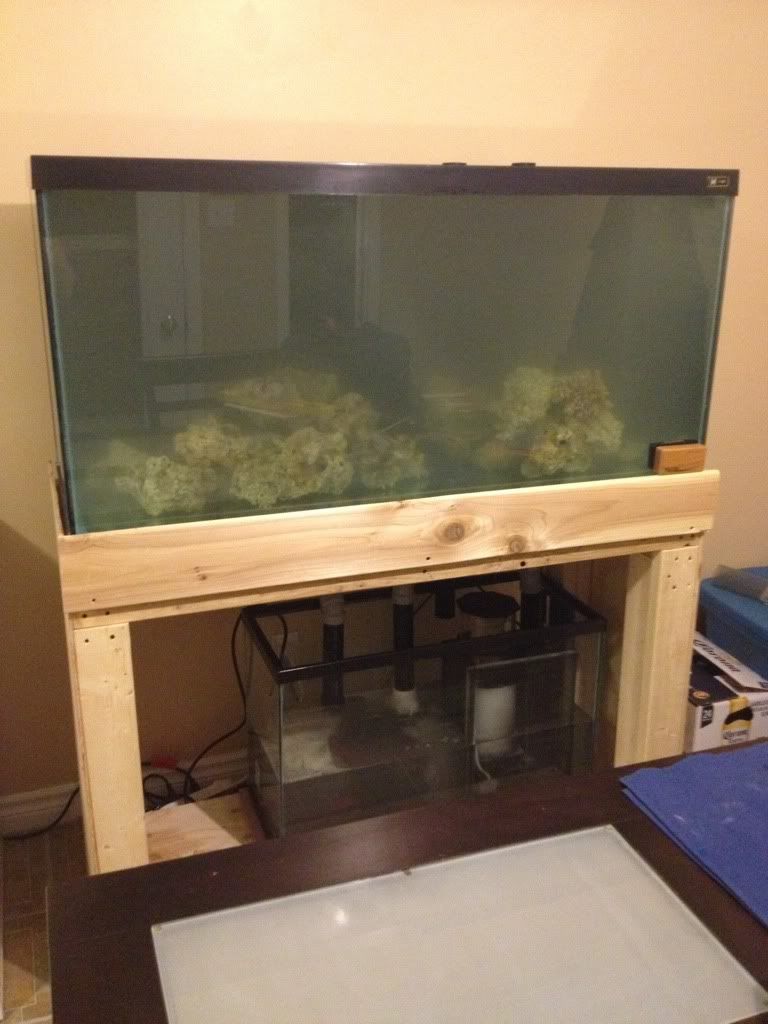
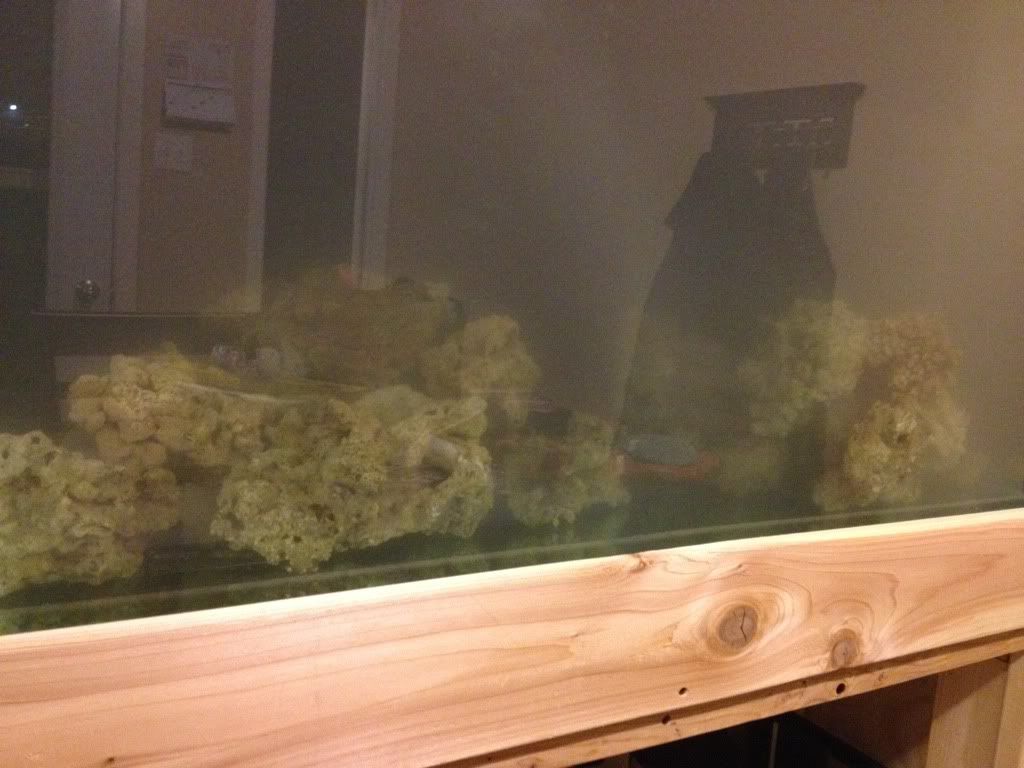
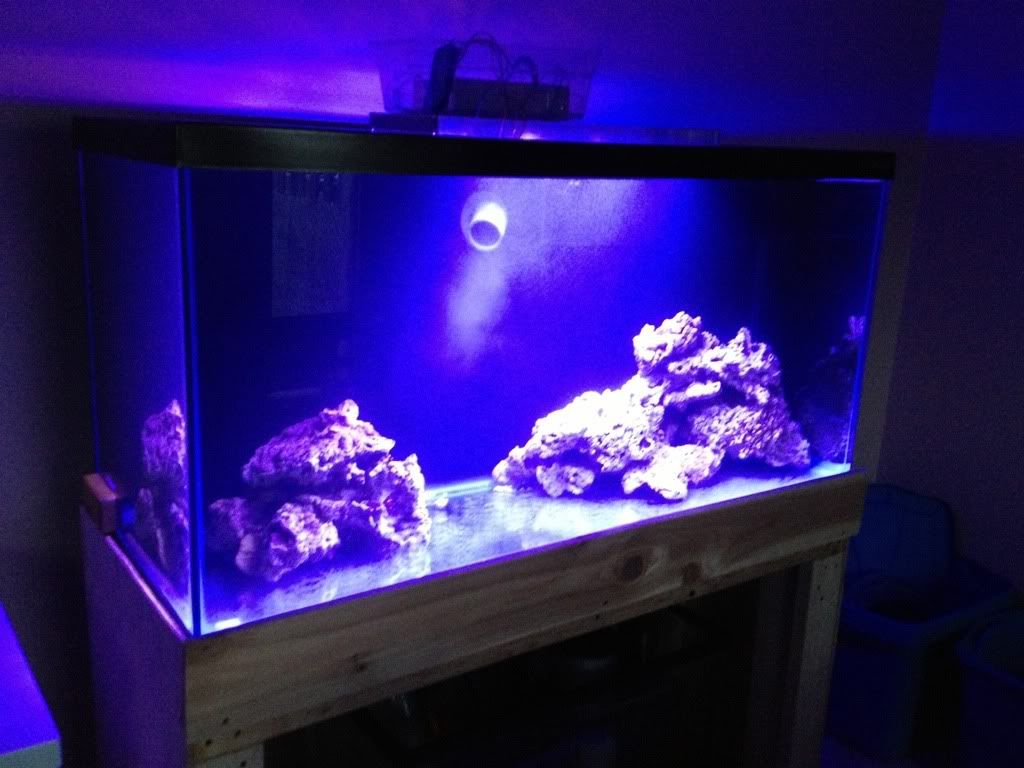
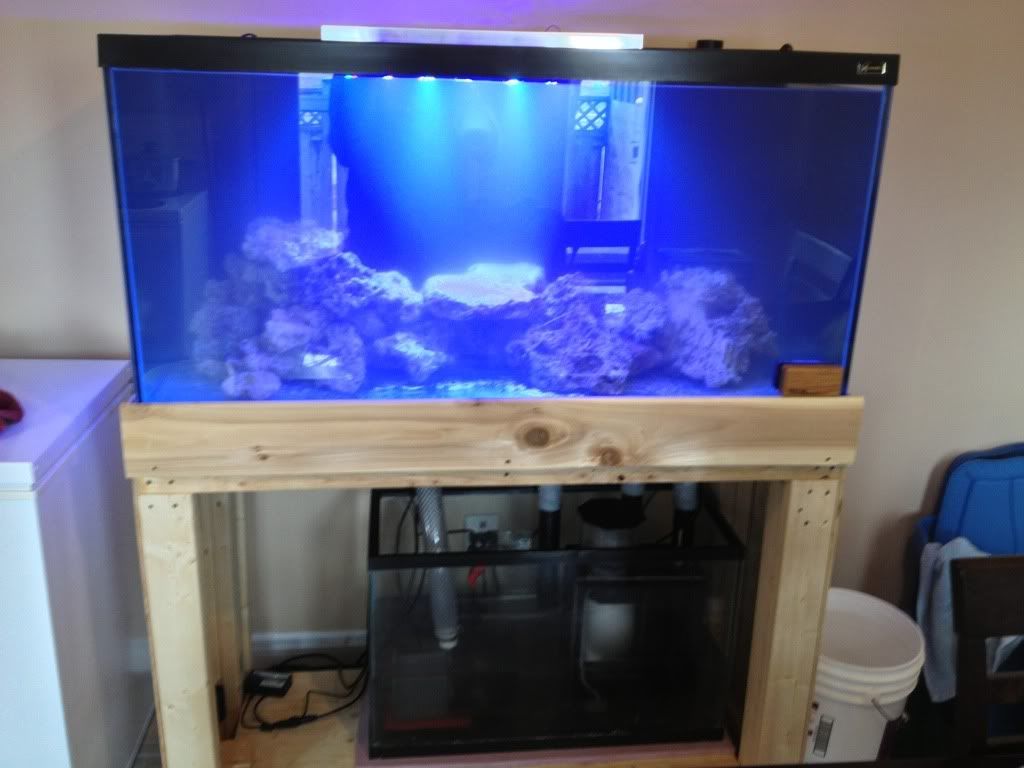
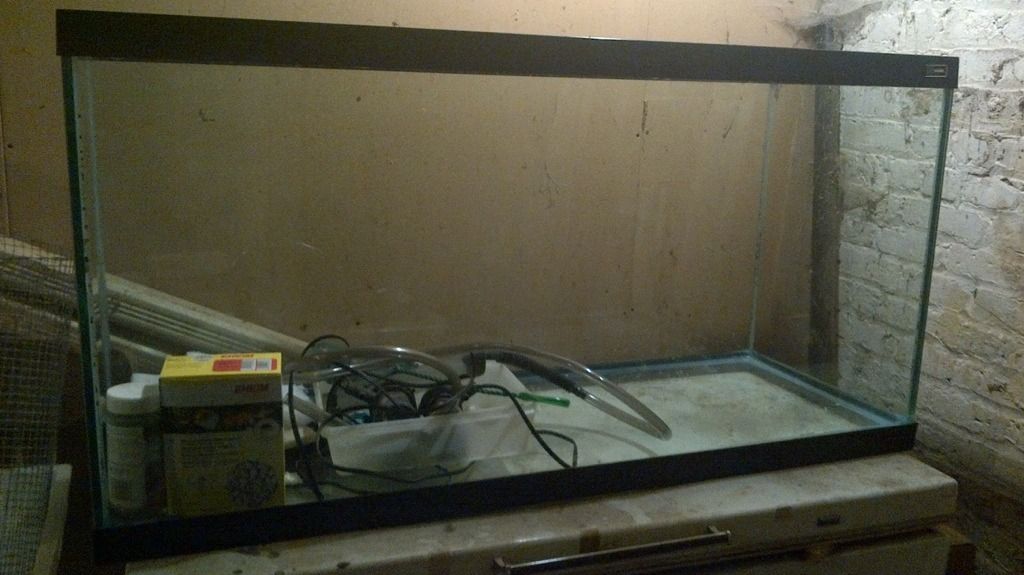
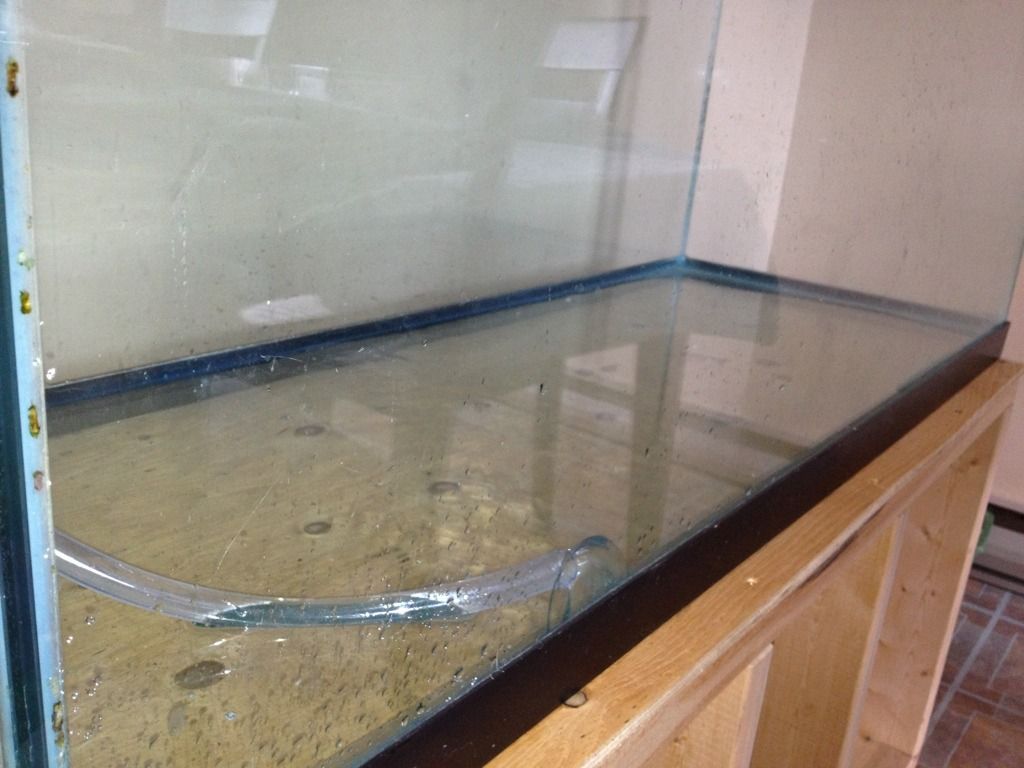
Tank pics from Kijiji. 90g with 2x4 stand, $150 delivered.
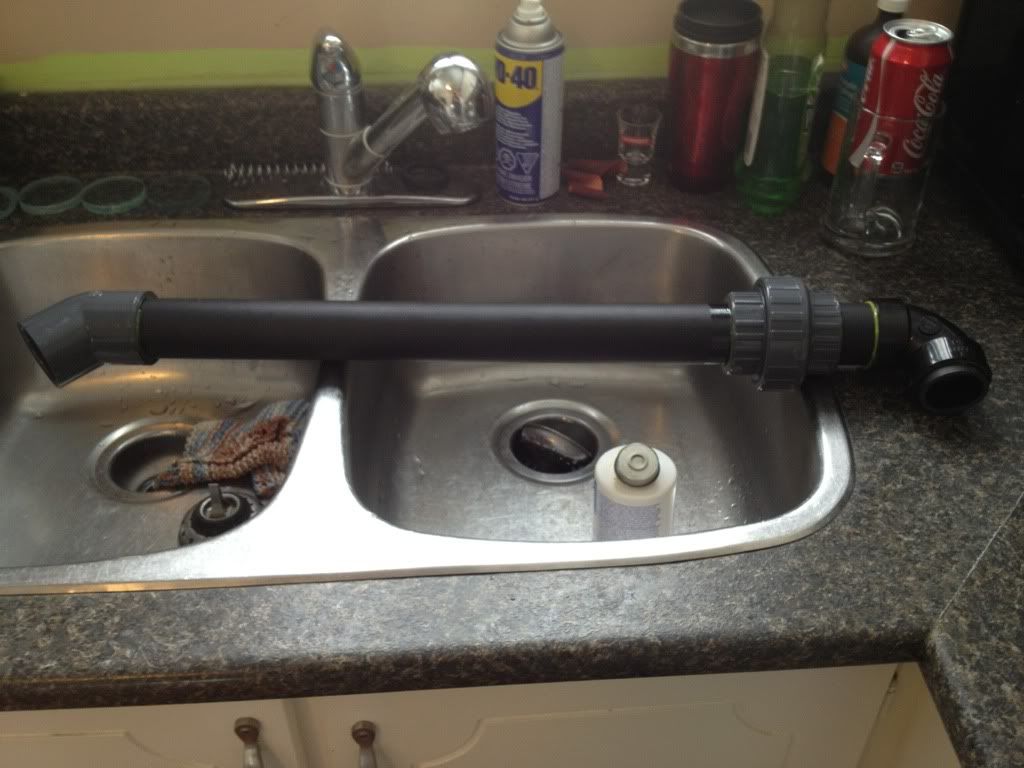
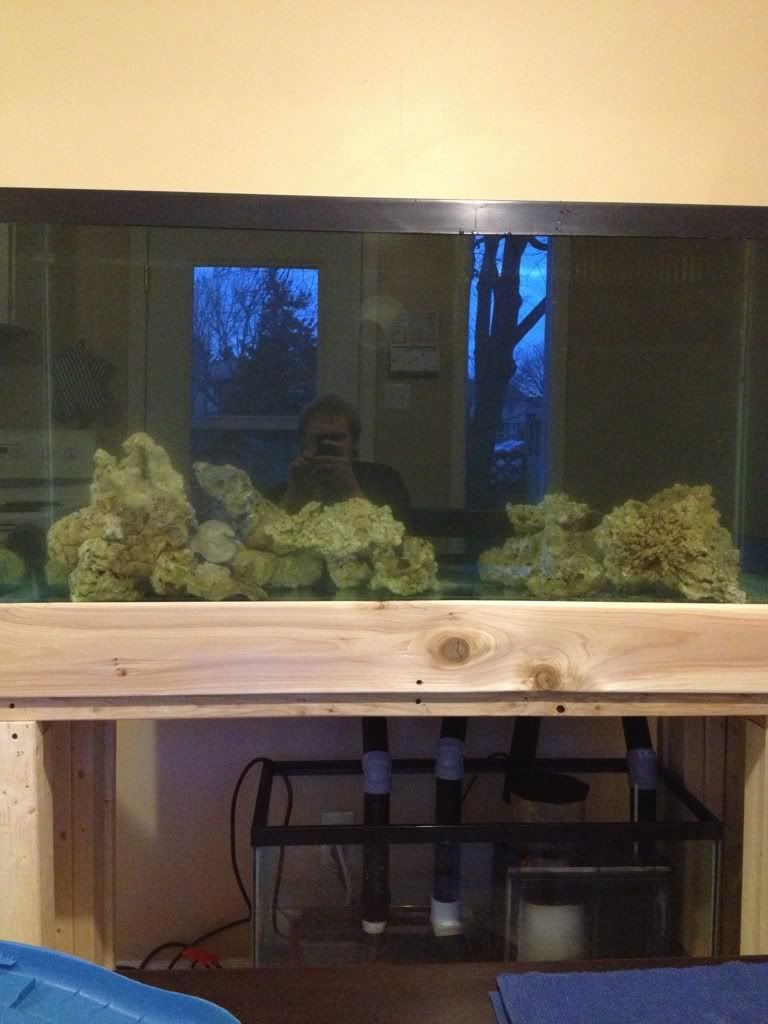
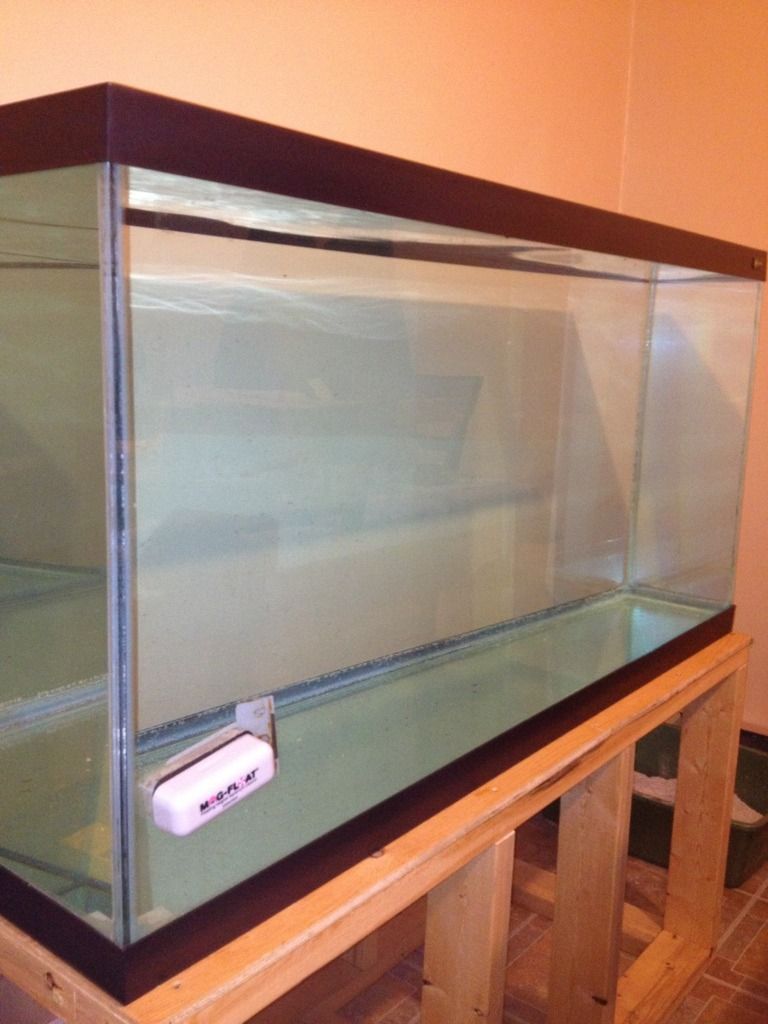
In my kitchen, filling with water for a test and giving it a bit of a scrub down.
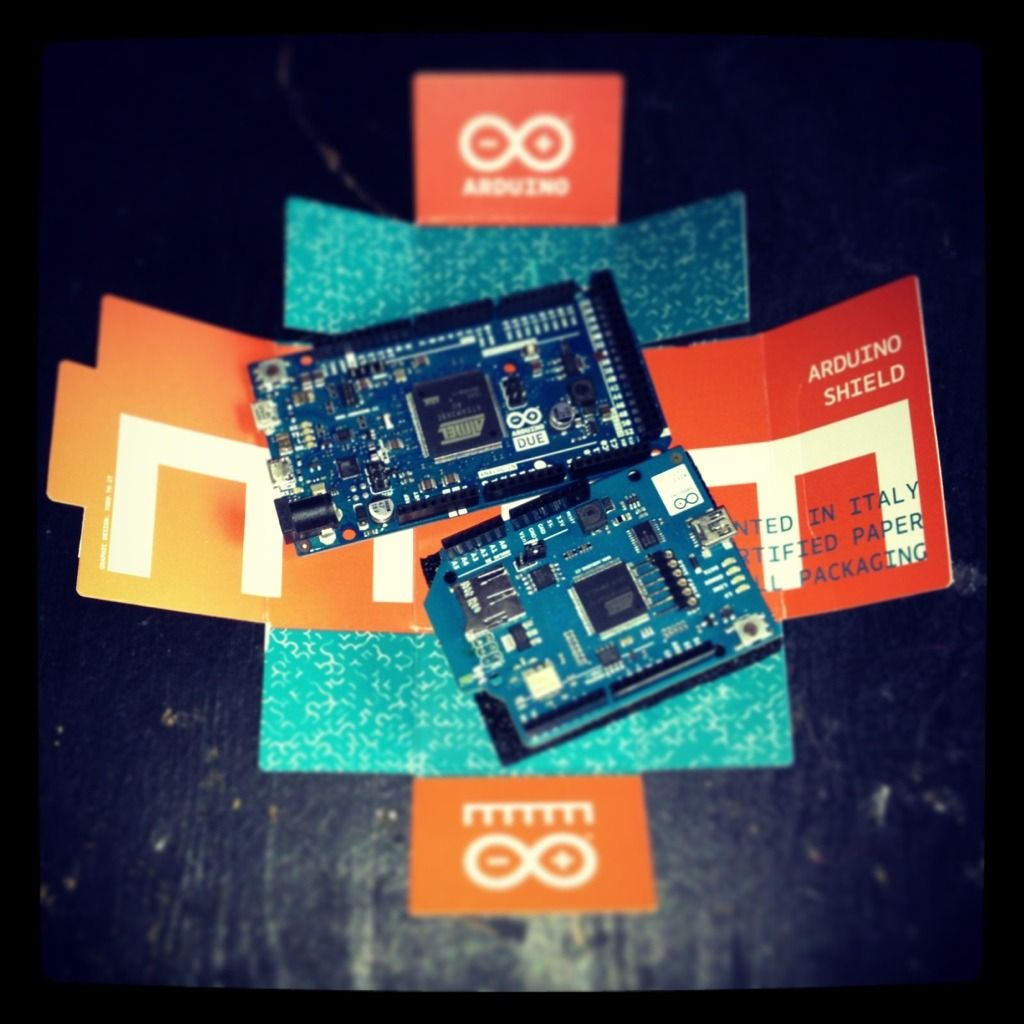
Arduino arrived! Never worked with a microcontroller before, but I am a programmer by trade with some hobby electronics background and have found it incredibly easy to work with.
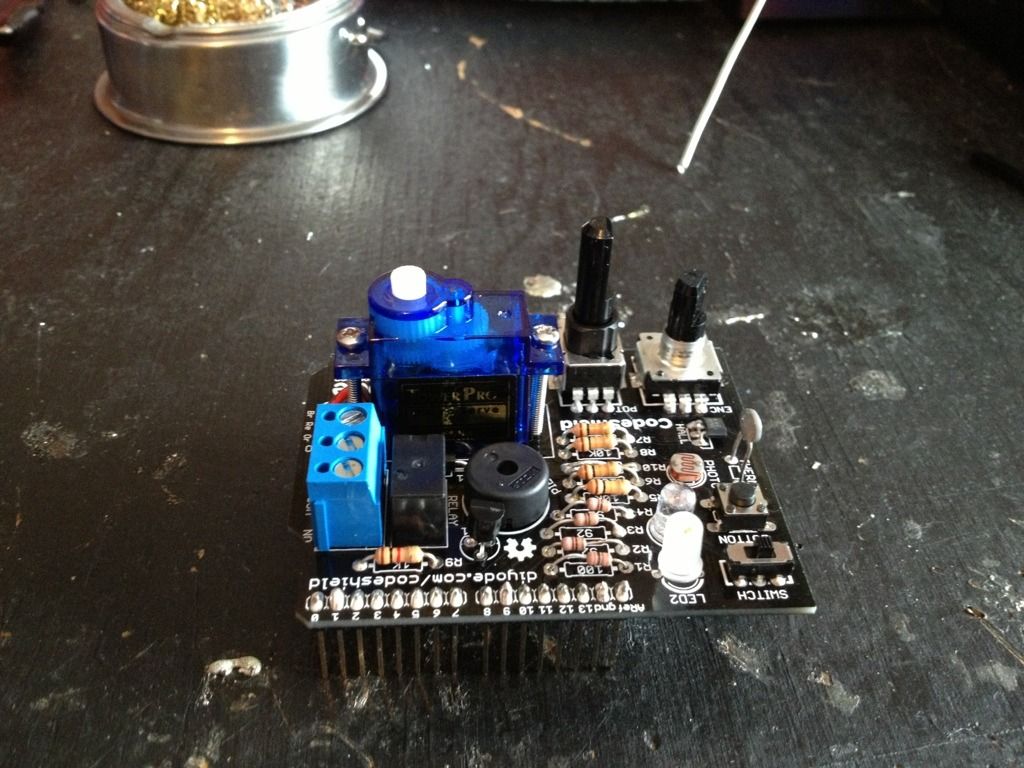
Code shield, to help myself learn:
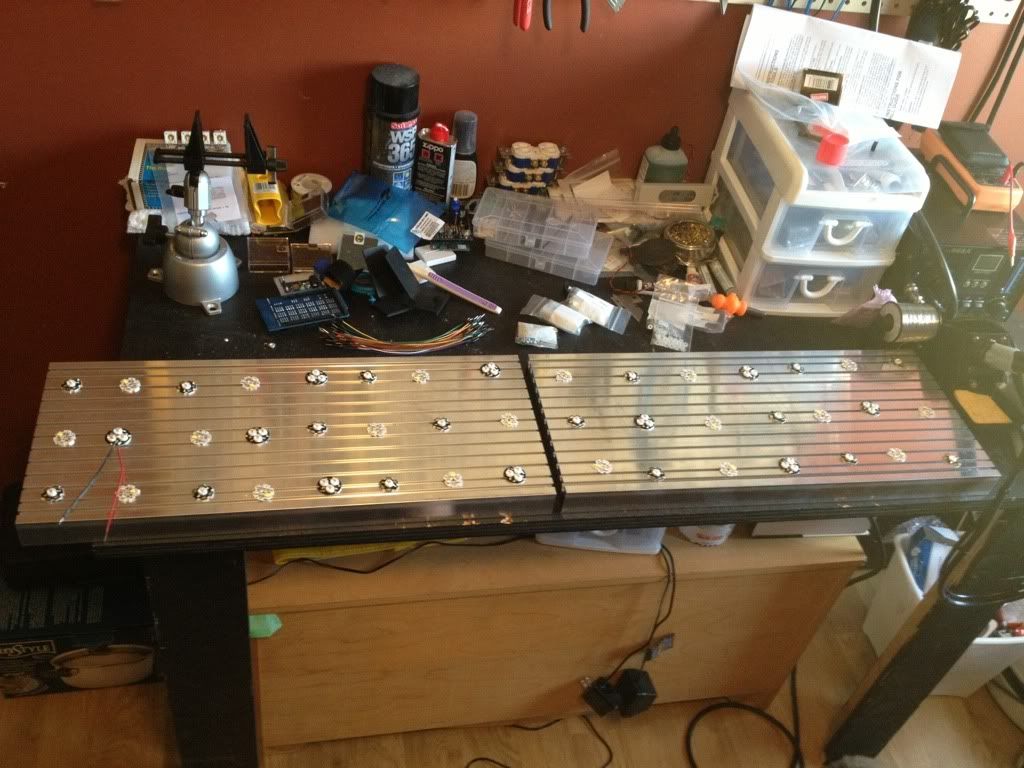
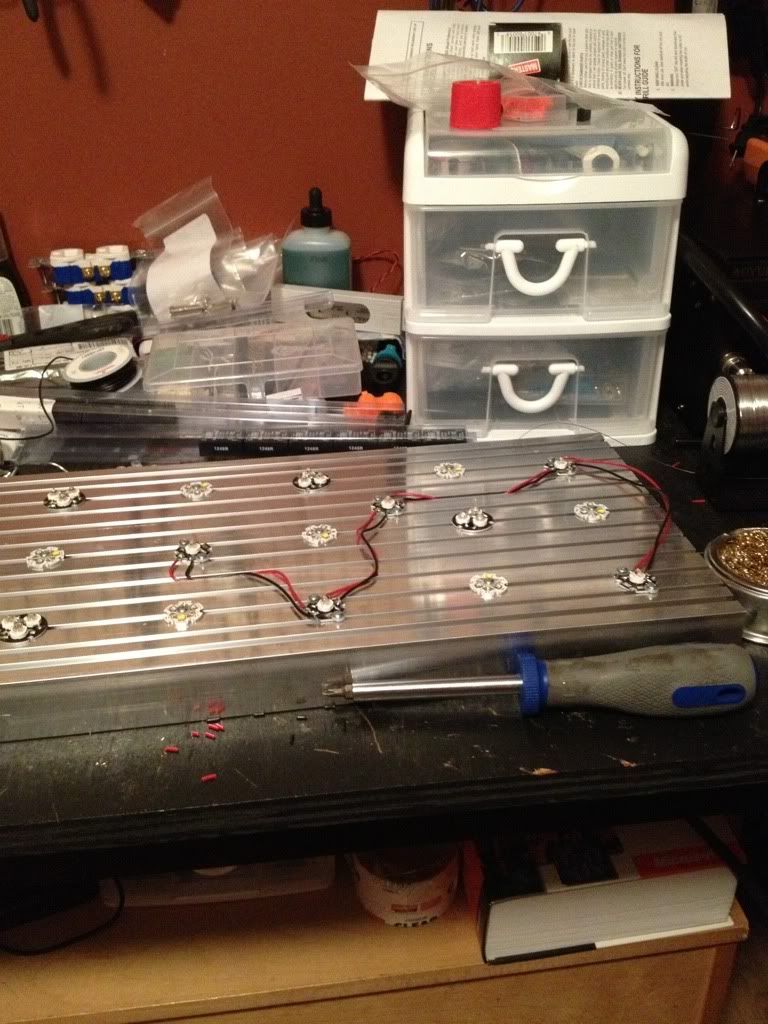
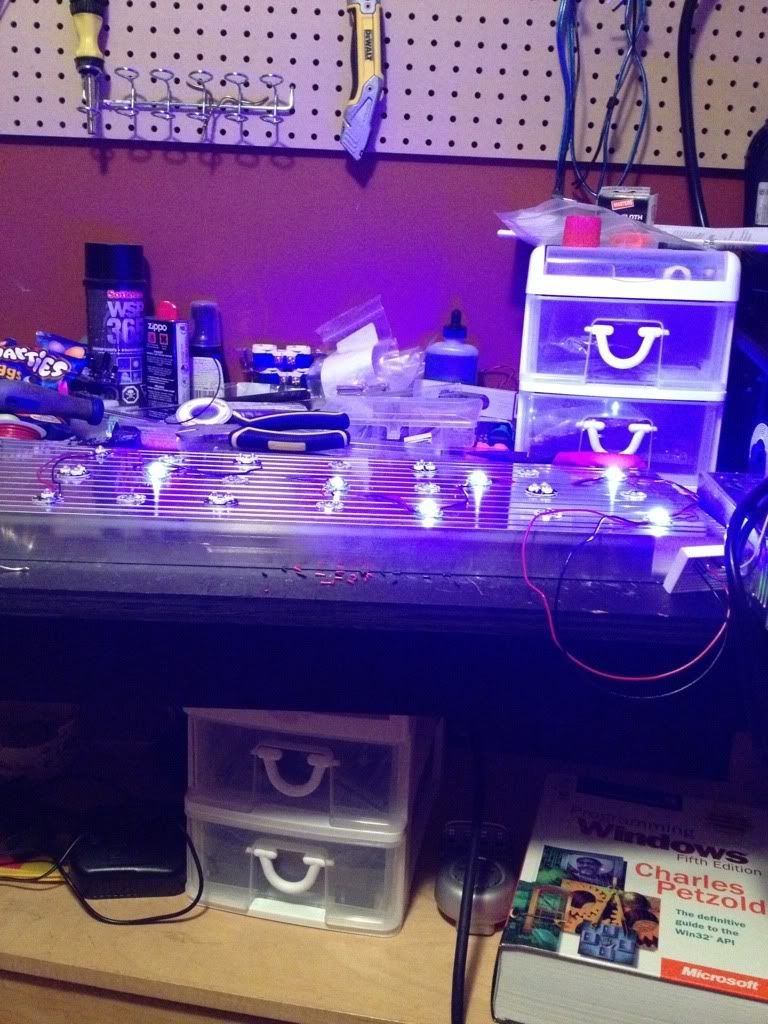
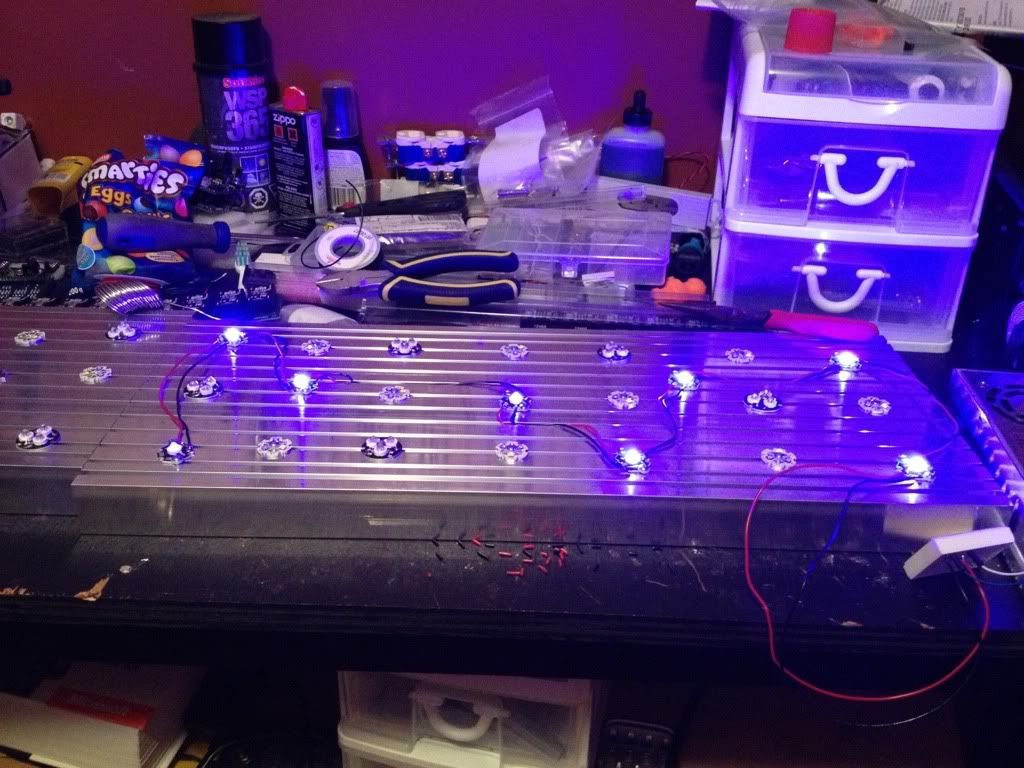
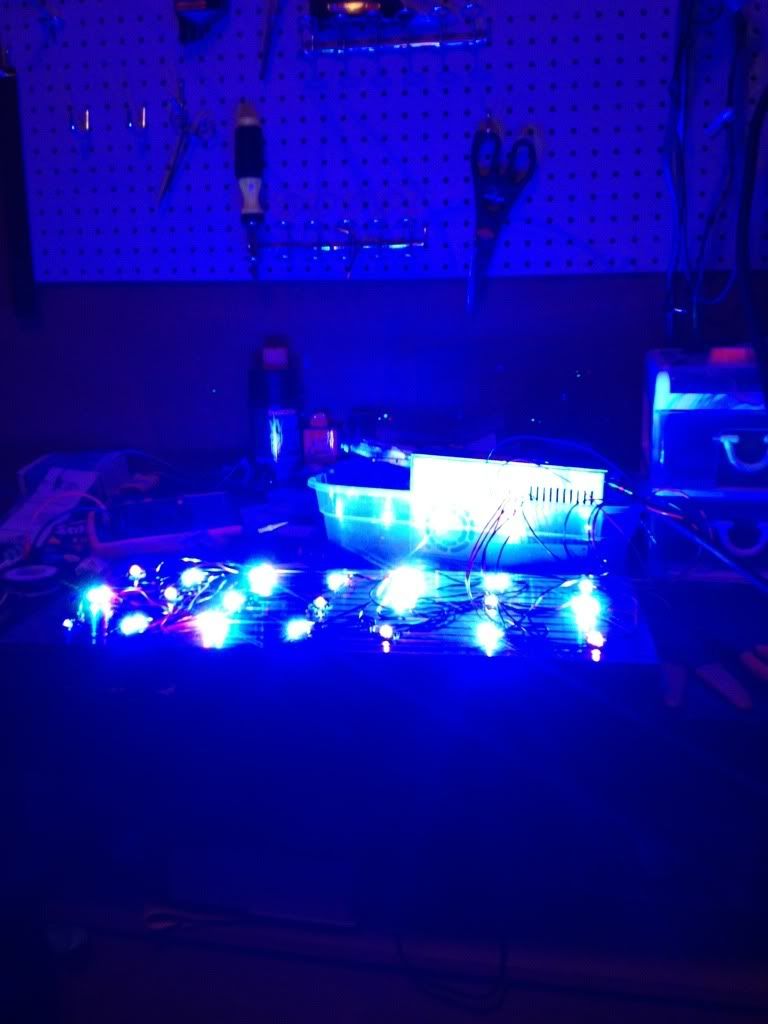
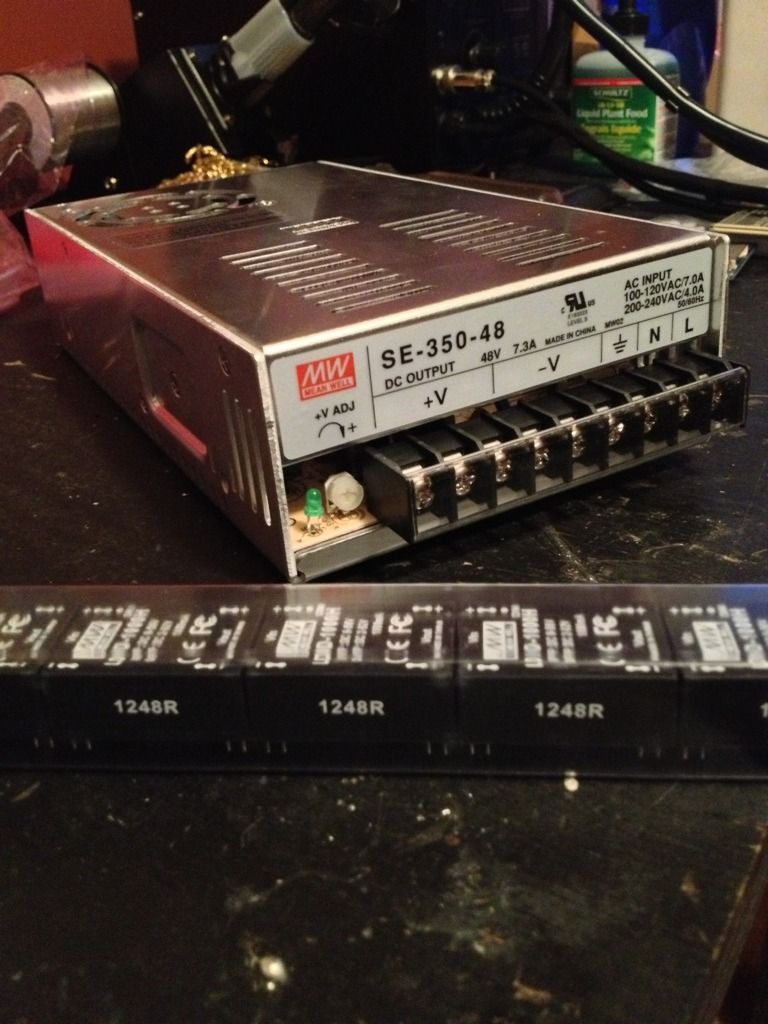
Light stuff! Got a big PSU (Meanwell SE-350-48) and a whack of LDD drivers (variating from 350, 500 and 1000). Also acquired the following for my LED fixture, which will have 6 dimmable channels (RB/NW/Violet/Cyan/Green/Red):
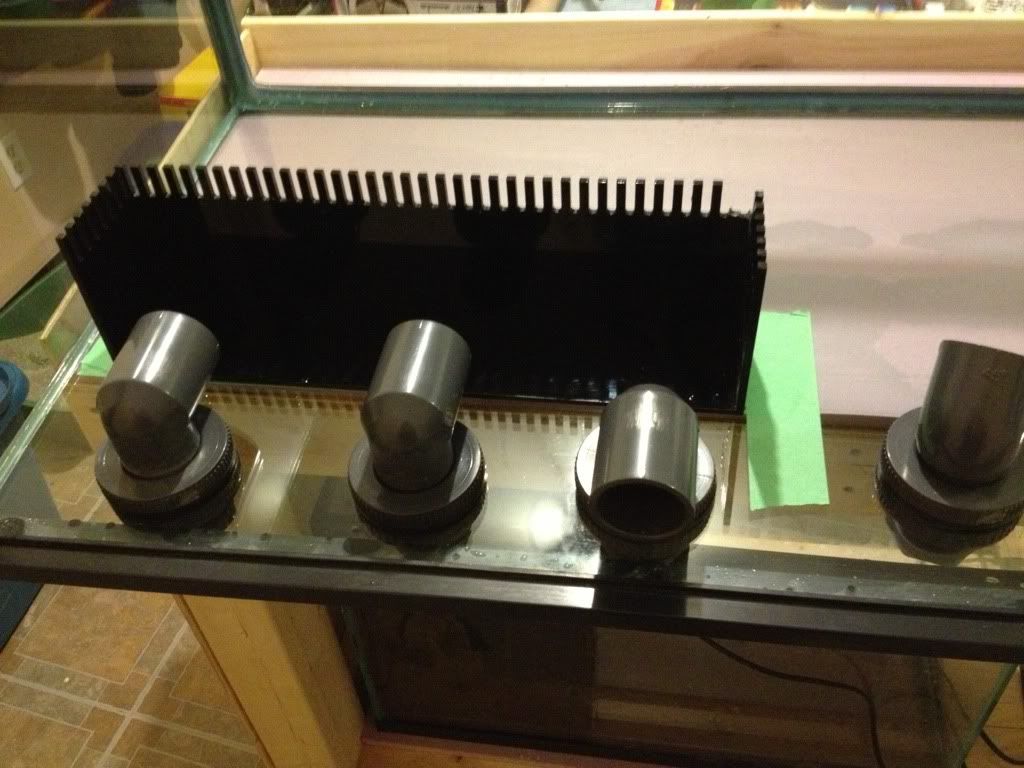
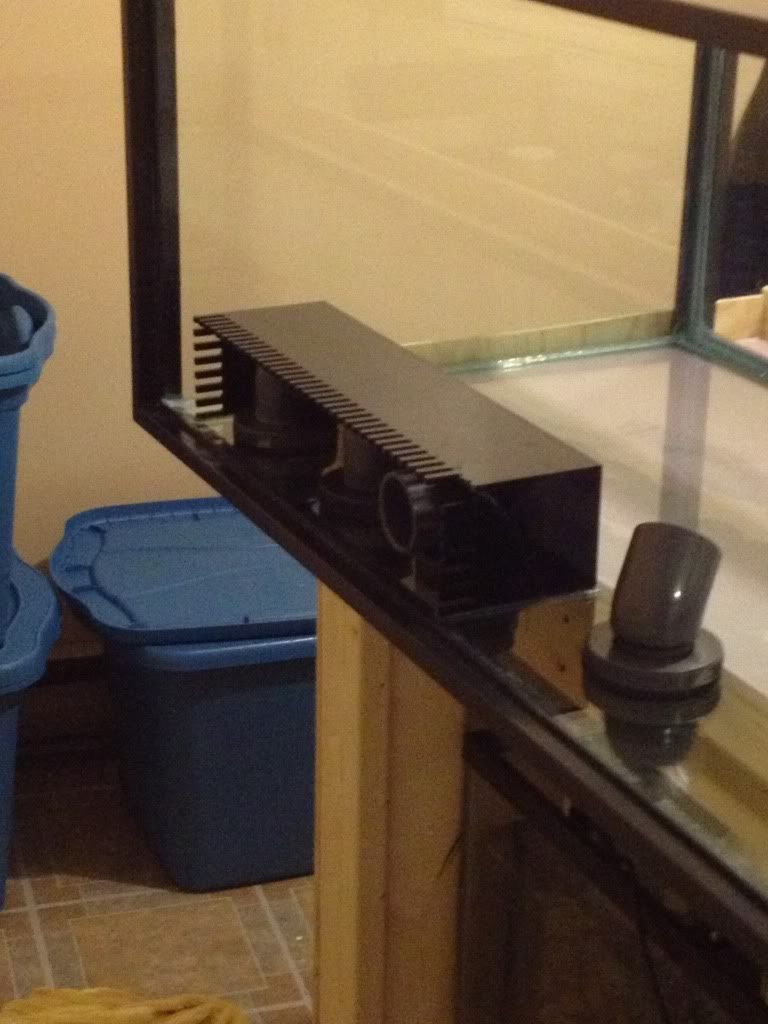
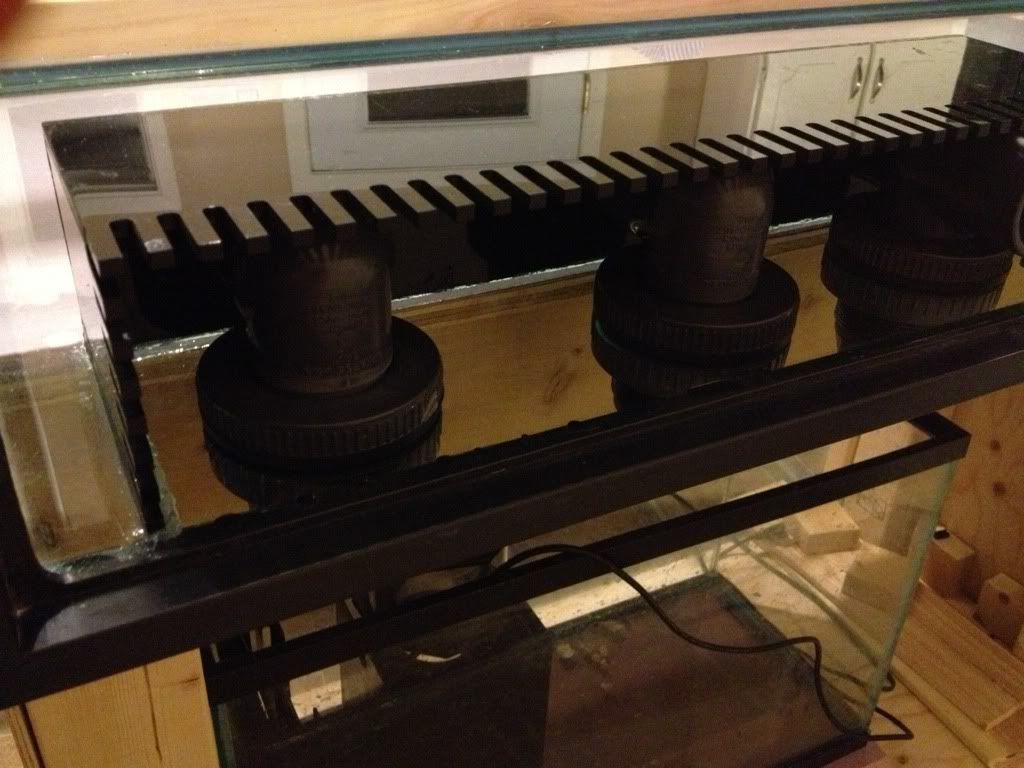
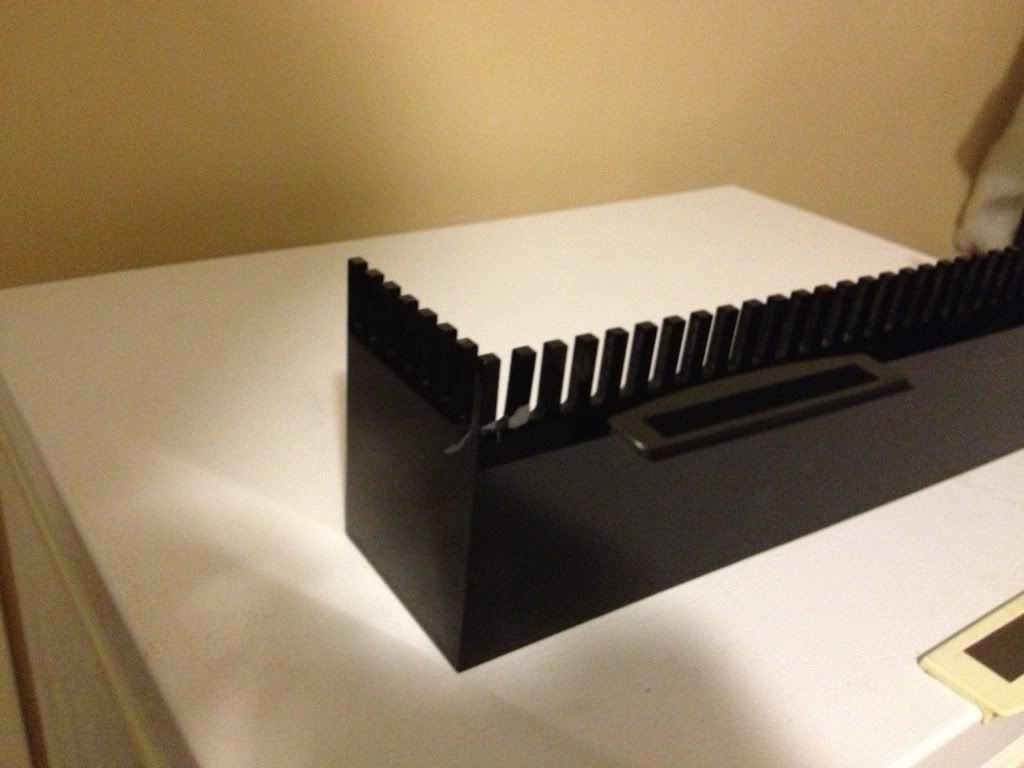
-2x 20" LED T-slot heatsinks from HeatsinkUSA (will be mounted on L bracket with each sink centered over a side of the tank, eventually planning a rail mount system similar to the Maxspect P series so that I can create cool shadow effects)
-19x Cree XTE RB/RB/NW 3up stars
-16x violets (6x 405nm, 10x 425nm)
-11x OCW
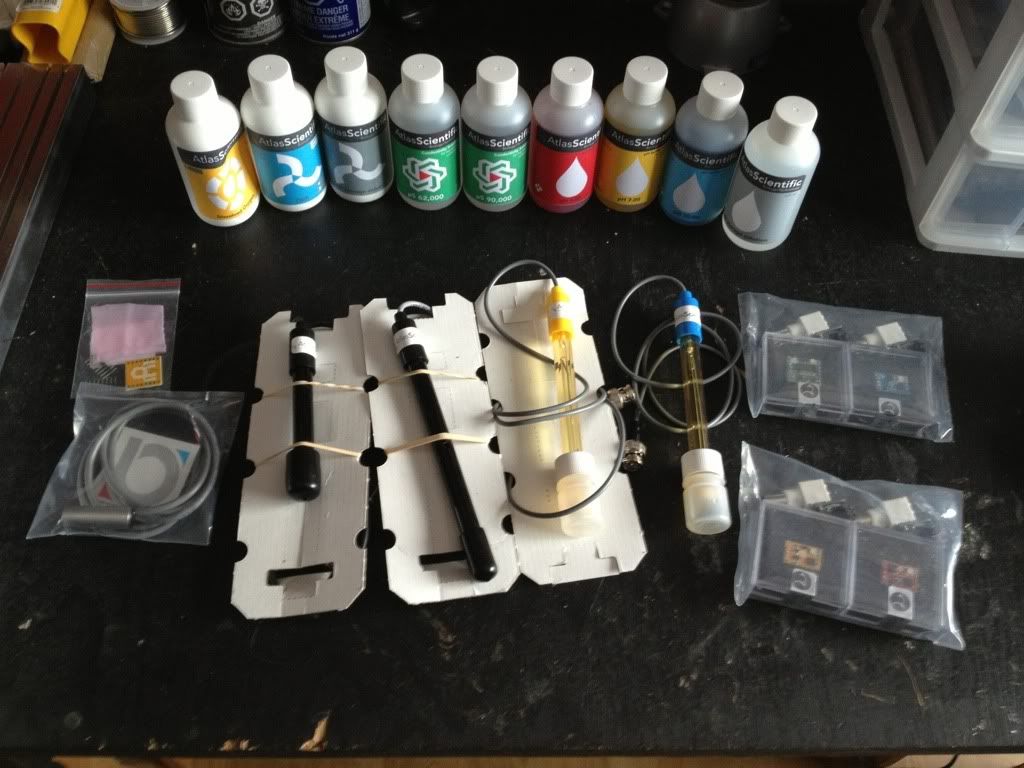
I kinda broke the bank on the next purchase... but I figure it's a good investment to have accurate measurement equipment on hand. Sure I could have built DIY probes for alot less, but I'm not sure I would have trusted them. And in case I do need to add more probes later, I can DIY them and use these as reference probes to ensure that my cheap ones are accurate.

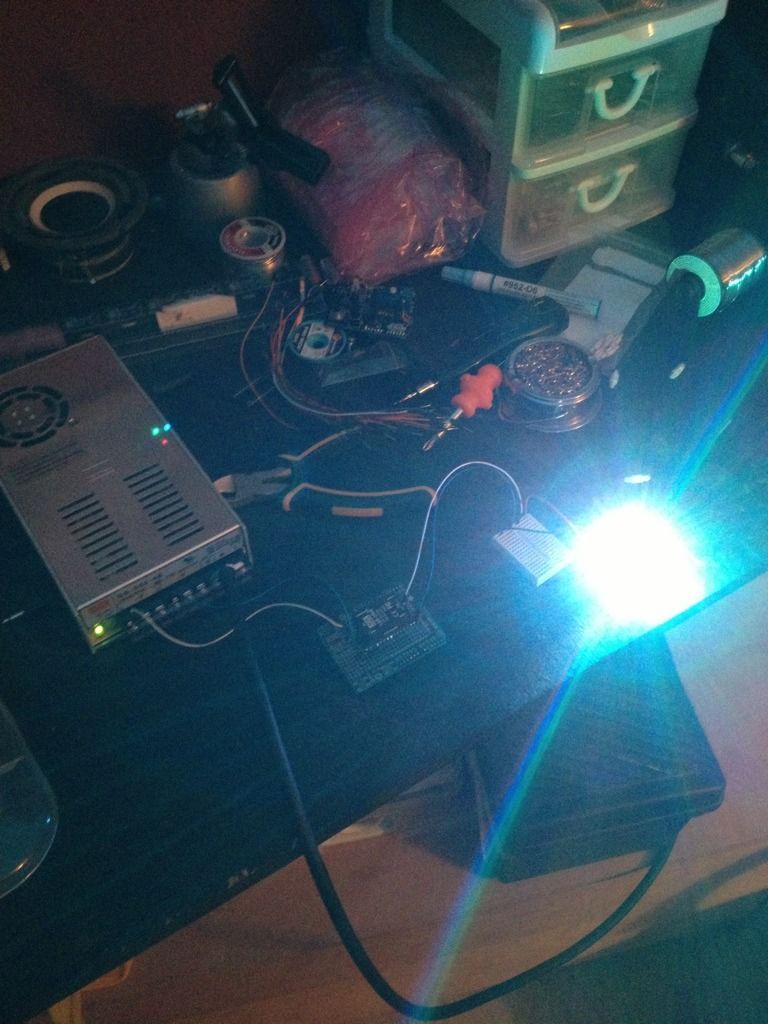
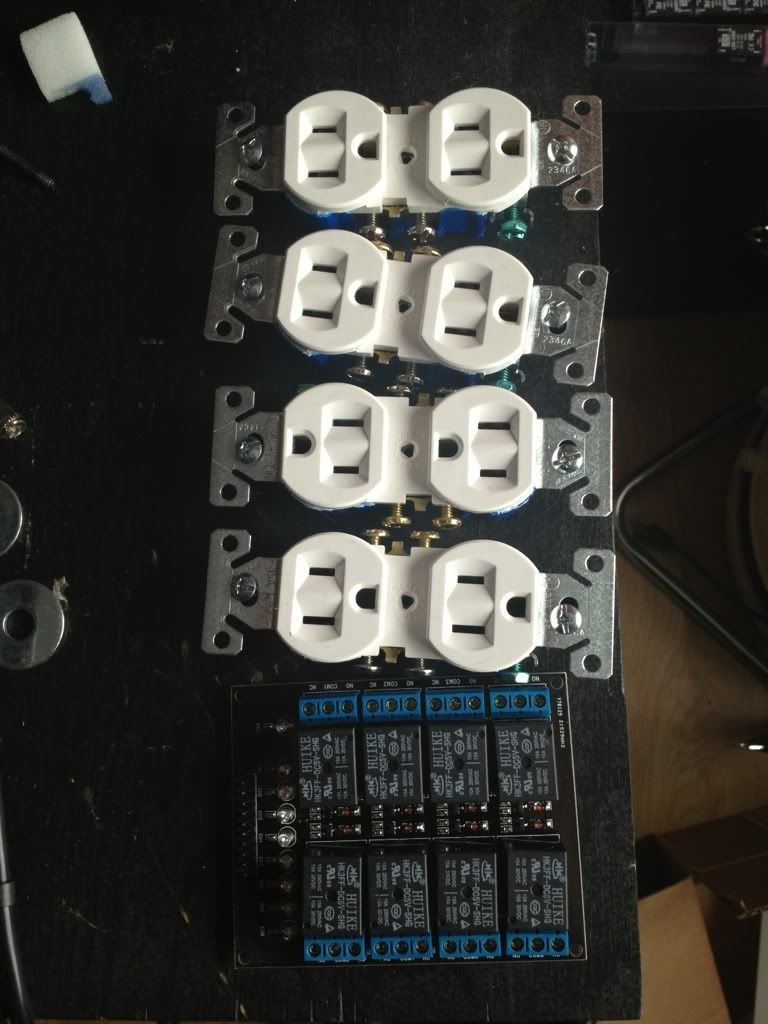
What will hopefully become an Arduino-controlled power bar:
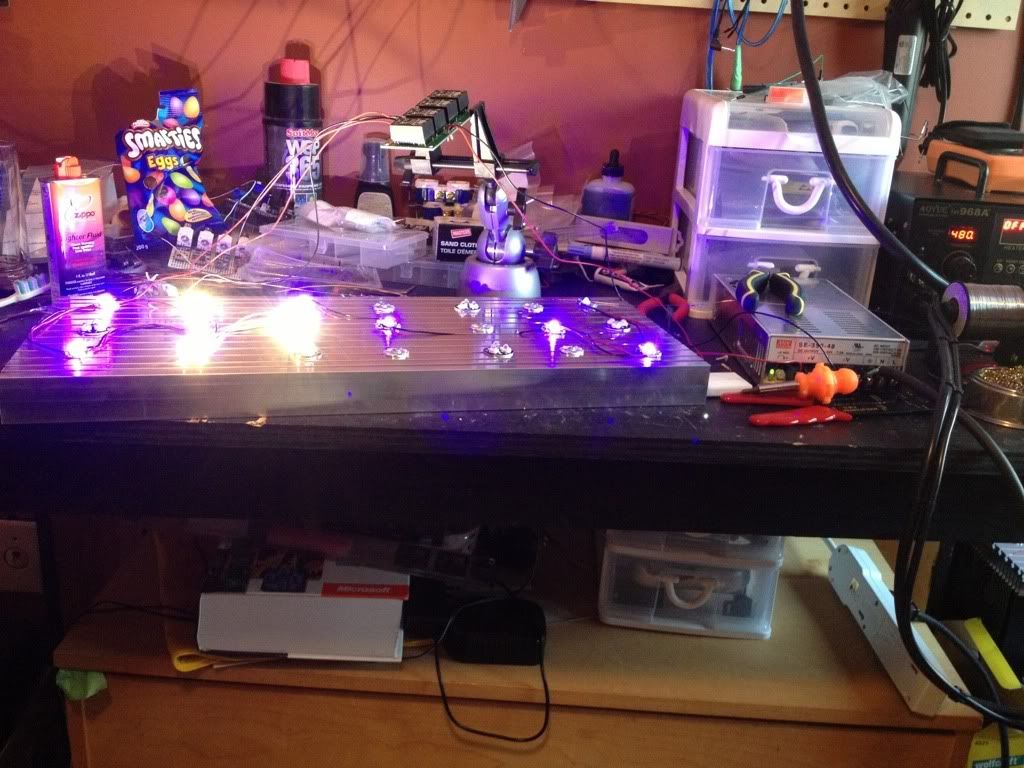
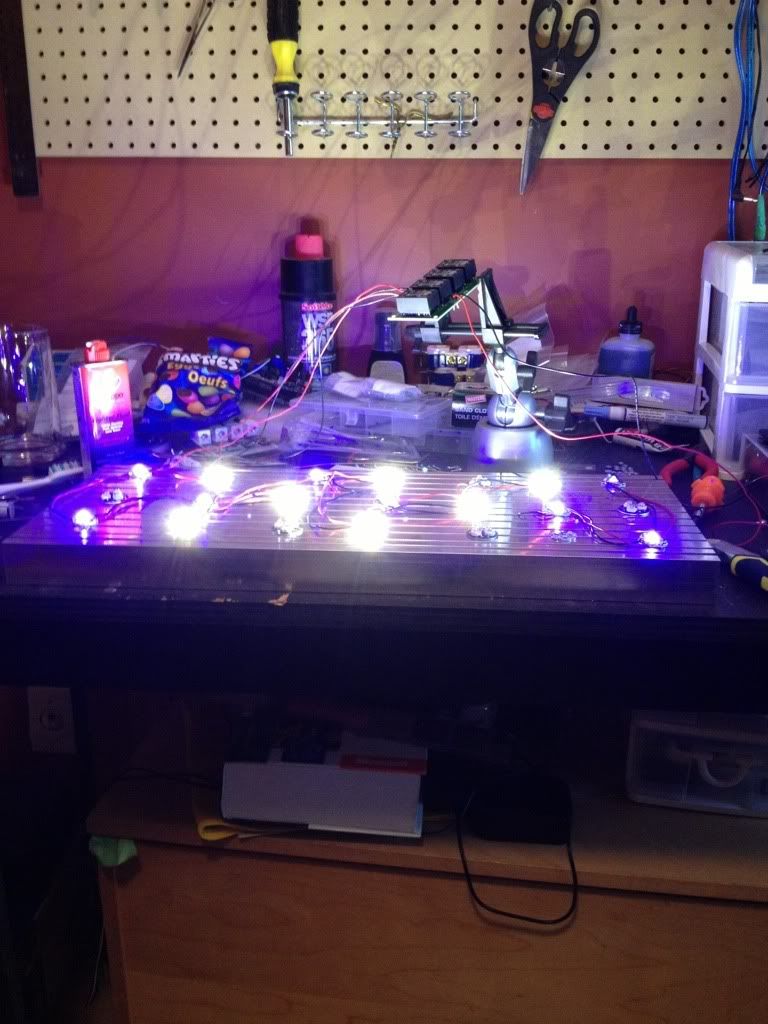
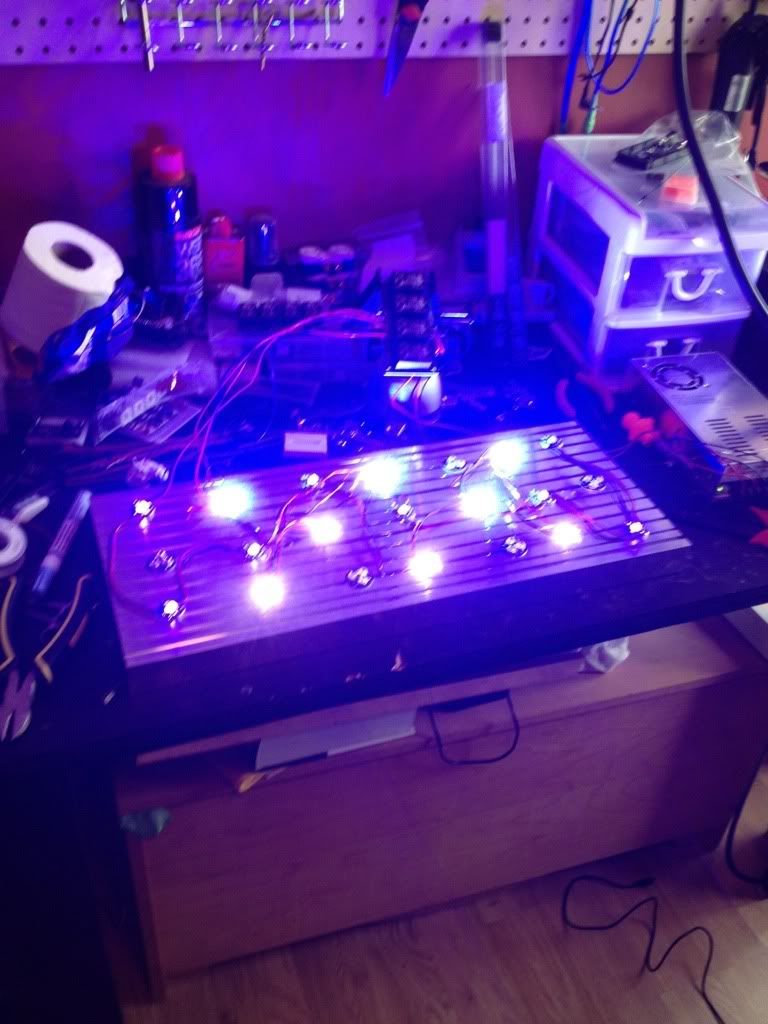
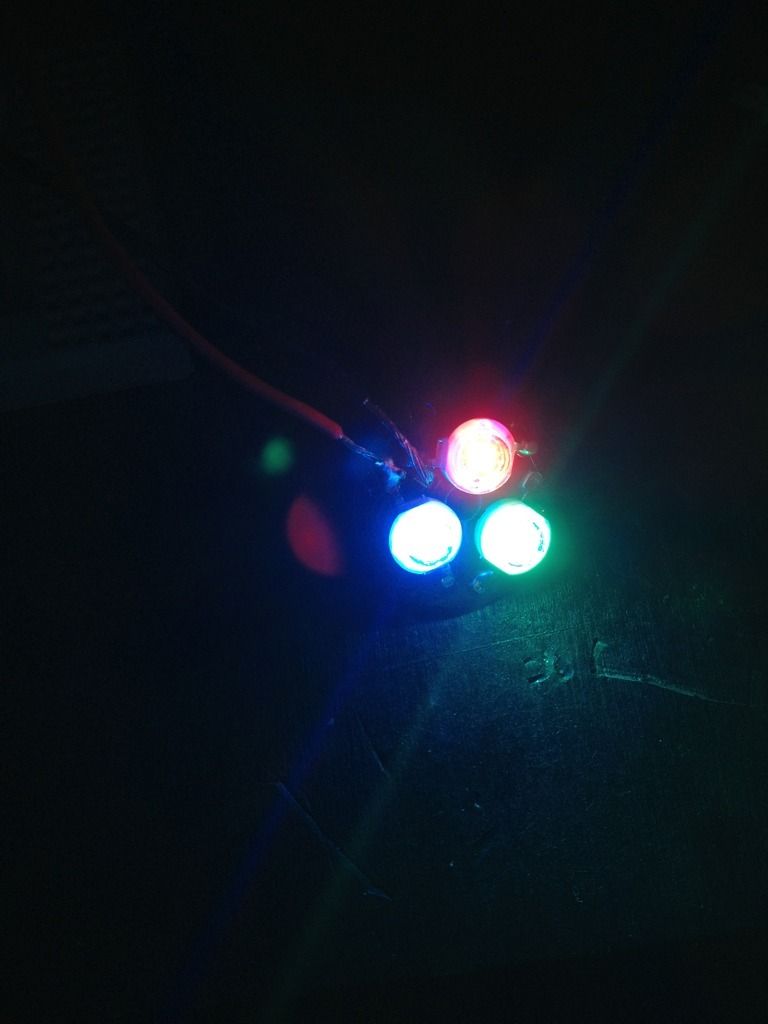
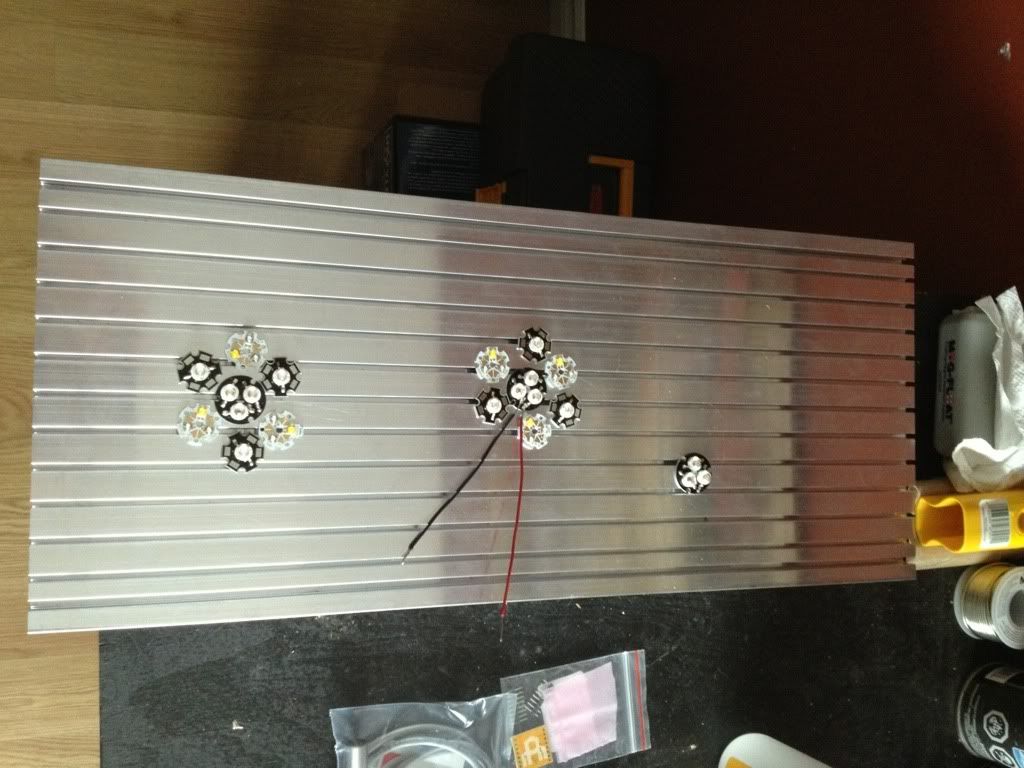
Testing some LED layouts:
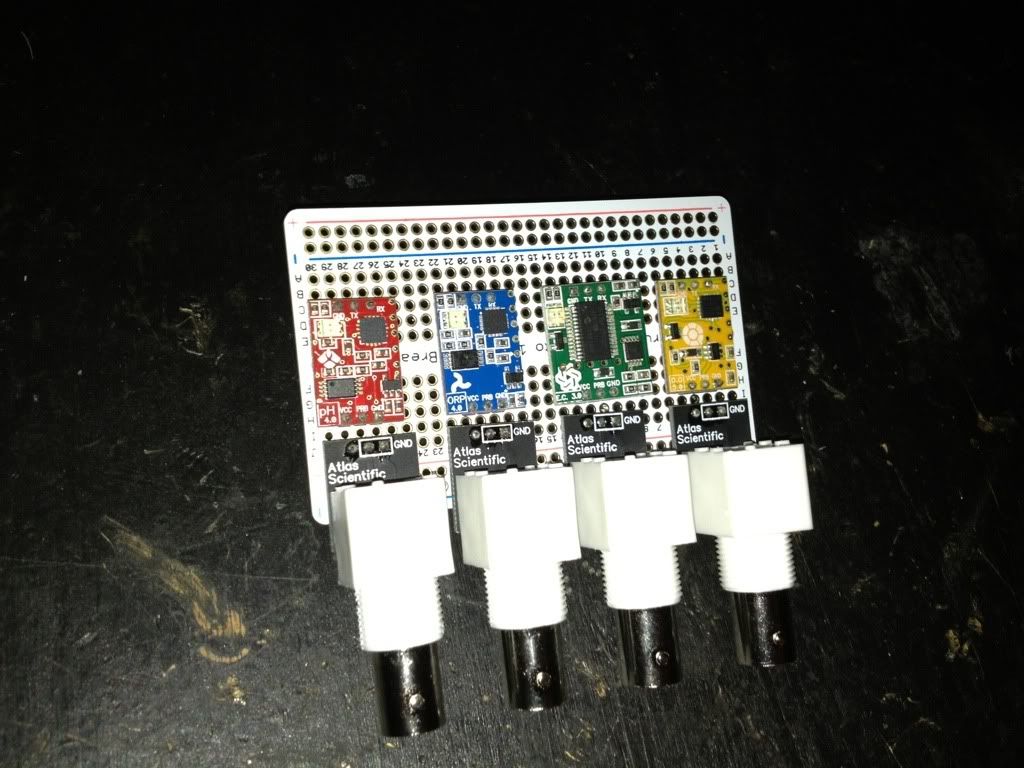
Atlas Scientific stamps on a breadboard:
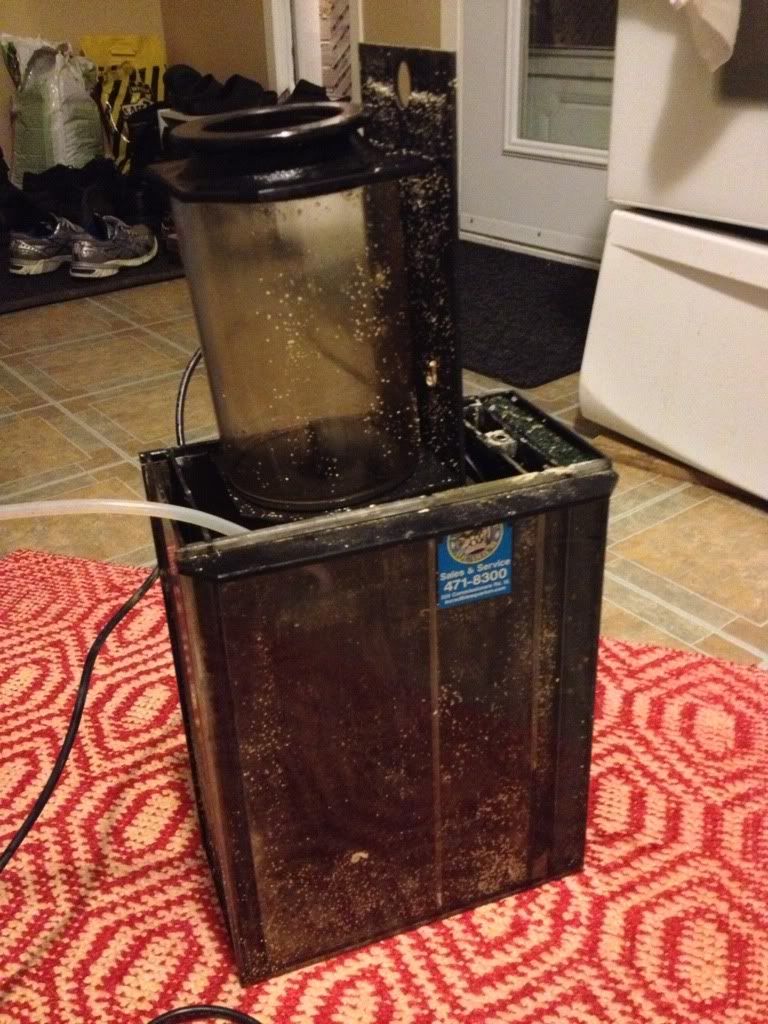
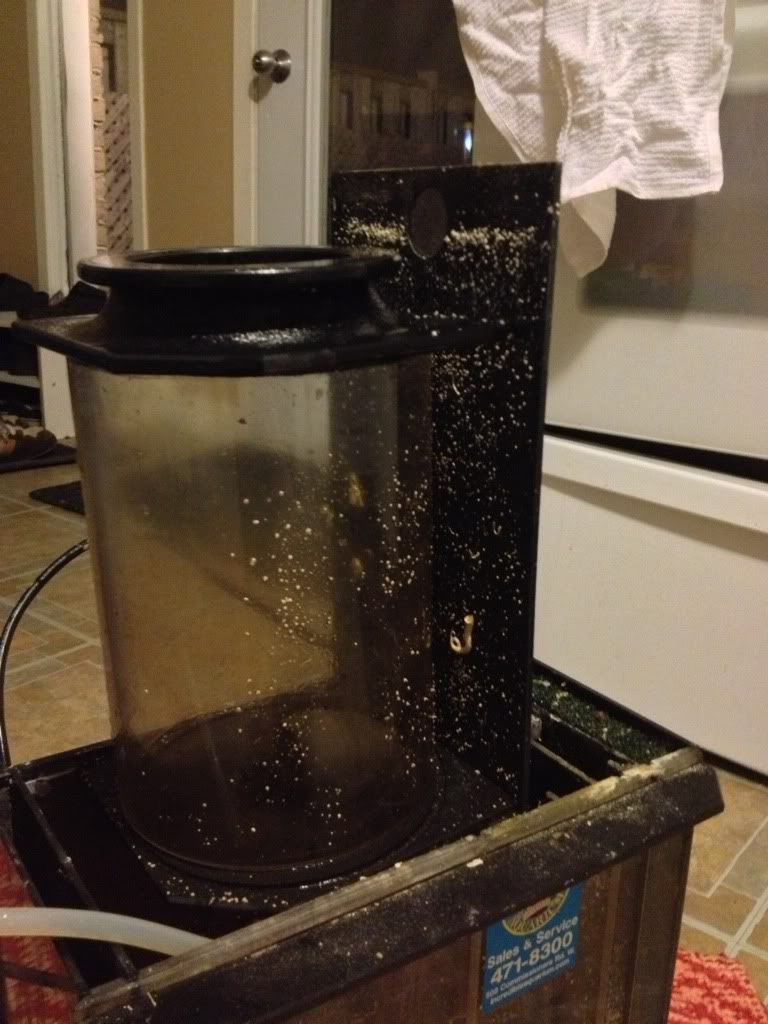
Free skimmer! Dirty as all get out, but that's ok, I've got no shortage of elbow grease lol. Took a bit of work for me to identify it, but it turned out to be a good one! (Or at least, an expensive one.) Deltec TS-1250. Before:
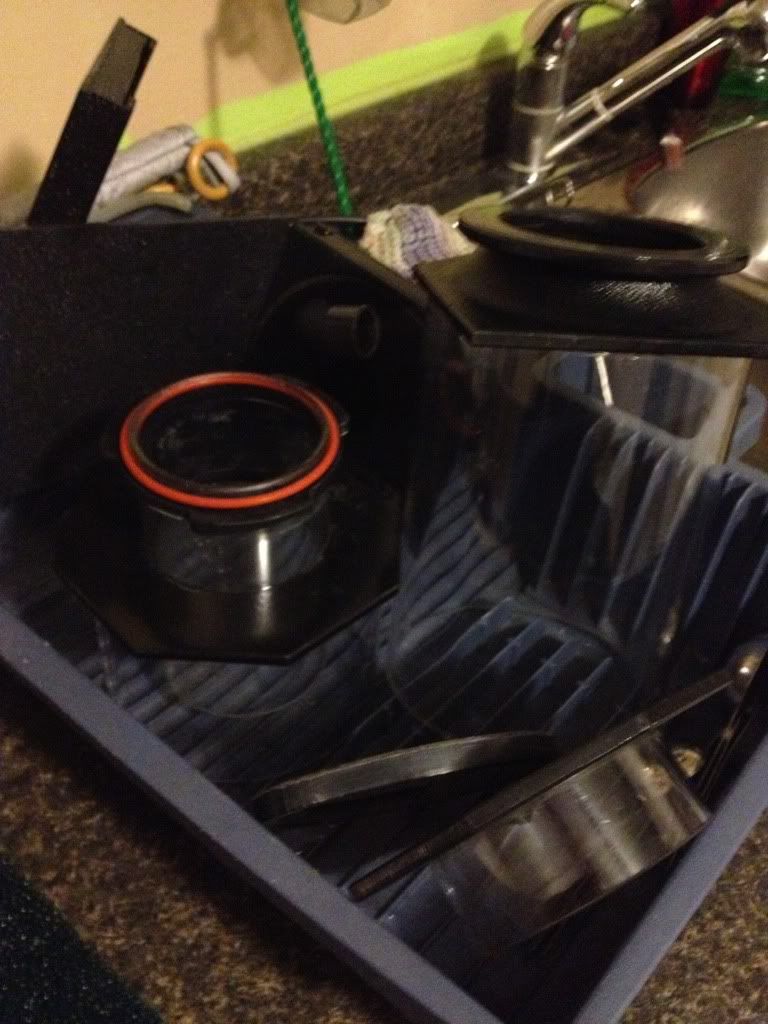
Parts in the drain board:
Full shot of it cleaned up:
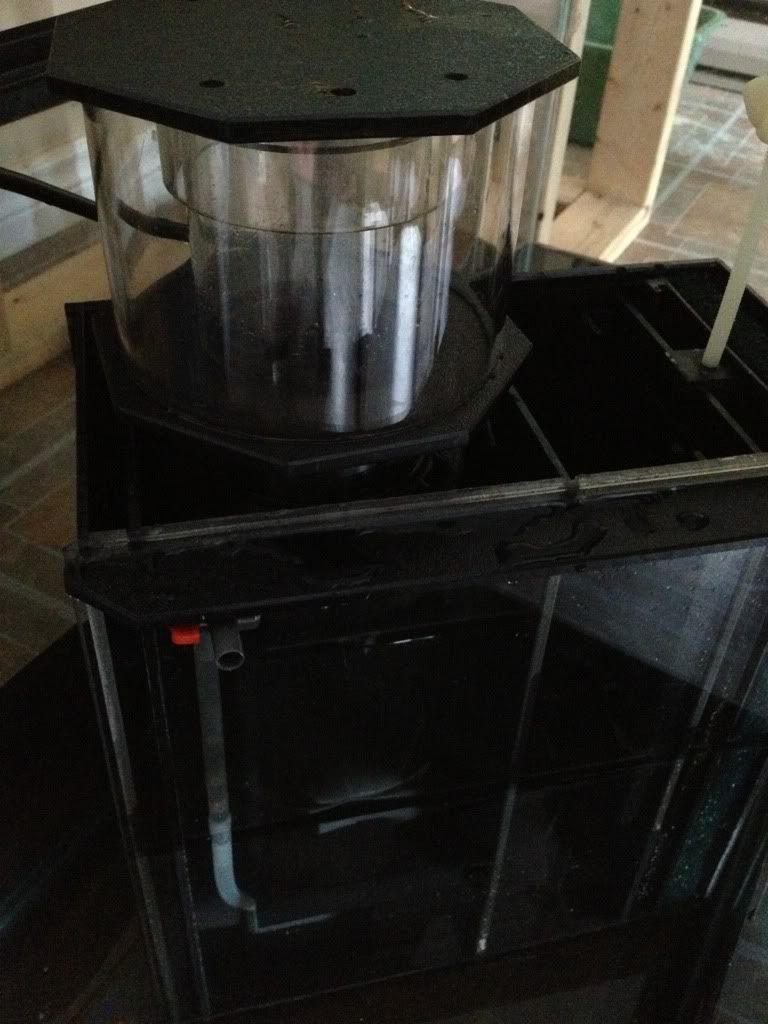
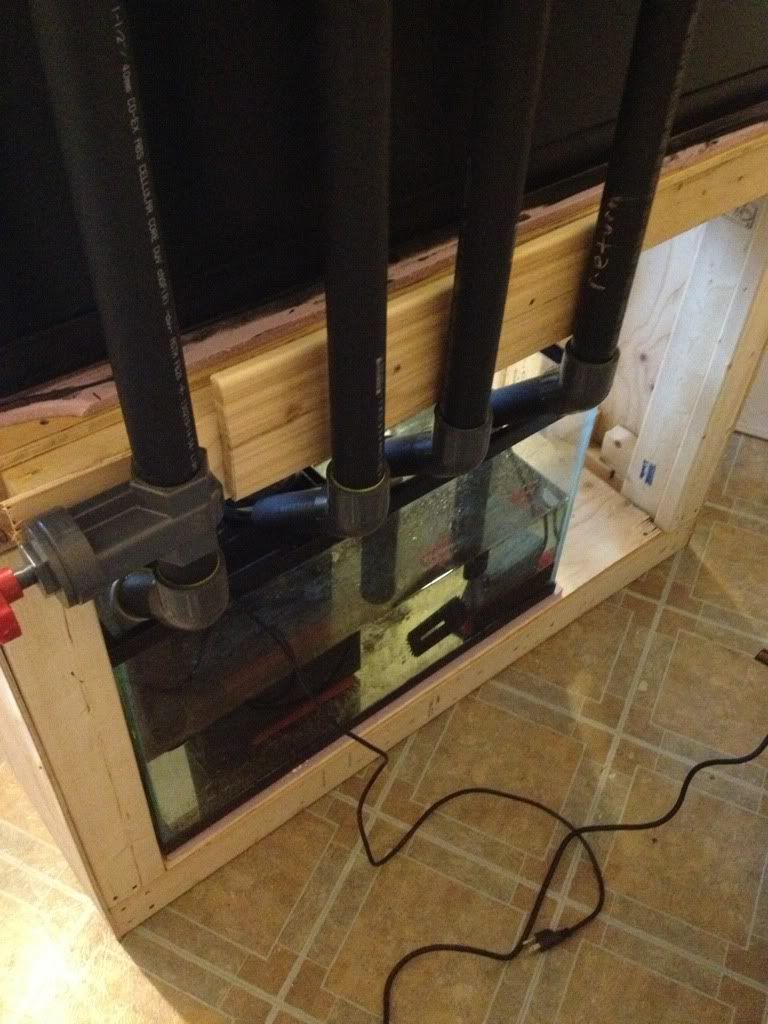
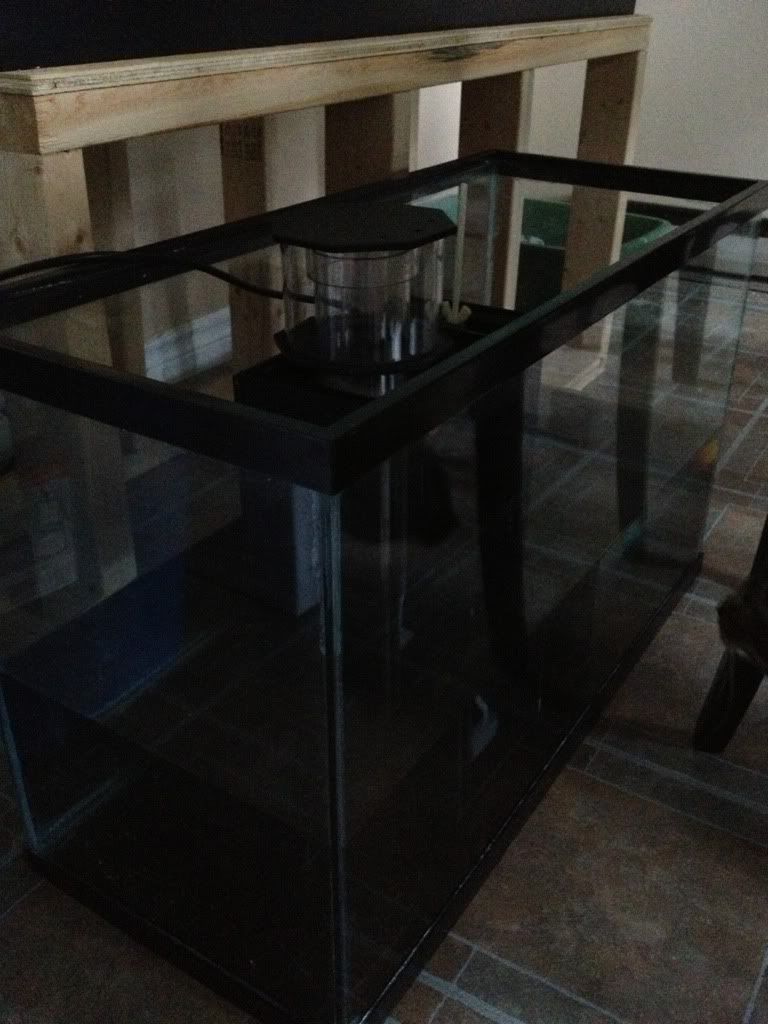
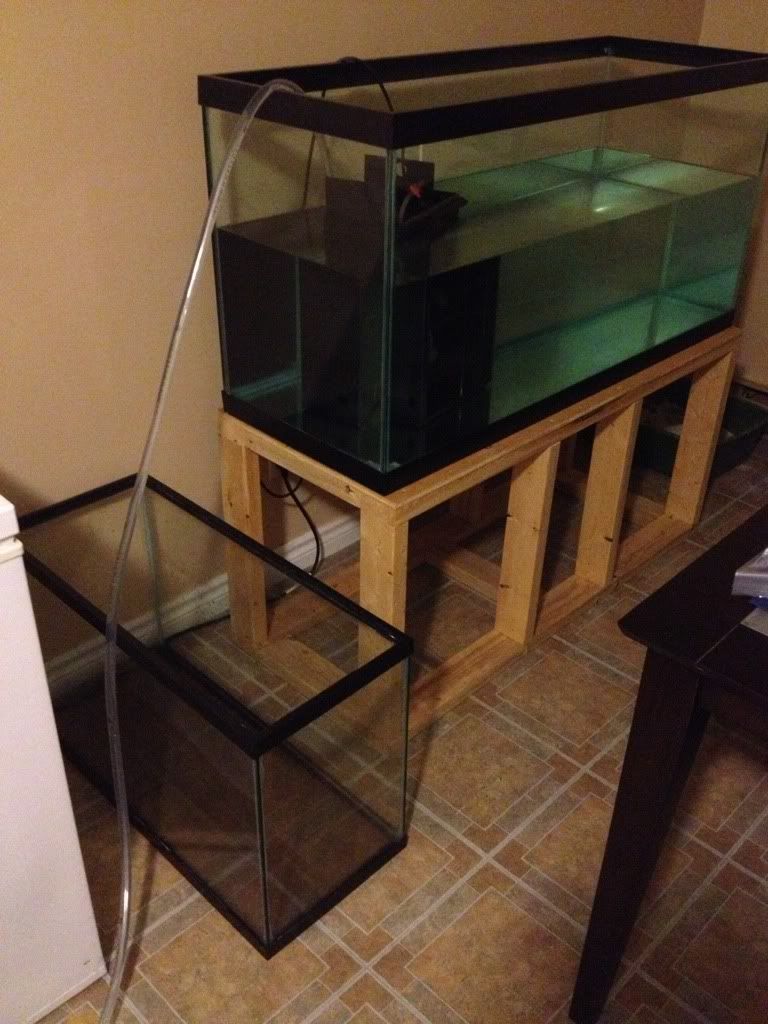
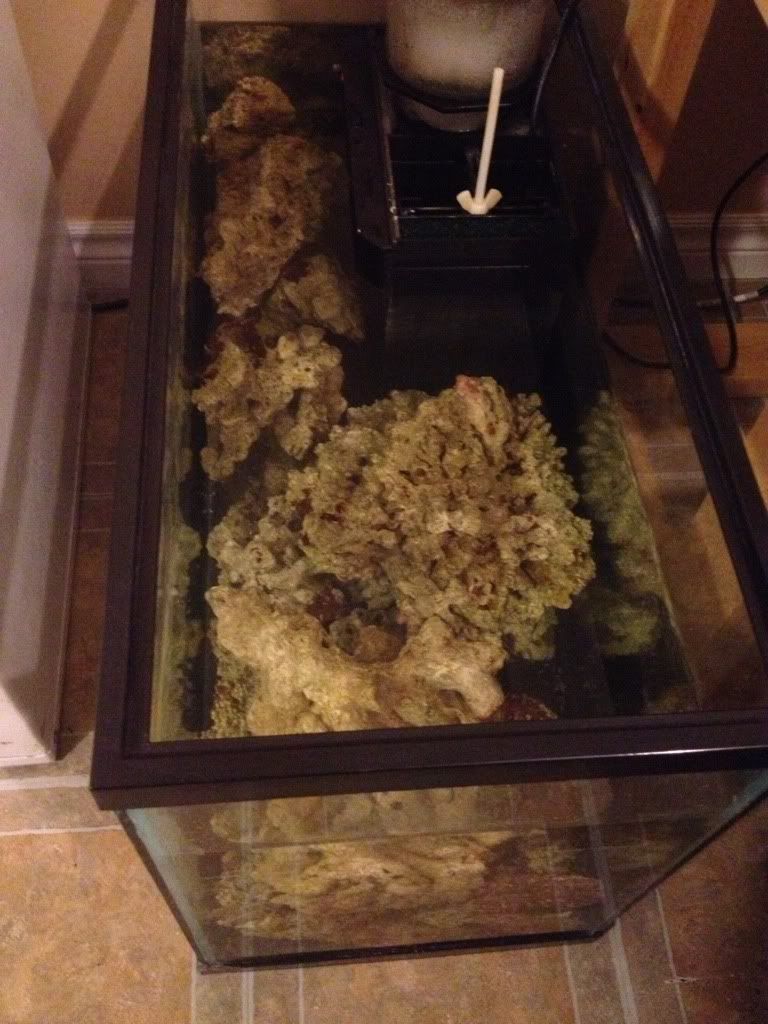
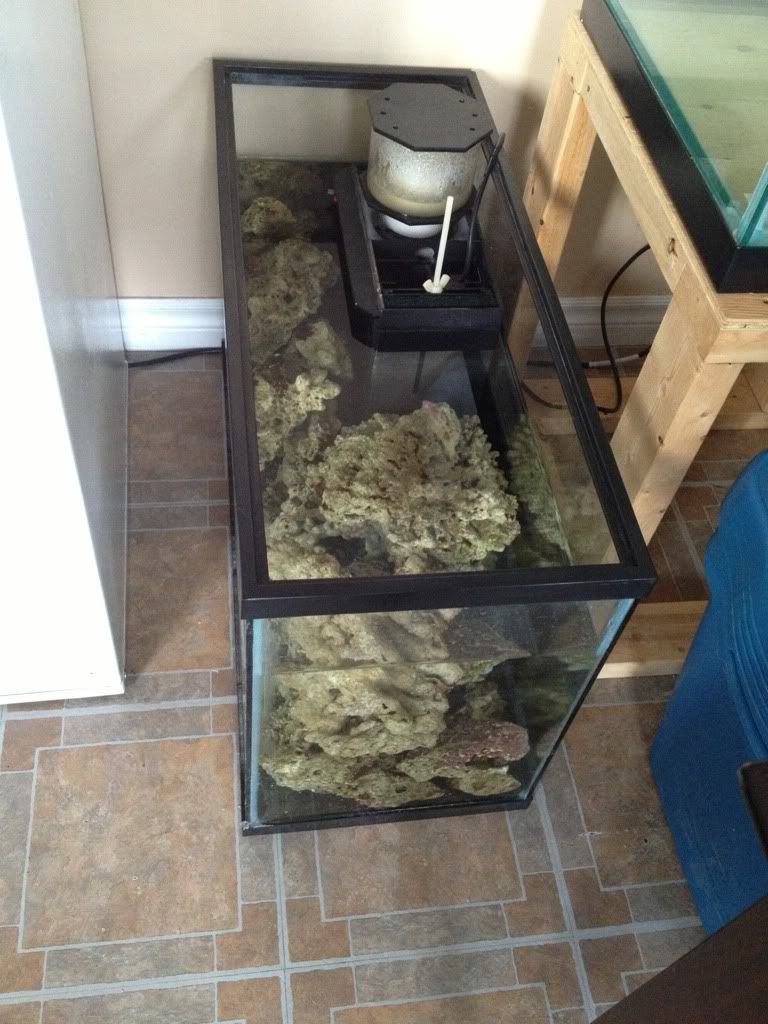
And lets see it in the sump:
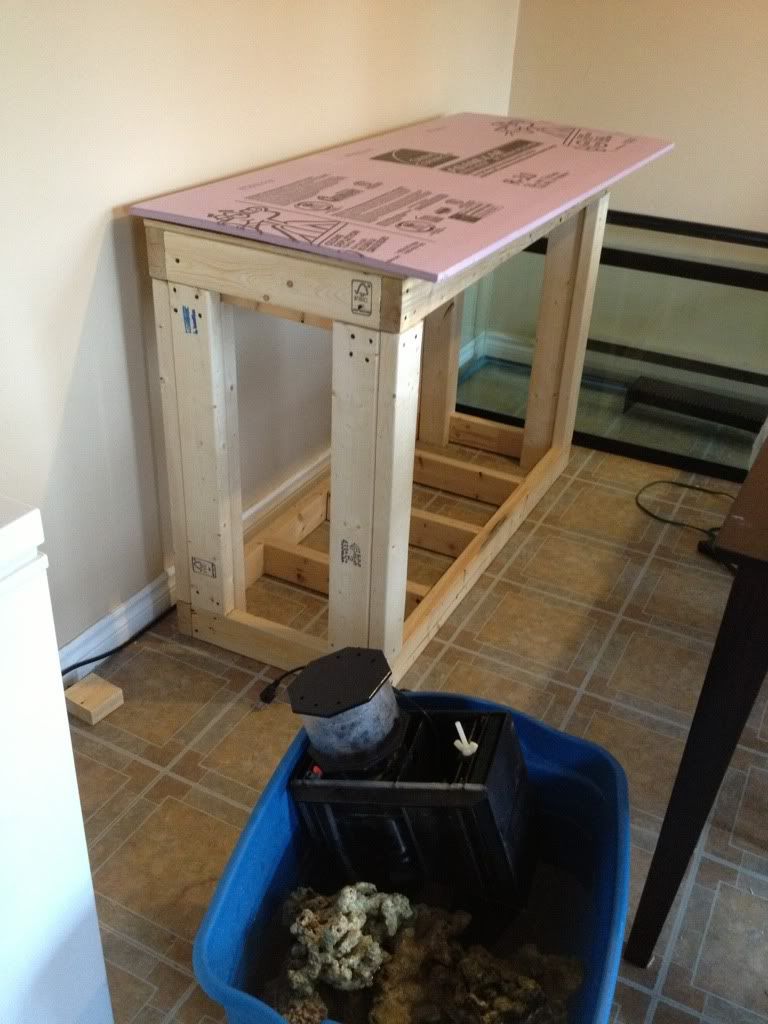
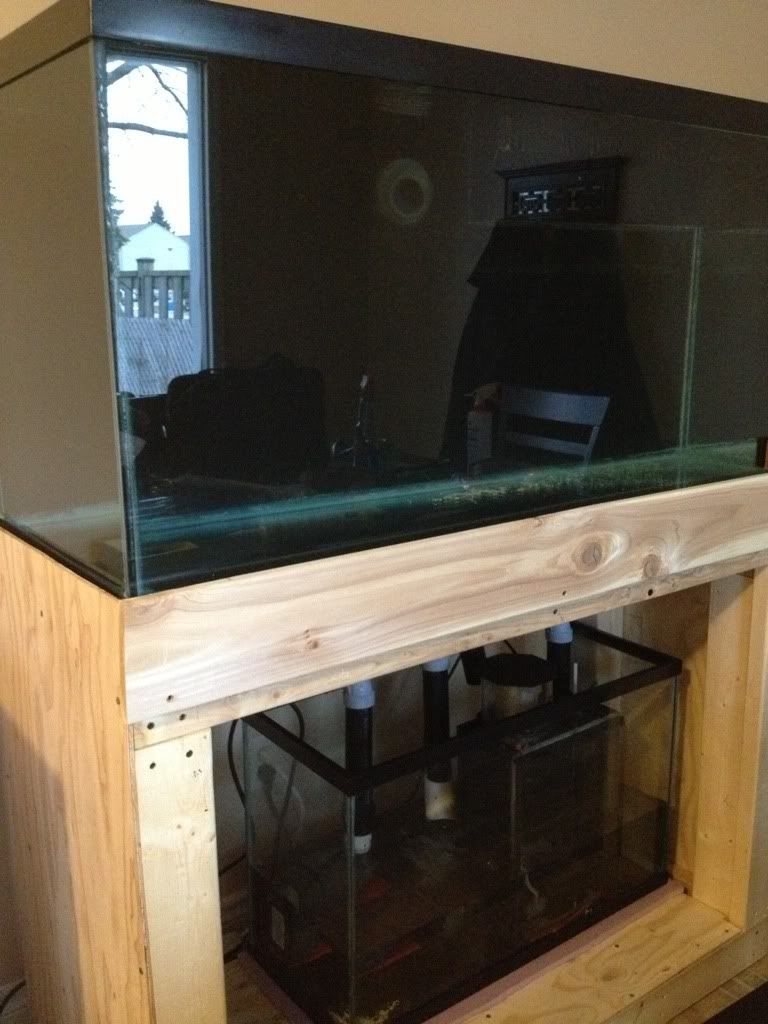
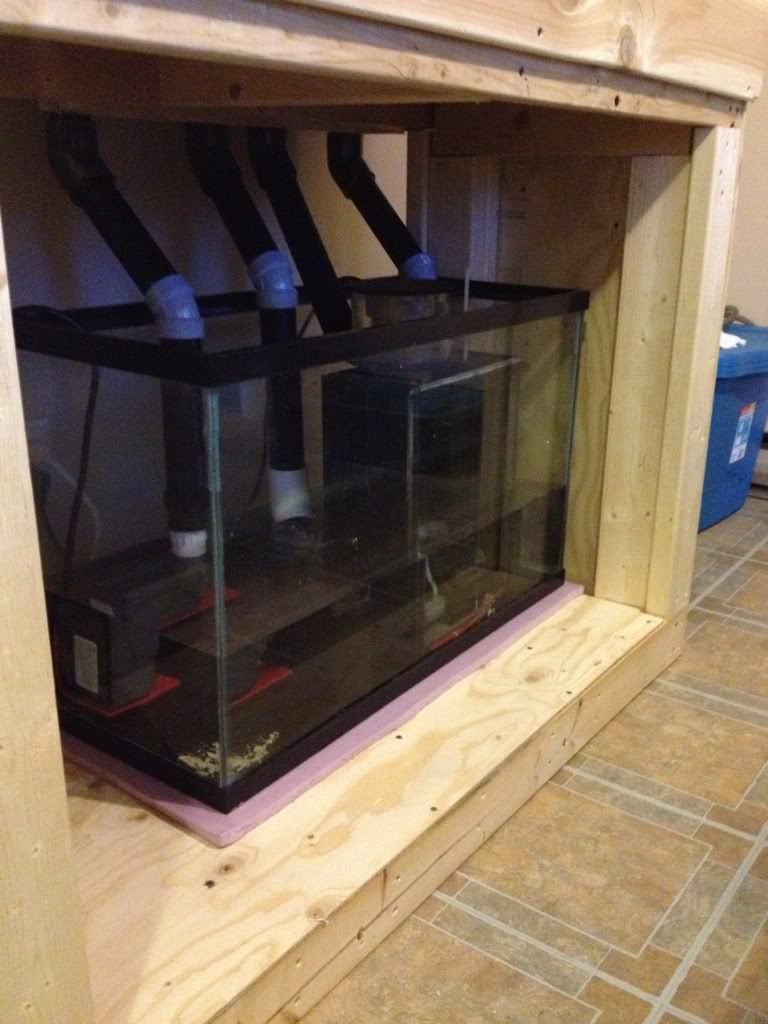
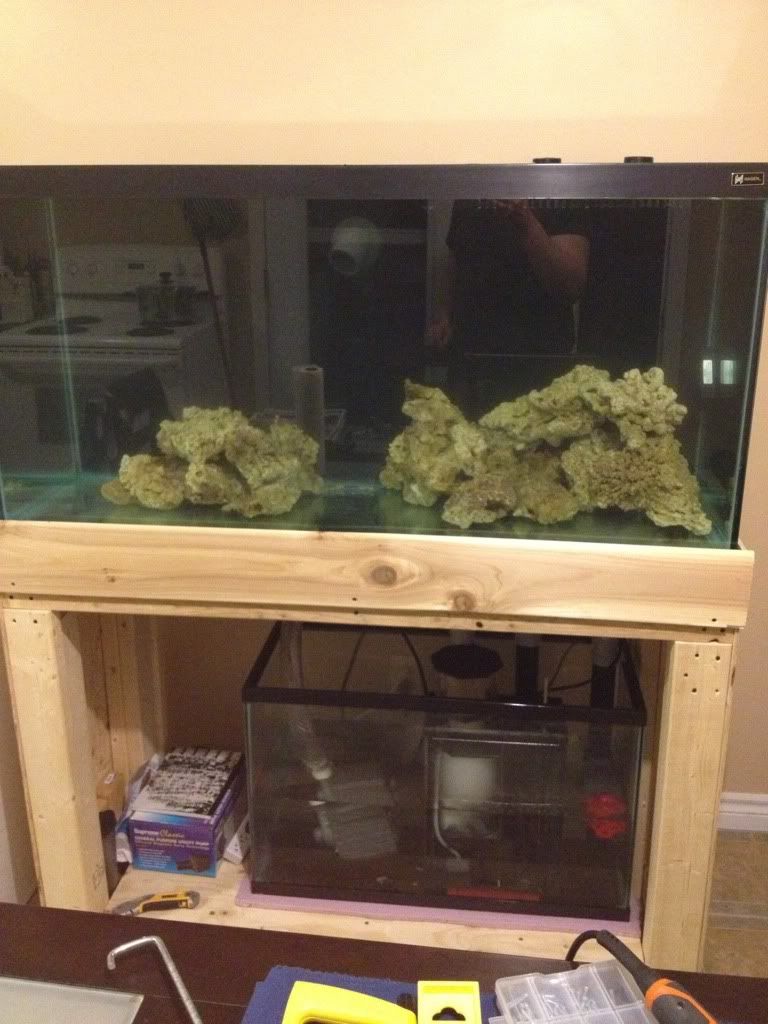
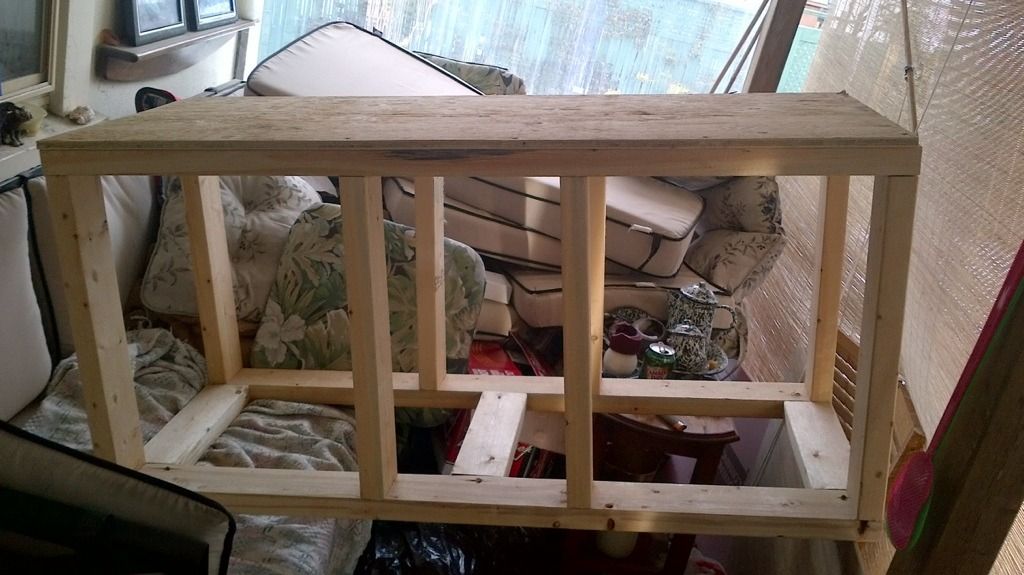
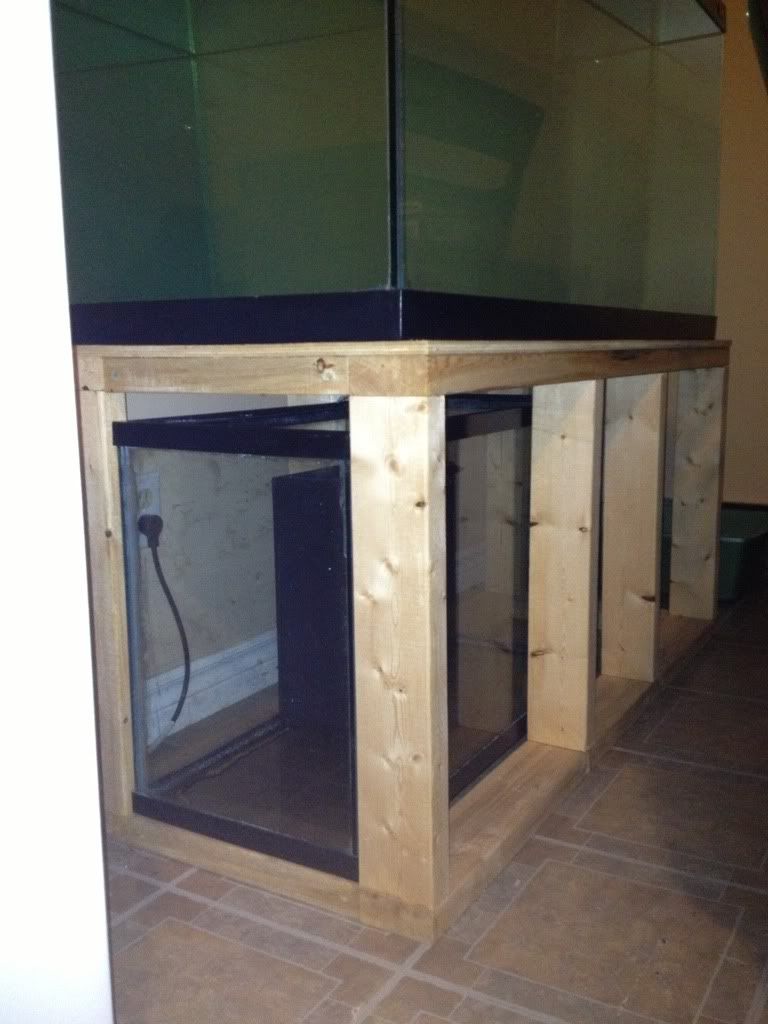
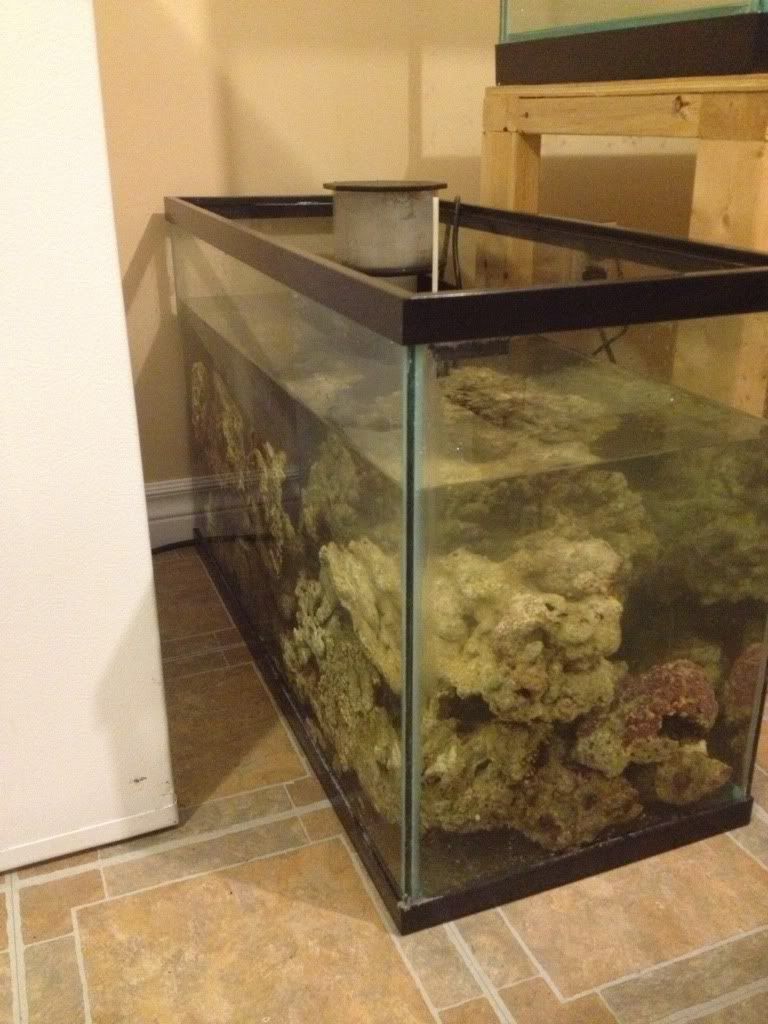
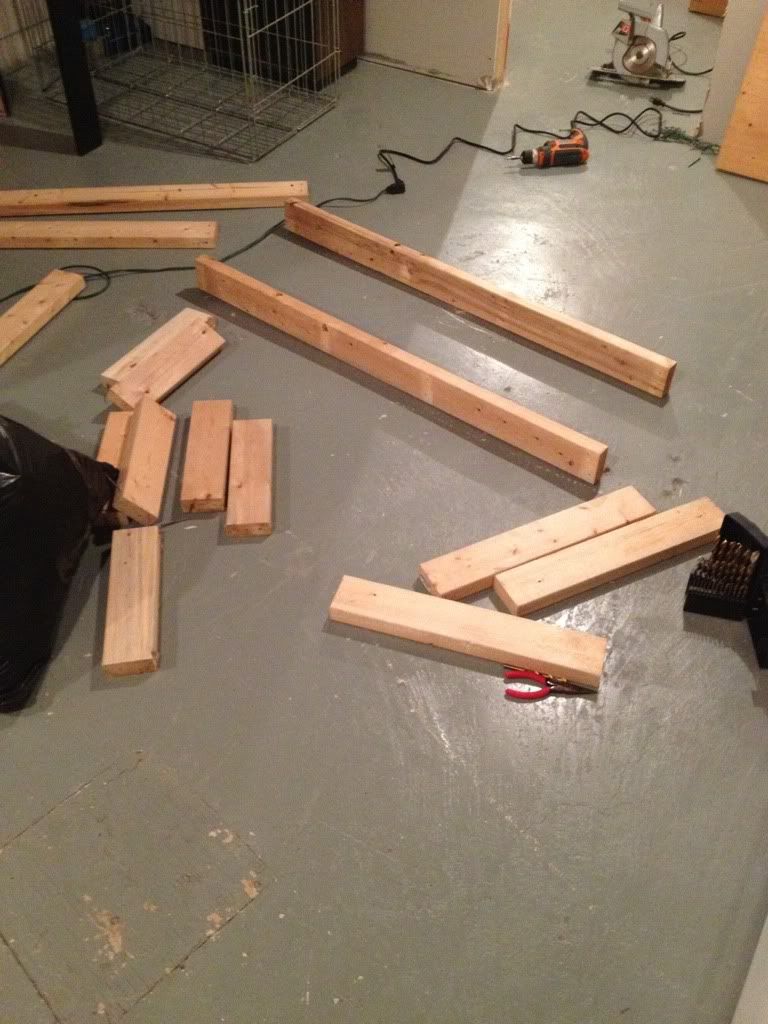
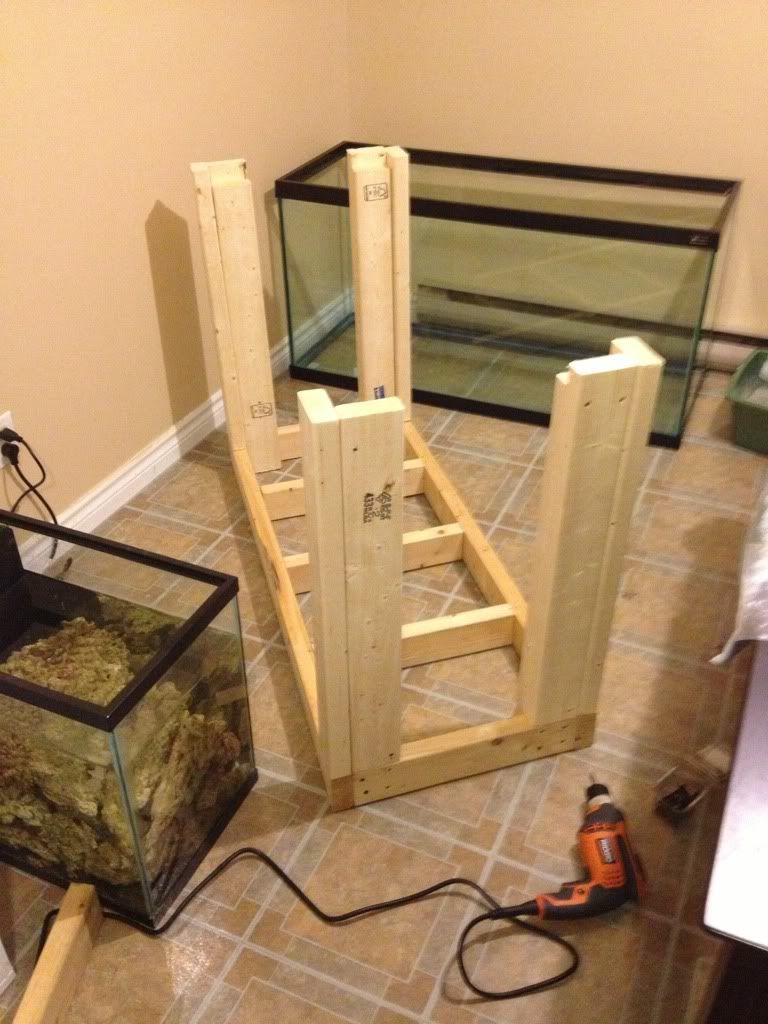
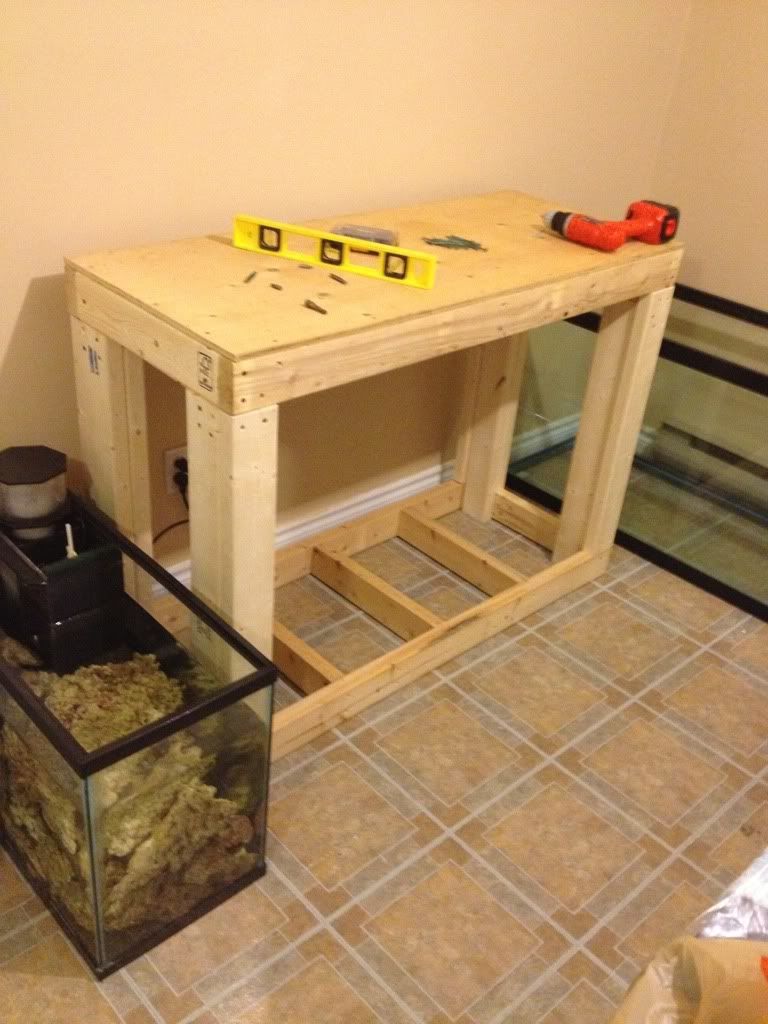
Test fitting sump under the stand. As soon as I saw this stand, I knew I would have to disassemble it and make some changes. Mainly, I need more height in the sump area. Secondly, it wracks like mad! I was using an algae scrubber to clean up the glass and noticed that the tank/stand would shift back and forth as I scrubbed the front.
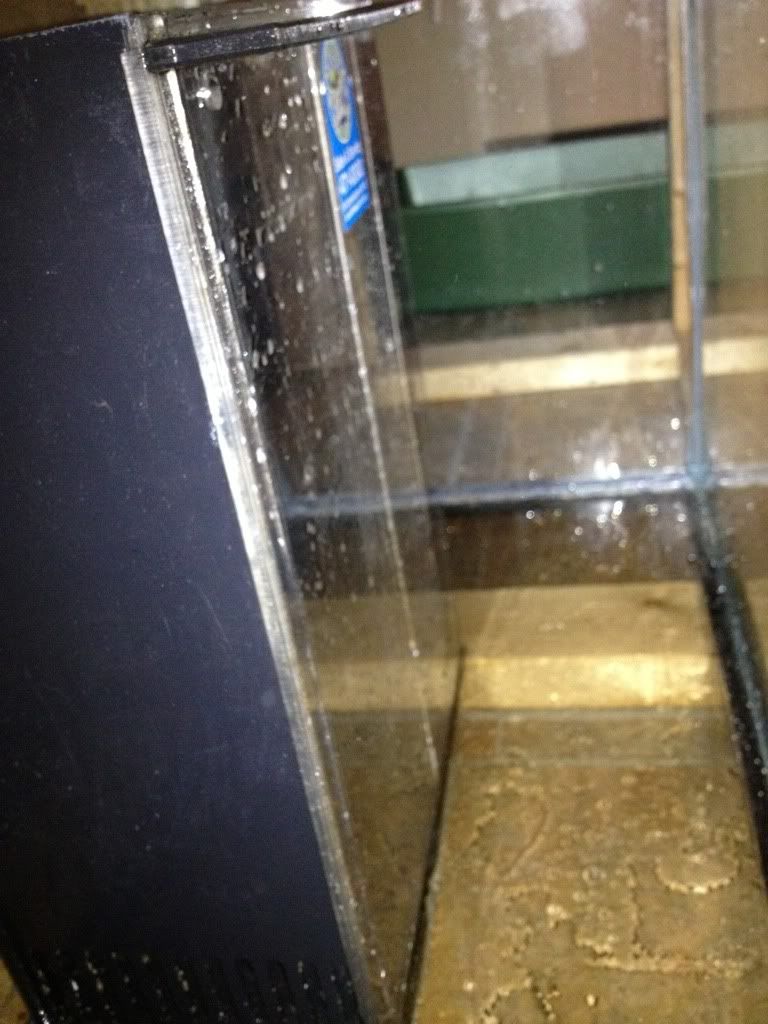
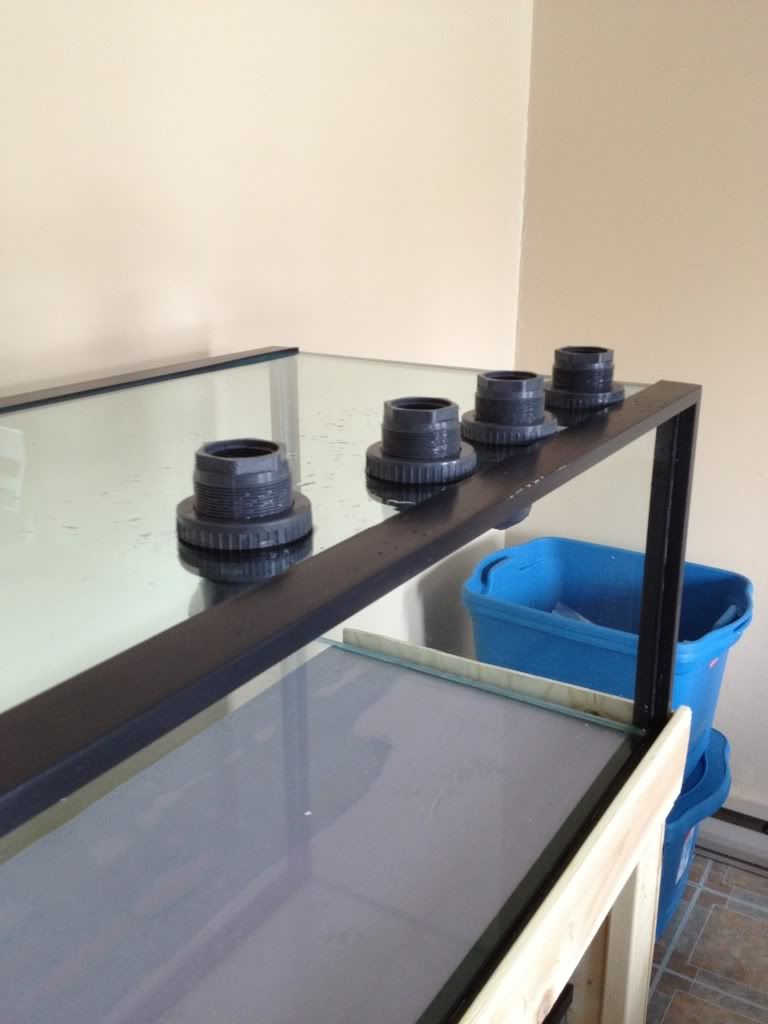
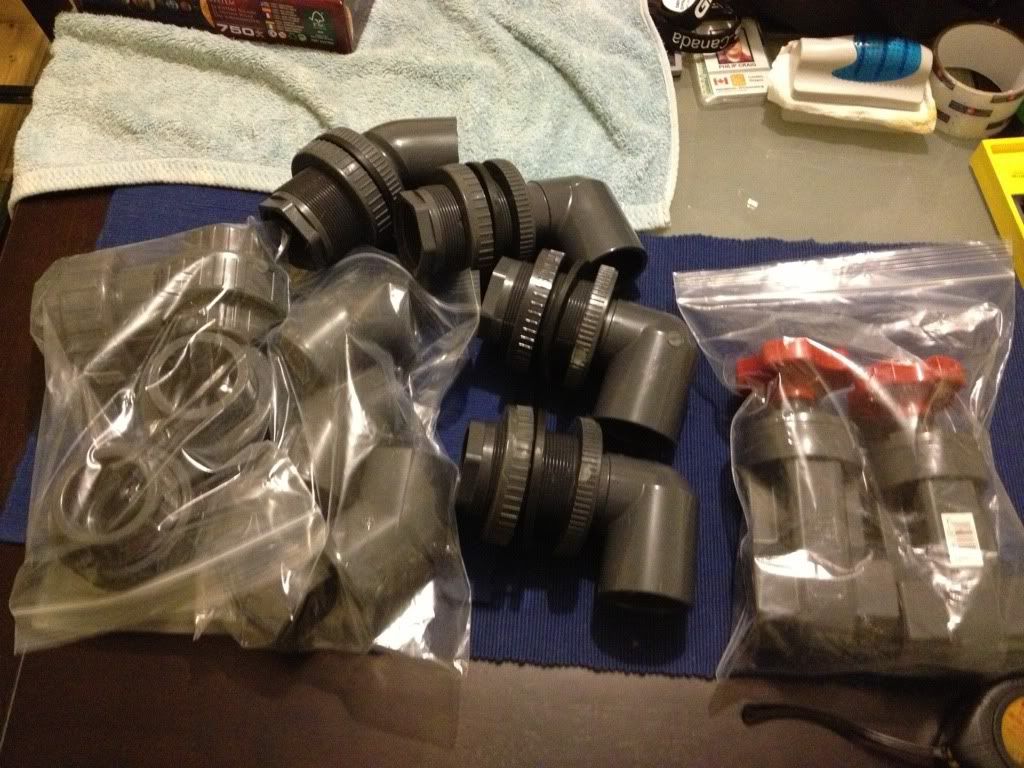
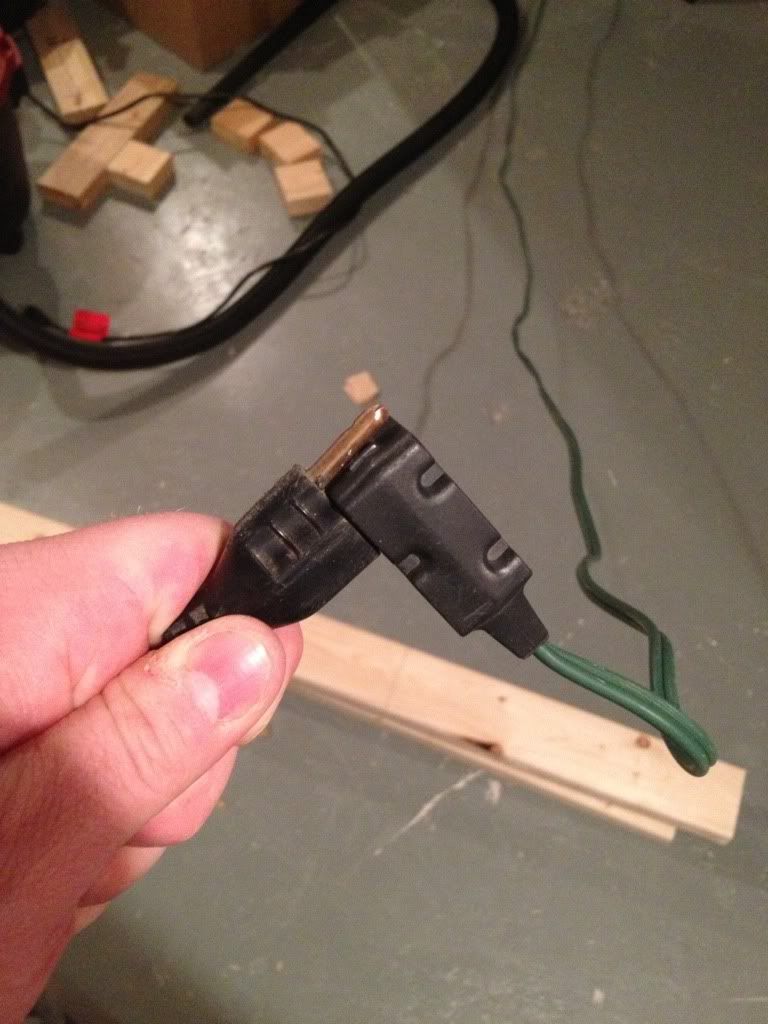
BRS order arrived - diamond hole-saw, drill guide, overflow box (with a broken corner...), plumbing bits:

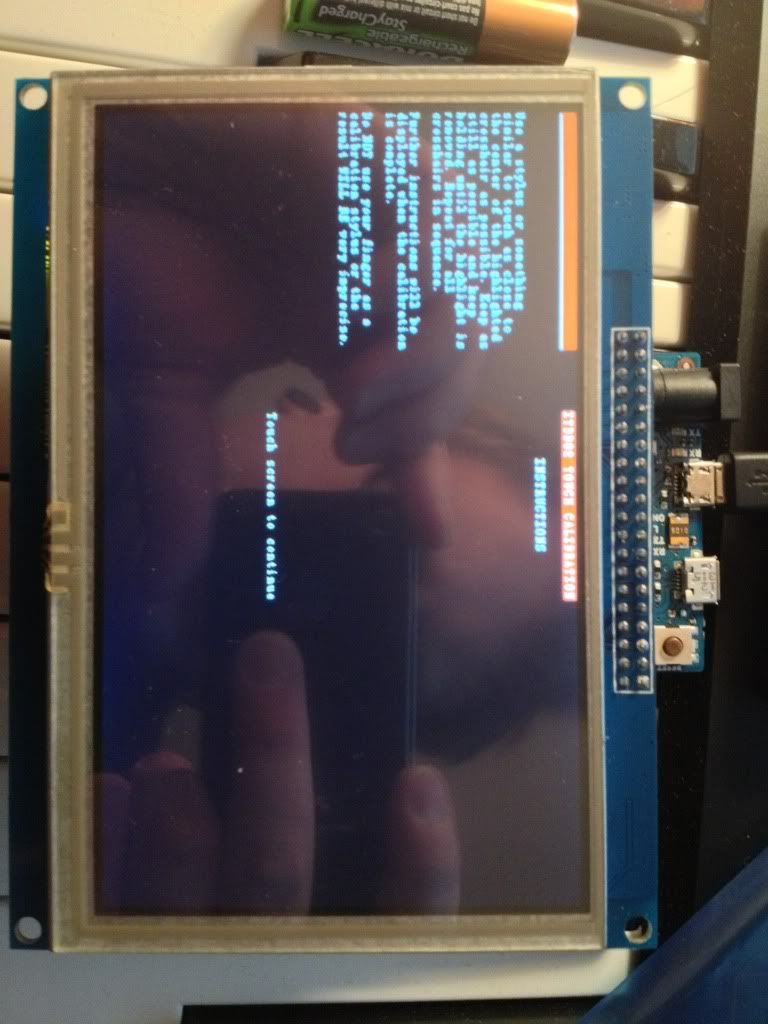
Got an 5" LCD TFT from Itead studios, loaded the calibration sketch: (I was up till about 1AM on Saturday night trying to get this to work! So much fun!)
Fixed up the overflow box with some epoxy: (JB Weld)
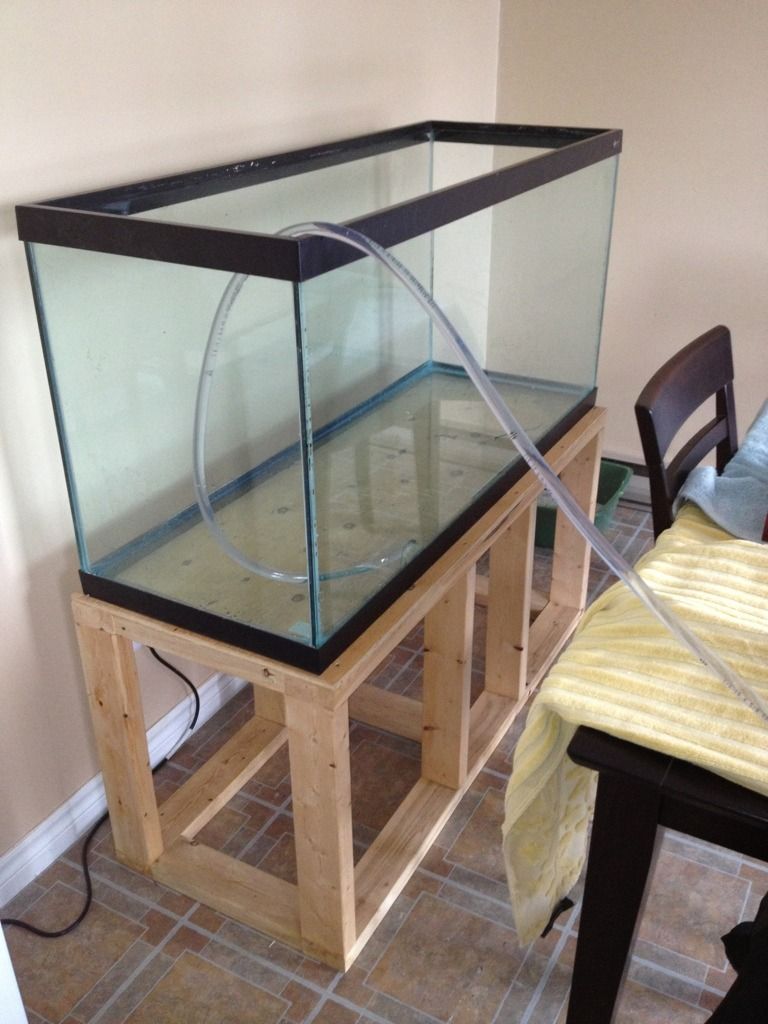
Draining the tank, placing the sump in a temp location. This is prep work for my stand modifications which I hope to perform this weekend!
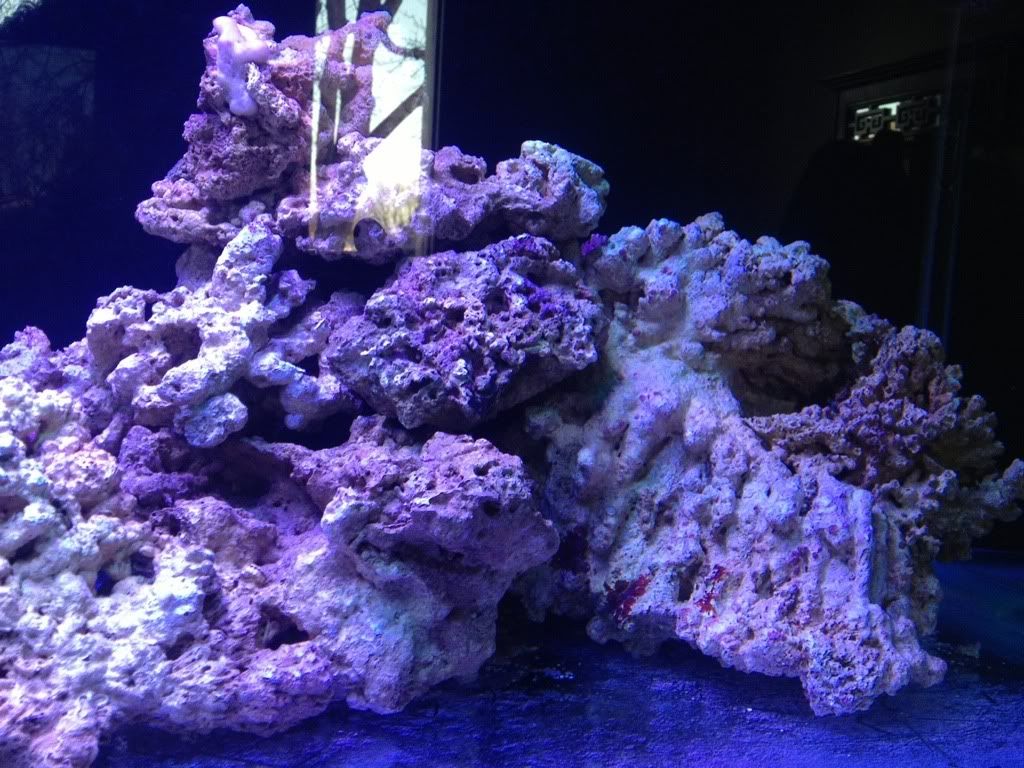
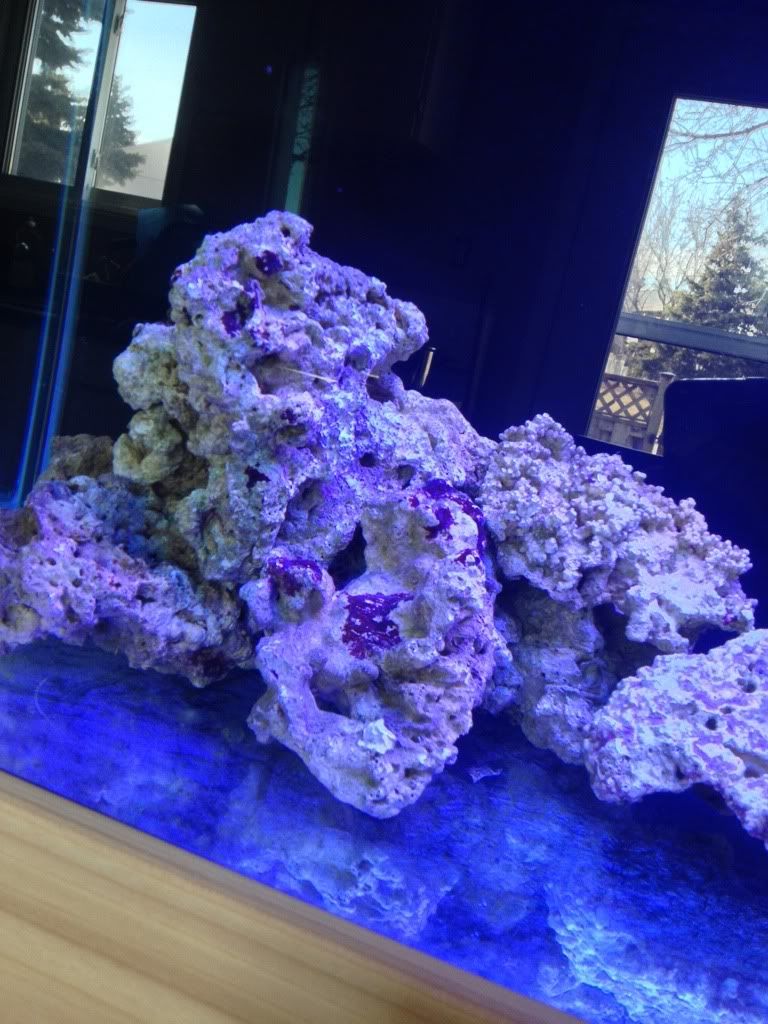
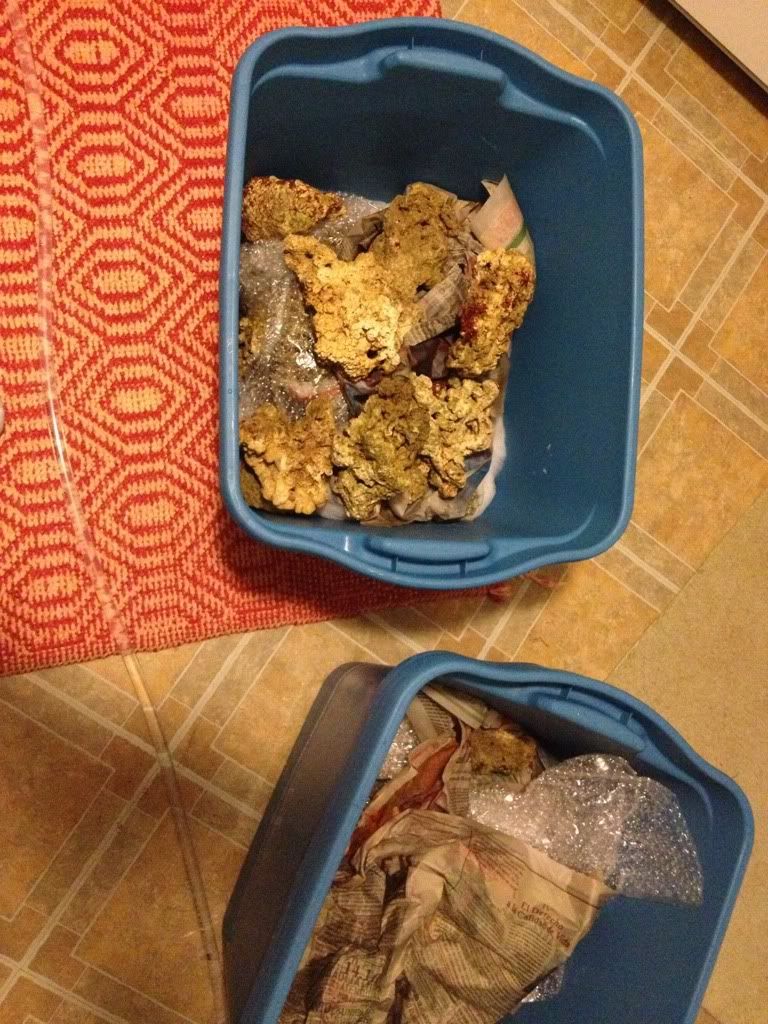
Free liverock?!?!?!!!!! (I LOVE MY GIRLFRIEND! lol):
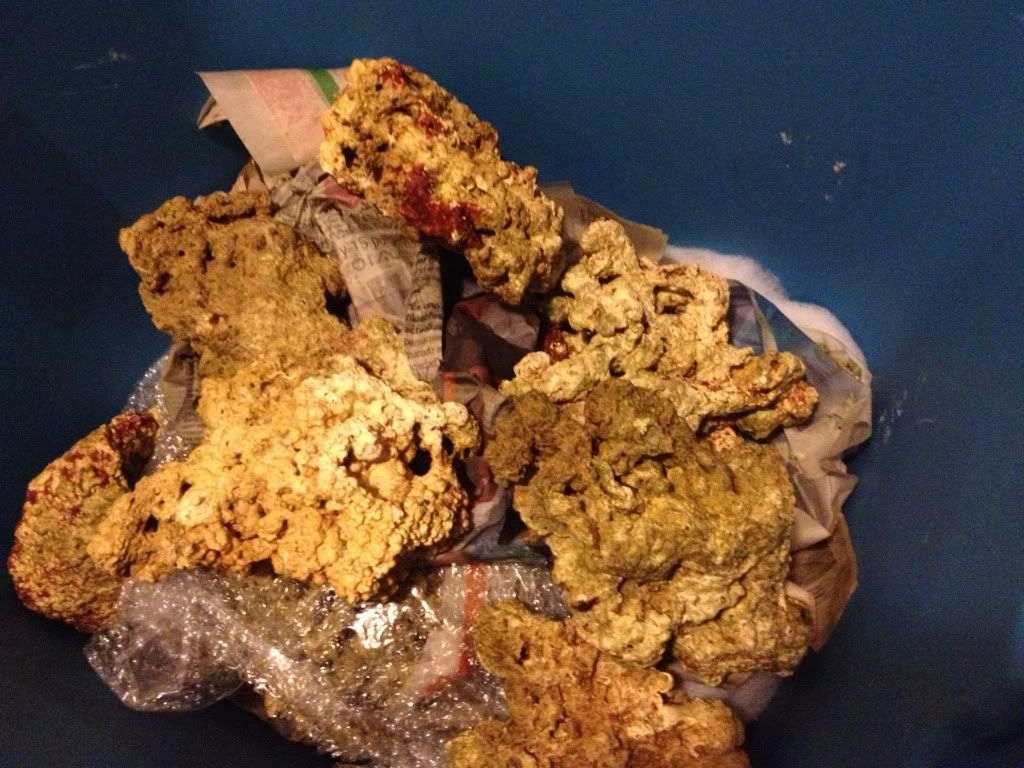
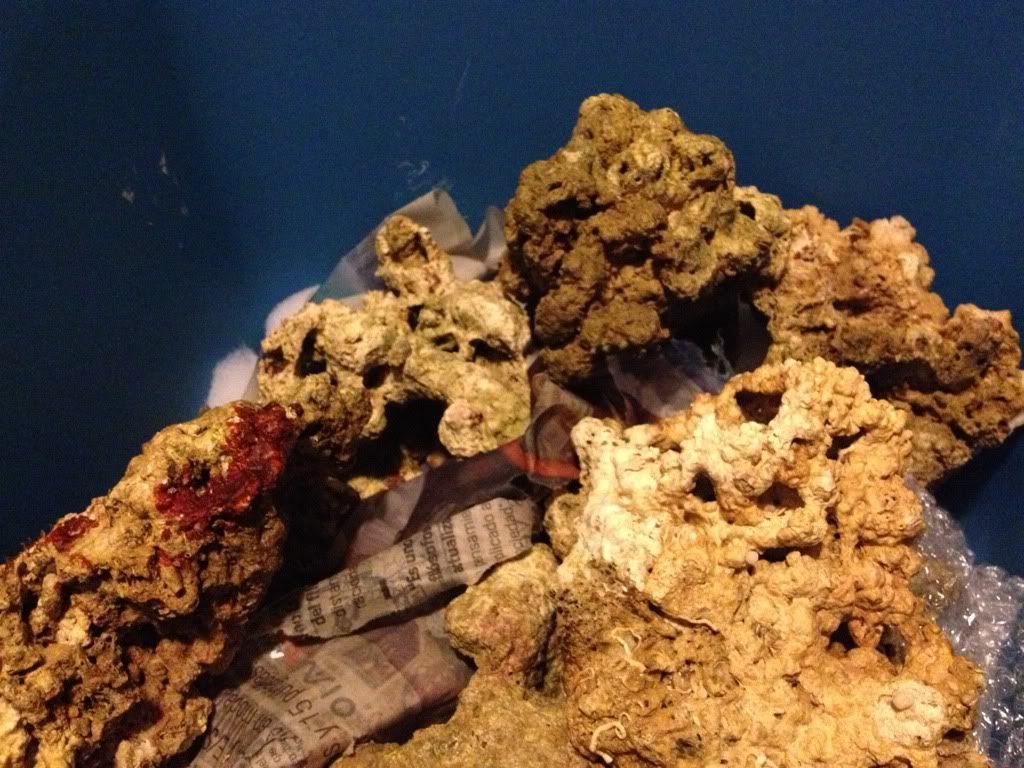
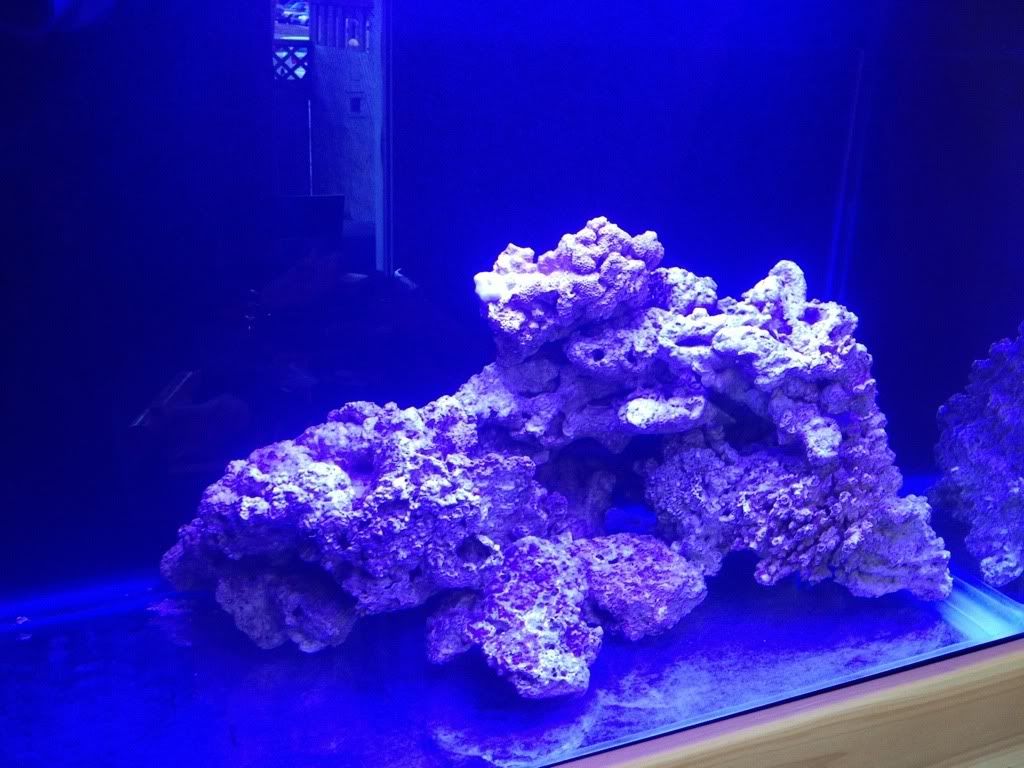
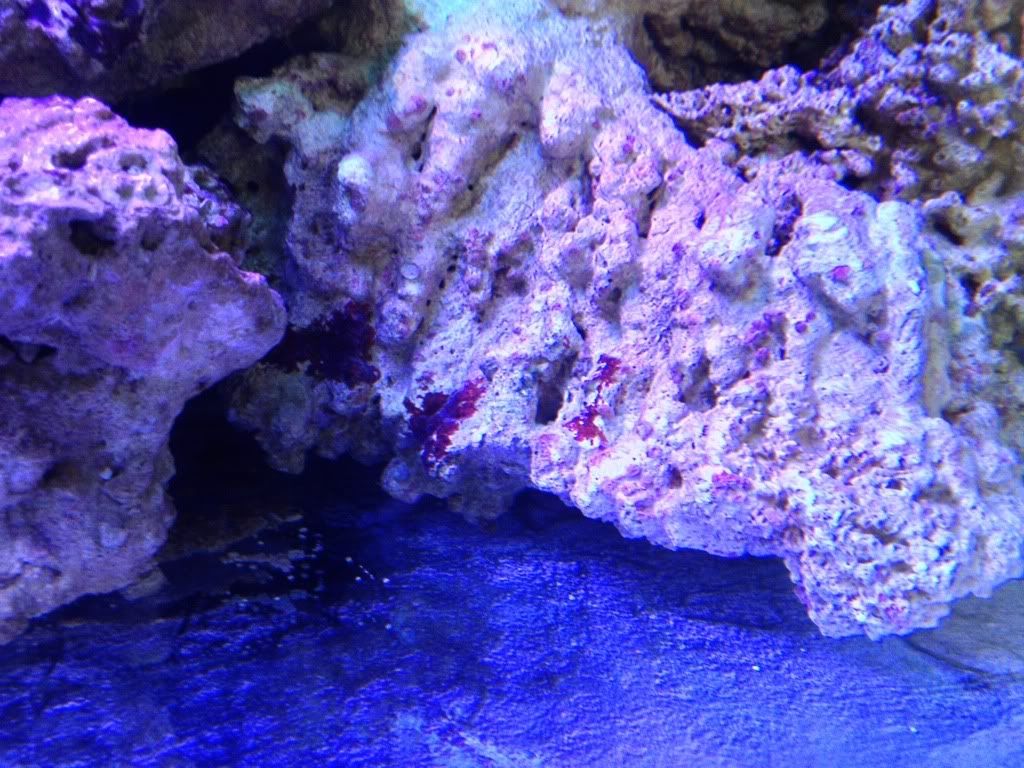
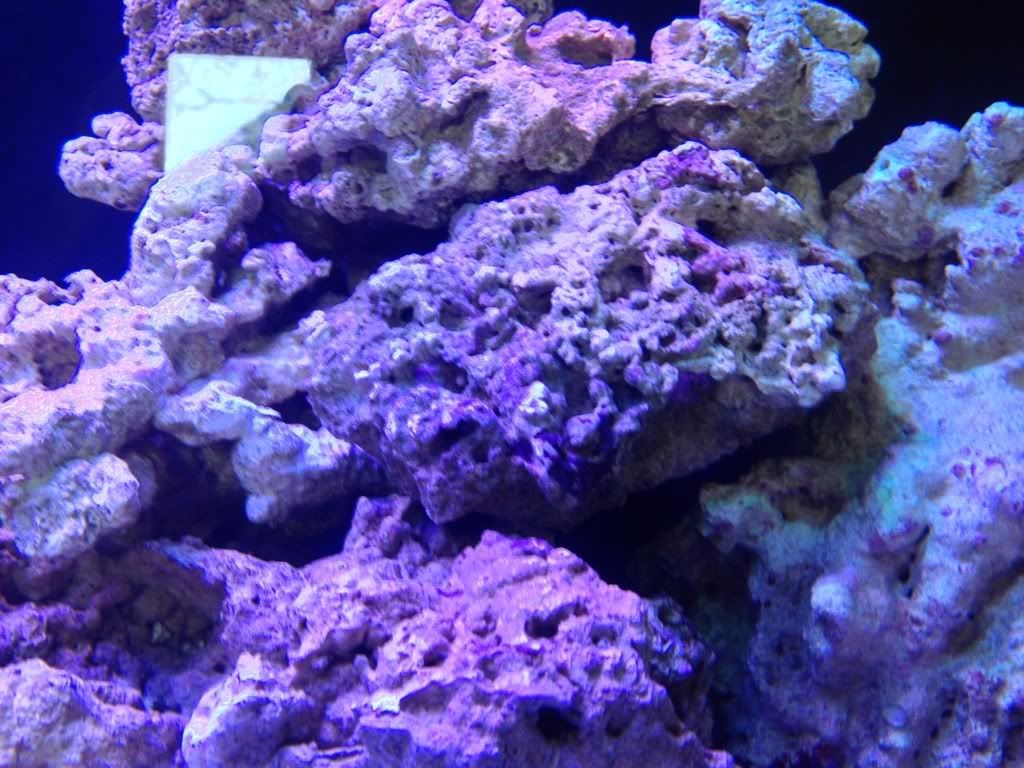
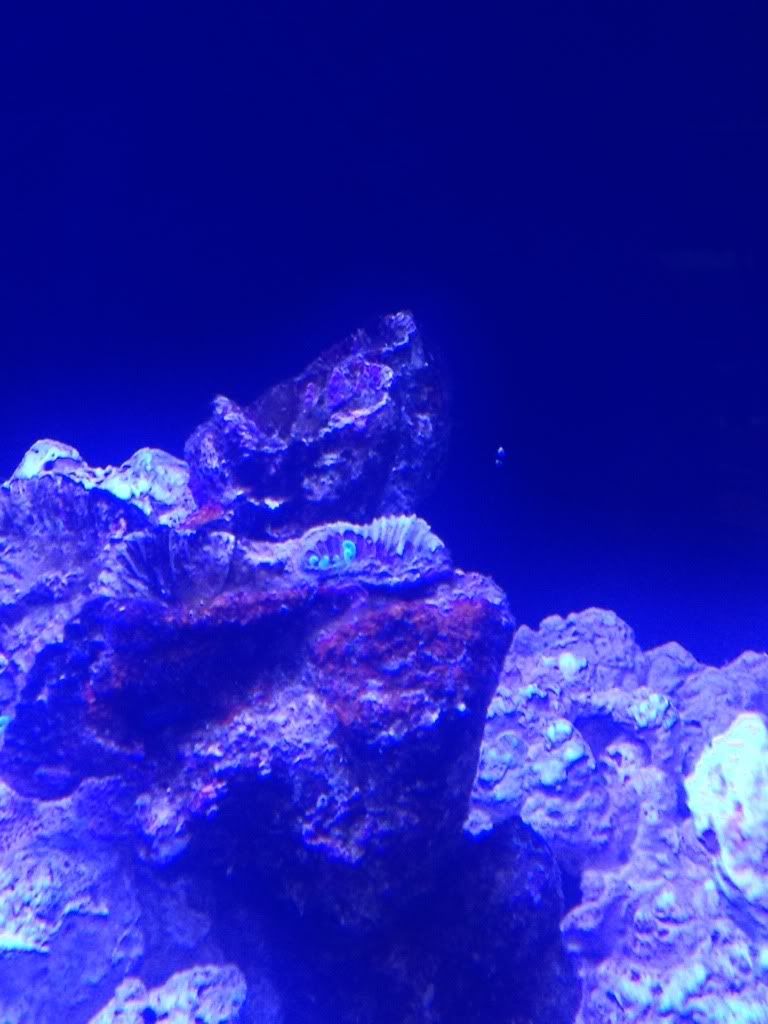
Threw the rocks in my sump with the skimmer to see if I can make it foam! Also thinking it will help with curing them. Took a few shots of the rock from different angles... I really love some of the pieces I got!
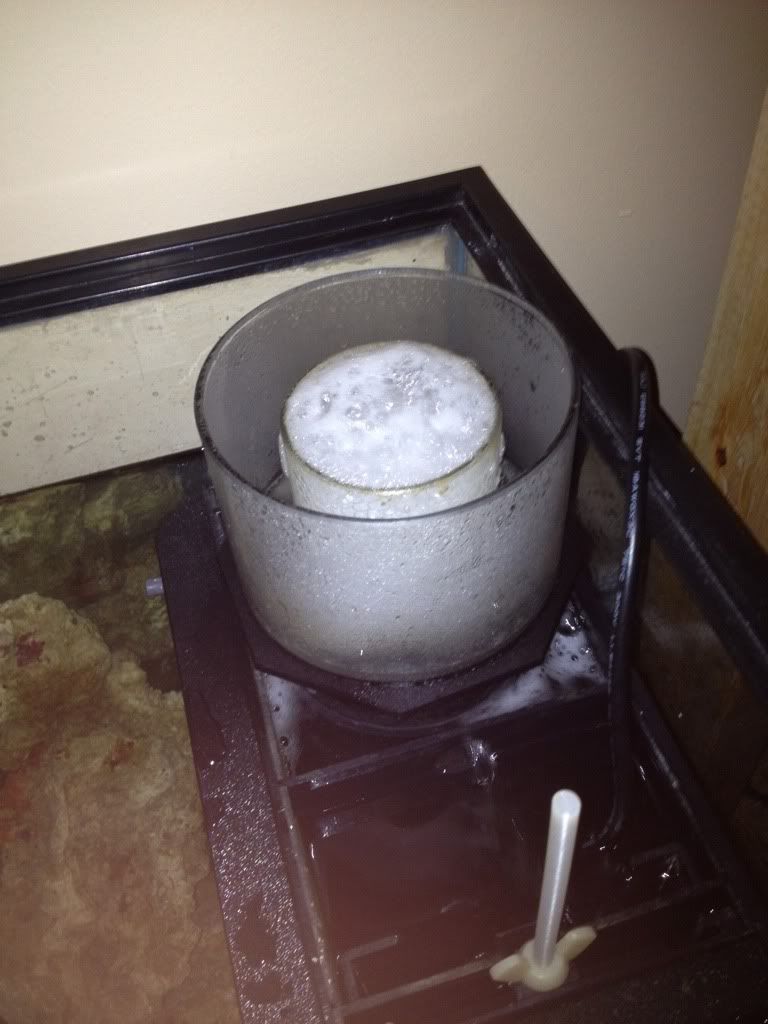
Houston, we have foam!!
When this skimmer came to me, the bayonet collar which holds the skimmer cup in place was broken off, so I really wasn't sure if this thing was going to work. I fixed it with some JB Weld, and it seems like it's good to go! Foam is really wet, I can tell that I'm running this thing in too much water.
What kind of wonderful/terrible things have you learned from your parents over the years? I owe this one to my mom lol:
Much more to come! Still uploading/moving lots of pictures.
A bit of background before I get into the details:
-I love DIY. I wanted to build as much of this as possible on my own, for both the enjoyment of building something and for learning purposes.
-I'm planning to move within the next year, so I didn't want to start too big of a tank. In my next home I would like to build a system featuring a large 200-300g display tank.
-I plan to have my reef dominated by SPS, so the lighting and flow are both very strong to reflect this.
I started research and planning for my tank back around November, and started collecting the pieces in February. The tank is setup with the following, so far:
-1 20" LED light fixture sitting over the middle, with a second currently being wired up. They will sit centered above each half of the tank. Breakdown of emitters:
--19 Royal Blue / Neutral White Cree XTE 3-ups
--16 True Violets (mix of 405 peak nm and 430)
--11 Ocean Coral White (Red, Teal, Cyan)
--106 total LED point sources
-Flow: Magdrive 18 return, 1 Jebao WP-40, 1 Koralia 1150
--Drilled tank for a beananimal overflow and installed the BRS 2400 GPH overflow box
-Skimmer: Deltec TS-1250
Livestock:
-~75 lbs liverock
-3 Green Chromis
-2 Blue Eyed Cardinals
-1 Open Brain coral
-1 Hammer frag
What's left to do?
-Finish the second light fixture
-Build the canopy and mount lights/electronics
-Finish the sides of the stand with nice wood
-Build and set up the ATO system
-Finish my Arduino based controller (this will be my ongoing 'rainy day' project)
-Decide on and install media reactors (currently planning a calc reactor, am currently testing and dosing calc... will see if the reactor is needed)
-Possibly add ozone to the skimmer, have an ORP probe that will be hooked up to the Arduino
Picture diary:
Tank pics from Kijiji. 90g with 2x4 stand, $150 delivered.
In my kitchen, filling with water for a test and giving it a bit of a scrub down.
Arduino arrived! Never worked with a microcontroller before, but I am a programmer by trade with some hobby electronics background and have found it incredibly easy to work with.
Code shield, to help myself learn:
Light stuff! Got a big PSU (Meanwell SE-350-48) and a whack of LDD drivers (variating from 350, 500 and 1000). Also acquired the following for my LED fixture, which will have 6 dimmable channels (RB/NW/Violet/Cyan/Green/Red):
-2x 20" LED T-slot heatsinks from HeatsinkUSA (will be mounted on L bracket with each sink centered over a side of the tank, eventually planning a rail mount system similar to the Maxspect P series so that I can create cool shadow effects)
-19x Cree XTE RB/RB/NW 3up stars
-16x violets (6x 405nm, 10x 425nm)
-11x OCW
I kinda broke the bank on the next purchase... but I figure it's a good investment to have accurate measurement equipment on hand. Sure I could have built DIY probes for alot less, but I'm not sure I would have trusted them. And in case I do need to add more probes later, I can DIY them and use these as reference probes to ensure that my cheap ones are accurate.
What will hopefully become an Arduino-controlled power bar:
Testing some LED layouts:
Atlas Scientific stamps on a breadboard:
Free skimmer! Dirty as all get out, but that's ok, I've got no shortage of elbow grease lol. Took a bit of work for me to identify it, but it turned out to be a good one! (Or at least, an expensive one.) Deltec TS-1250. Before:
Parts in the drain board:
Full shot of it cleaned up:
And lets see it in the sump:
Test fitting sump under the stand. As soon as I saw this stand, I knew I would have to disassemble it and make some changes. Mainly, I need more height in the sump area. Secondly, it wracks like mad! I was using an algae scrubber to clean up the glass and noticed that the tank/stand would shift back and forth as I scrubbed the front.
BRS order arrived - diamond hole-saw, drill guide, overflow box (with a broken corner...), plumbing bits:
Got an 5" LCD TFT from Itead studios, loaded the calibration sketch: (I was up till about 1AM on Saturday night trying to get this to work! So much fun!)
Fixed up the overflow box with some epoxy: (JB Weld)
Draining the tank, placing the sump in a temp location. This is prep work for my stand modifications which I hope to perform this weekend!
Free liverock?!?!?!!!!! (I LOVE MY GIRLFRIEND! lol):
Threw the rocks in my sump with the skimmer to see if I can make it foam! Also thinking it will help with curing them. Took a few shots of the rock from different angles... I really love some of the pieces I got!
Houston, we have foam!!
When this skimmer came to me, the bayonet collar which holds the skimmer cup in place was broken off, so I really wasn't sure if this thing was going to work. I fixed it with some JB Weld, and it seems like it's good to go! Foam is really wet, I can tell that I'm running this thing in too much water.
What kind of wonderful/terrible things have you learned from your parents over the years? I owe this one to my mom lol:
Much more to come! Still uploading/moving lots of pictures.
")