Reef Keepers 220 Sps Build

reef keeper

Super Active Member
Joined
Nov 19, 2014
Location
Hamilton, Ontario
Ok. Here we go for real!!

I have purchased a Miracles 220 gallon 72x24 wide x 30 high. Based on my available dimensions I just couldn't get anything bigger down my basement stairs. And my wallet couldn't handle it either lol

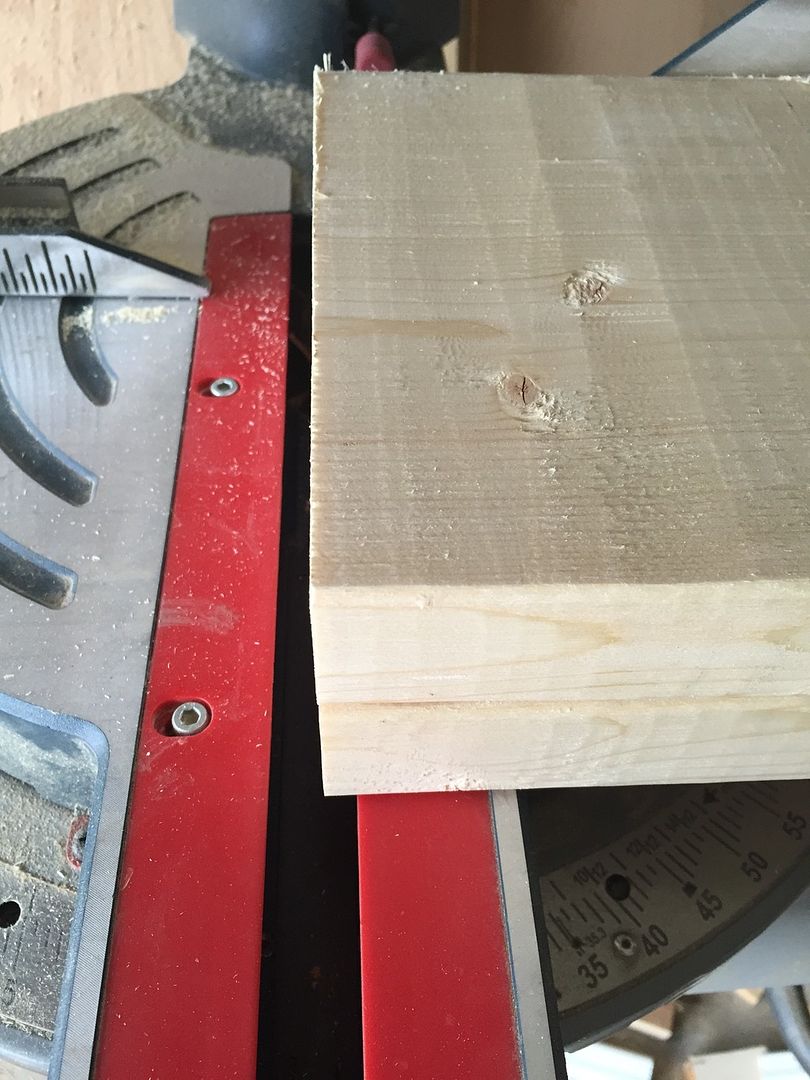
Today I started cutting the wood for the stand. The tank, water and rocks is going to be in excess of 3000 lbs, so I will detail my stand build with lots of photos for you.

The stand will be 2x4 & 2x6 sealed with a mould proof primer. It will be a little humid in the stand lol.

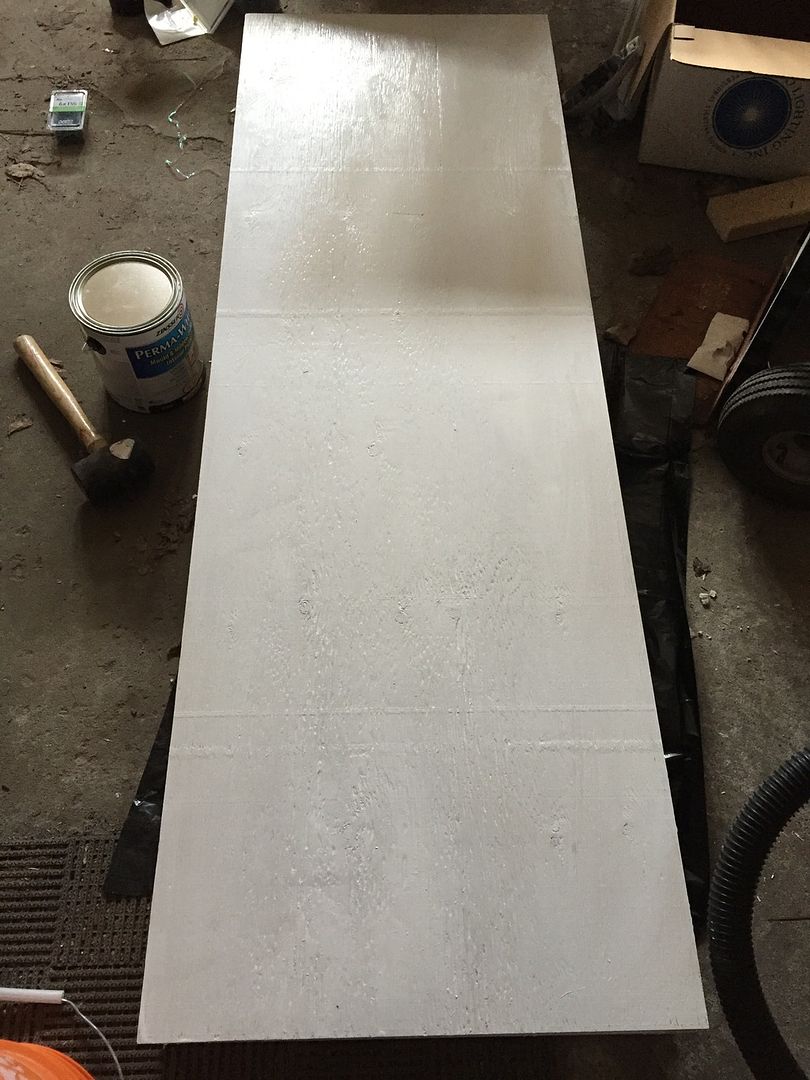
The top and bottom will be 3/4" plywood and it will be wrapped in poplar that will be stained to approximate my maple floor.

The exterior plywood serves 2 purposes. First is looks. Second is strength and support for the frame.


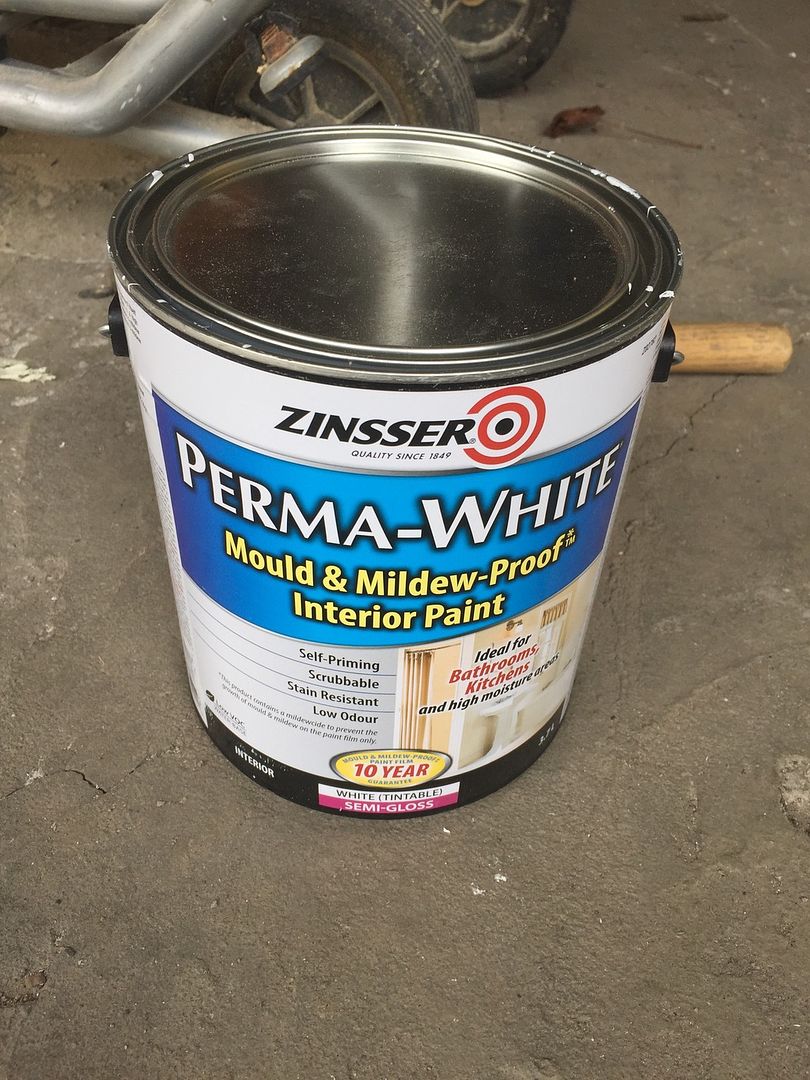
I'm waiting for the first coat of paint to dry on the cut pieces before I assemble the stand. I want to hit the ends and sides with one coat so that everything is protected. Second coat will go on once it's together
 

reef keeper

Super Active Member
Joined
Nov 19, 2014
Location
Hamilton, Ontario
I deleted the pics of the miracles tank. The guy was making it difficult to go pick it up and finding movers was getting tough. Best part? The prick won't give me back my deposit on a tank sitting in his basement.
 
Last edited:

reefgeek

Member
Joined
Apr 9, 2014
Location
Barrie, Ontario
Peninsula style, my favorite! Looking forward to seeing this progress. A word of warning I find that zinsser stuff smells to high heavens if it comes into contact with other paints or primers. Took a good week for the odour to dissipate when I used it to prime over top of another layer of paint in my build. Hopefully you do not run into a similar issue.
 

reef keeper

Super Active Member
Joined
Nov 19, 2014
Location
Hamilton, Ontario
I hope to not experience that lol. The good thing is it won't be getting painted and will be faced with ply. I will make trip,e sure now lol
 

teebone110

Distinguished Member
Joined
Jan 5, 2011
Location
London, Ontario
Website
www.thefragtank.ca
looks exciting, check out the Kilz sealer, this stuff is highly recommended

13002-2.jpg
 

reef keeper

Super Active Member
Joined
Nov 19, 2014
Location
Hamilton, Ontario
I have the top frame basically painted and assembled. Bottom is cut. And mostly painted. Hopefully I'll be able to get the framing together this week and the plywood top and back (vented) on as well.
 

EricTMah

Aquariums by Design
Joined
Mar 2, 2014
Location
Kitchener, Ontario
Website
www.aquariumsbydesign.ca
Here's a pic of the bottom frame

[

URL=http://s1287.photobucket.com/user/overlord34/media/Mobile Uploads/4BC2D48E-1394-49A8-B5EB-4B3D0C0C7A38_zpsm1mpewhe.jpg.html]
4BC2D48E-1394-49A8-B5EB-4B3D0C0C7A38_zpsm1mpewhe.jpg
[/URL]

And here is my beast sump lmao


All my wife said when I took it out of the truck was "THAT is your SUMP?!" And walked away. Hehehe. FYI it's a 125 g tank.
When you get that reaction to just the sump is when you know you're building the right sized tank ;)

Congrats on getting this thing rolling quickly!

Sony Xperia Z3
 

reef keeper

Super Active Member
Joined
Nov 19, 2014
Location
Hamilton, Ontario
Haha. I suppose so Provided the guy actually shows up and takes my tank I'll be moving the new stand downstairs and getting going on it.

I need to drill the sump for 1" outputs for a pair of iwakis
 

reef keeper

Super Active Member
Joined
Nov 19, 2014
Location
Hamilton, Ontario
The stand is coming along pretty well. Overall, the stand is 39 1/2" tall, with 29 1/2" shown in the opening.

I used twin 2x6 for the corners and the sides are 2x4.

I'll be using joist hangers for the cross bracing in the top panel and then cover it in 3x4" plywood.


reef keeper

Super Active Member
Joined
Nov 19, 2014
Location
Hamilton, Ontario
It's certainly not light. I think on the tank I just sold the stand weighed more than the tank did lol.

The top is a 2x8 lol. I'm going to put a single centre support at the back and front. That will give me a place to screw the back plywood to so I can caulk it and make it waterproof.

125 gallon sump. Wtf was I thinking lol
 

reef keeper

Super Active Member
Joined
Nov 19, 2014
Location
Hamilton, Ontario
Yes. It can be removed out the side. I will be able to unscrew the side cabinet to get it out. Thought about all those little things this time.

I have a sketch of my sump almost done. I'll post that soon

On another note, my floor is out 1/4" left to right and 1/4" front to back.

Time for some non compressible shims. I'm going to level it before the tank goes on it. Almost there now!
 
Last edited:

reef keeper

Super Active Member
Joined
Nov 19, 2014
Location
Hamilton, Ontario
Today I took the plunge and drilled the sump. I made myself a jig out of a scrap piece of acrylic and drilled the hole with an adjustable hole saw that 4hummer recommended. I got the drill bit from Dan over at mail order pet supplies. And a couple of bulkheads.

Tomorrow I'll try to do the sock holder.

Here's a couple of the requisite photos!


First is my jig and clamp to run the water down the side of the tank. Second just shows a closeup. Worked out great. About 10 minutes a hole.
 

reef keeper

Super Active Member
Joined
Nov 19, 2014
Location
Hamilton, Ontario
So frustrating. I was trying to line up movers for the tank. Nobody is that interested or wants an arm and a leg. I was thinking about the risks of moving it up a bunch of stairs, and down mine, as well as transporting it in my truck. Long story short - I cancelled my buy on the 220. And the guy won't give me back my deposit! To be honest I'm not surprised. Everything to do with this has been a bit of a nightmare. I tried talking to miracles today and got a bit of a brush off so I ordered a reverse 220 from concept. 72 long x 30 wide x 24 high. Now I can use my giant lumenarc reflectors I got from big show.

This tank has an external coast to coast, drilled with a bean animal. Blacked out back. Let's be honest. I copied curious Phil.

They say the tank will be ready in around a month or so. Gives me enough time to rework my stand.
 

reef keeper

Super Active Member
Joined
Nov 19, 2014
Location
Hamilton, Ontario
Redid the stand today. Reframed the top so it's 30" wide. I added a 6" extension to the bottom and glued and screwed it to the bottom frame. Redid the supports so it's looking beautiful. Painting tomorrow and get the sump in it
 

reef keeper

Super Active Member
Joined
Nov 19, 2014
Location
Hamilton, Ontario
Here's a couple hours of work on it this weekend.

Got the one side cabinet frame mostly done. It will be sheathed in stained ply to match the stand and canopy. There will be matching 2 ft wide cabinets on each side of the tank.


The part I love love love about this tank dimension is that the cabinets are 30" front to back. There's so much room! I think this stand weighs a couple hundred pounds easy.
 
Last edited:
Top